Managing the properties of your Onshape Documents is an important step to keeping your designs organized. Assigning properties such as Part Number, Revision, State, Description, etc., make it easy to organize and even search by these values. They are also important for downstream applications like generating a Bill of Materials, or importing data into a PLM system.
So how do we manage custom properties in Onshape? Let’s take a look.
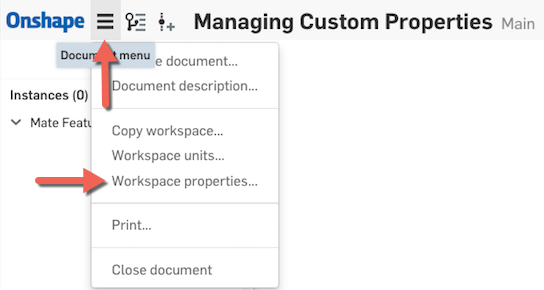
To edit the properties of your Document, simply click the Document Menu in the top-left corner of your Document and choose “Workspace properties.”
This will launch the properties editor, where you can enter values for your custom properties. Simply click the arrow to expand the selection and select what you want to assign a property to. You can assign properties to parts, assemblies, drawings and even imported tabs.
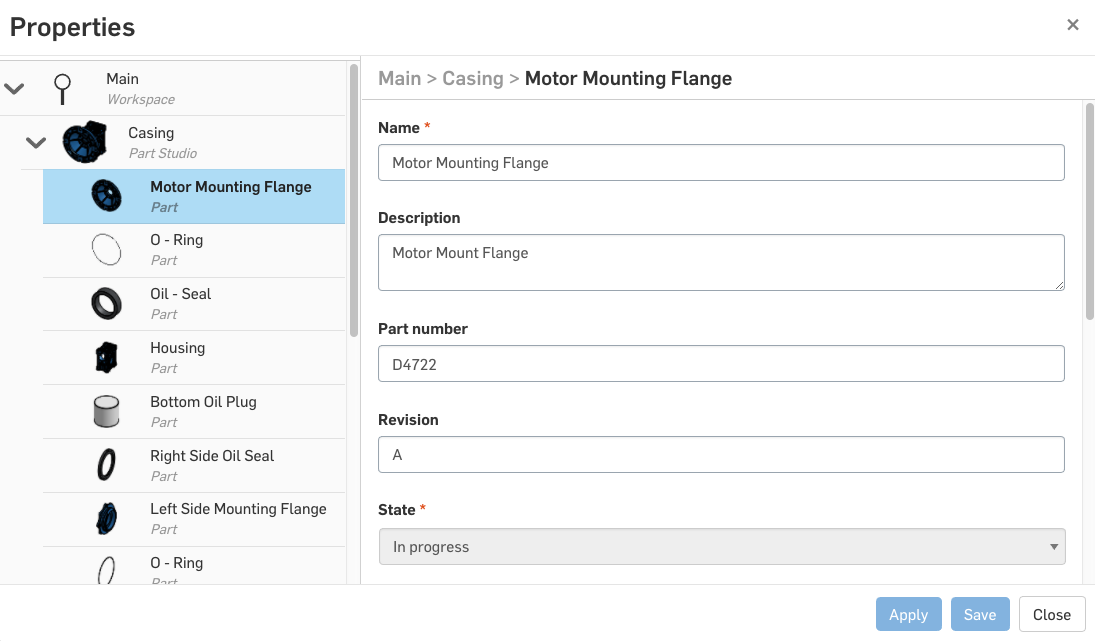
Tip: You can Ctrl or Shift select multiple parts/assemblies/drawings/etc. and assign the same property to them all at once.
So what about creating new custom properties? By default, Onshape provides common properties like Part Number, Revision, Description, State and more, but many companies have their own list of properties they use. If you are the owner or an admin of a company in Onshape, it’s easy to create your own custom properties. Just click your user name in the top right corner and choose “Manage Account.” This will take you to your Account Settings, and under your company, you will see an option for Properties.
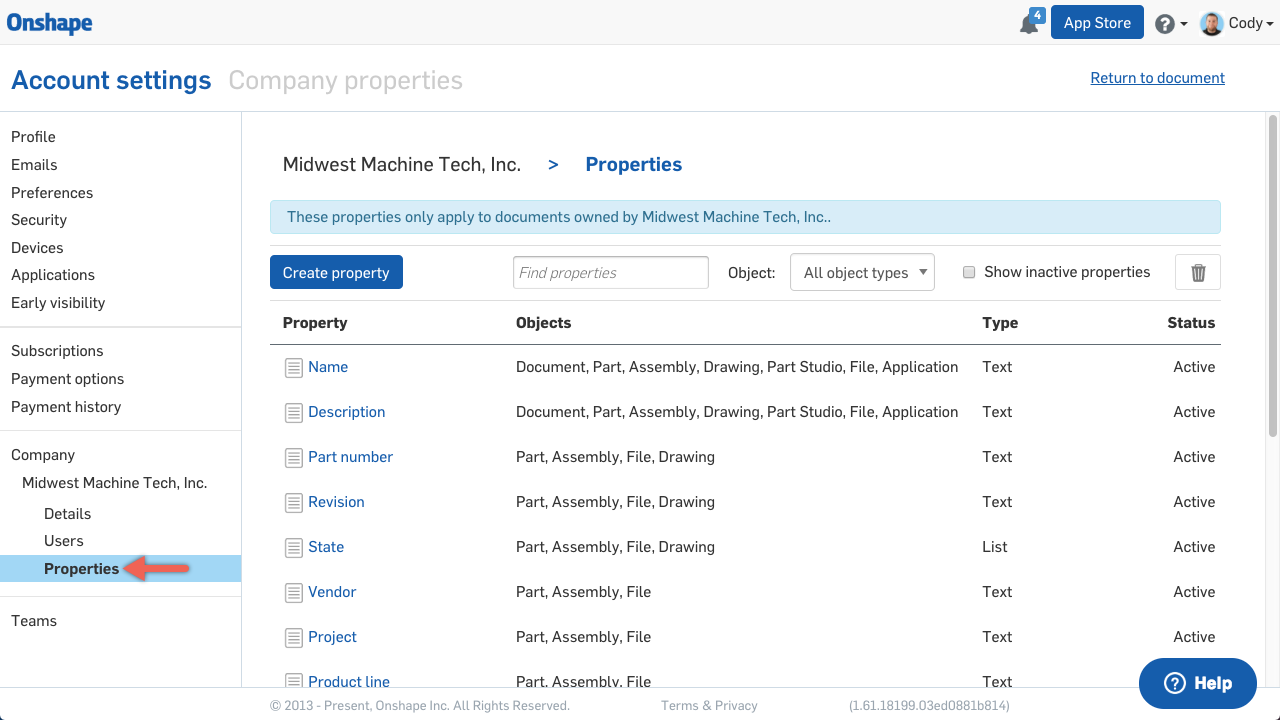
Here, you can create new properties that meet your company’s needs. These properties will apply to any Document owned by the company. So anyone creating company-owned Documents will automatically see these custom properties.
And that’s all there is to it!