It is common in CAD to assign the same dimension to many different features. So you might be wondering, “Is there a way to link dimensions together so I can change them all in one place?” Absolutely! The answer is to create a variable. Let’s take a look.
Creating a variable is simple. First, select the Variable command from the toolbar.
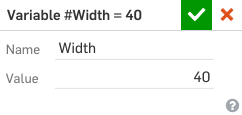
Then type in a name and value for your variable. Here, I am creating a variable called “Width” and assigning it a value of 40.
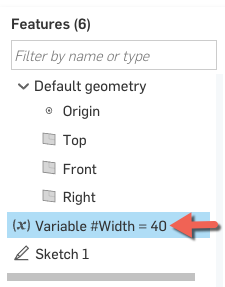
After creating your variable, you will see it added to your feature list.

We are almost ready to use our variable, but there is one more important step. Variables must be higher in the feature list than any feature where you want to use that variable. So in our example above, you can see the variable is below Sketch 1 in our feature list. If I wanted to use this variable in Sketch 1, I need to move it above the sketch. You can do this by dragging the variable to the top of the feature list.
Notice in the screenshot above that the variable is now above Sketch 1 in the feature list. Now we can use the variable in that sketch.
Using a variable is easy. Anytime you want to assign a value to that variable, just type hash symbol, then variable name. Our variable name is “Width,” so to assign a value to this variable we type #Width.
And that’s it! You’ve now created a variable and assigned it to a dimension. Now if you want to change that dimension, you simply edit the variable. If you’ve used the variable in several places, they will all update at once.
There is a lot more you can do with variables that we will be covering in the future. We’ll be exploring topics such as using variables in equations, variable arrays, and more. So stay tuned!