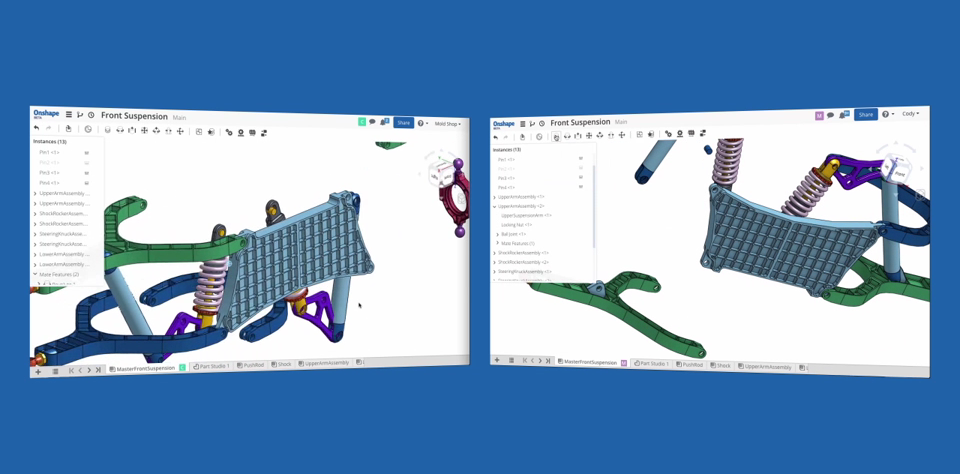
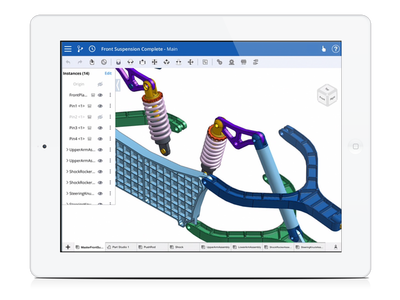
One of the most important questions experienced CAD users have when trying Onshape is “How do I import my assemblies into Onshape?” Let’s take a look.
Importing your assembly into Onshape is easy, but it’s very important to choose one of the supported formats that include the assembly as well as all the parts. This is important because with most CAD systems, the assembly file does not contain the parts. For an up-to-date list of supported formats, check out Onshape Help. At the time of this blog post, the supported file formats for importing assemblies are:
- Parasolid
- ACIS
- STEP
- IGES
- SOLIDWORKS Pack and Go zip files
- JT
- Rhino
These are formats that contain the assembly and all the parts in one file. To import your assembly into Onshape, simply click the “Import Document files” command from the Documents page and select the appropriate file.
When importing, you have an option to import the assembly with the “Y Axis Up” (which is common in many traditional CAD systems), and the option to “Import file to Part Studios only” (flatten). This will import your assembly and all of its parts into a single Part Studio.
One last note for SOLIDWORKS users: To import a SOLIDWORKS assembly, first use the Pack and Go command in SOLIDWORKS and the option to “Save to Zip file.”
This will create a single zip file that contains the assembly plus all of its parts. This zip file can then be imported into Onshape.
For a more thorough look at importing assemblies, watch the video.
The CAD
Migration Station
Find everything you need to know about
transitioning from SOLIDWORKS to Onshape.