
6:26
In the summer of 2022, the Underwater ROV Team (UWROV) at the University of Washington placed 2nd of 20 teams in the international MATE Underwater Robotics Championship.
Check out this video for a quick recap of our design and our season:
This was our first year designing an ROV from start to finish using Onshape. It was also by far our best showing yet at the championship! So, what are some ways Onshape helped us succeed?
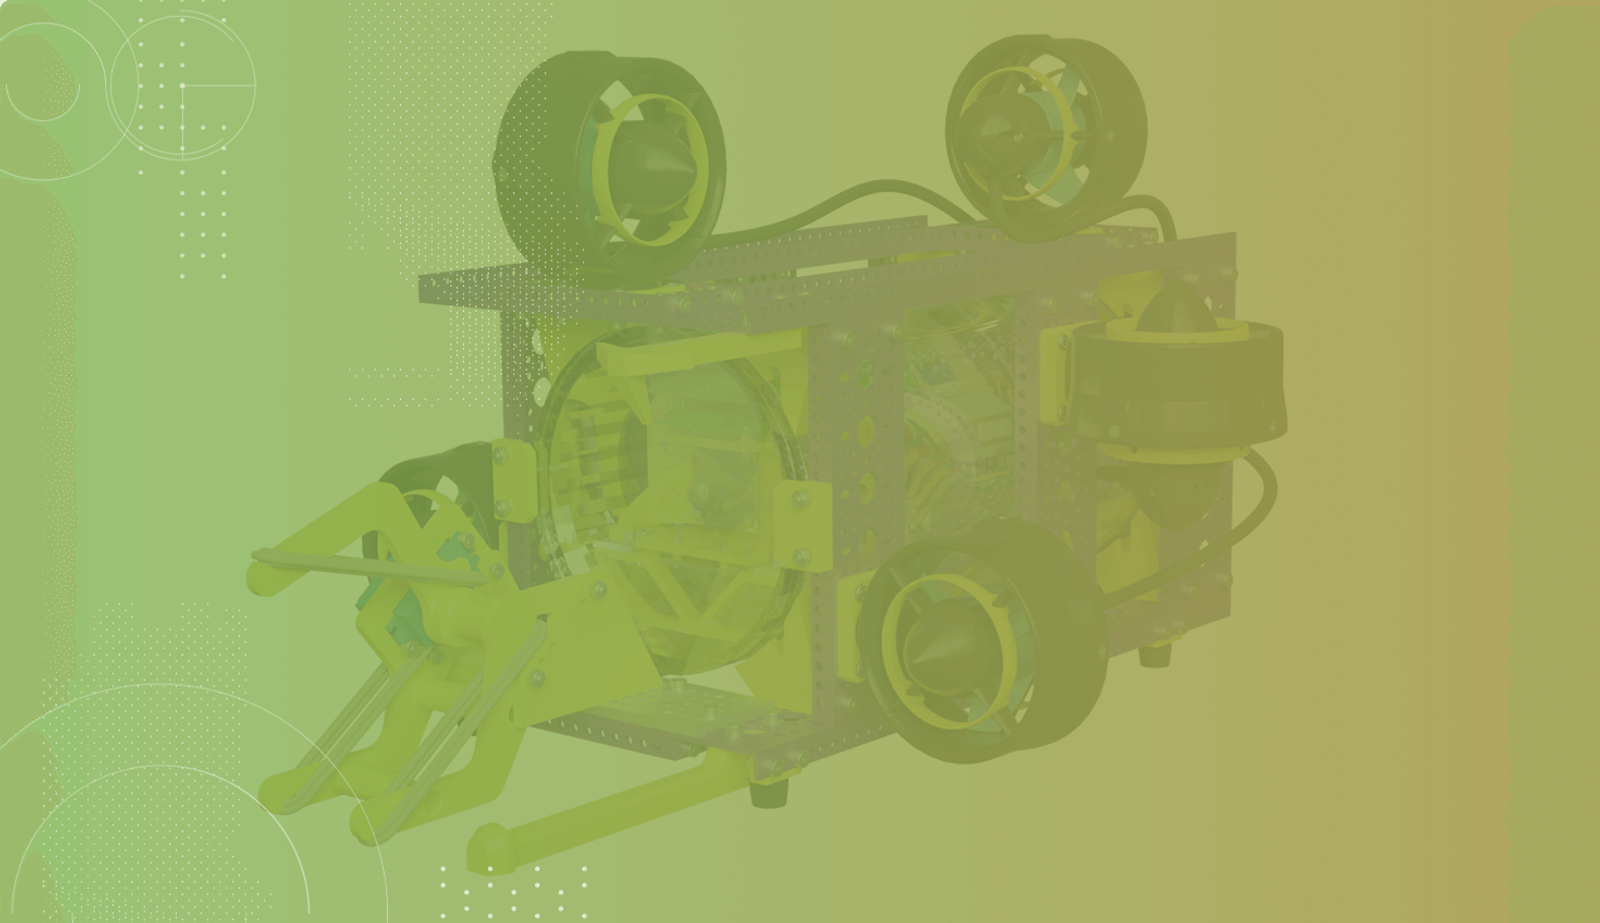
An Underwater ROV with Clear Vision
With low visibility and plenty that can get in the way, piloting an underwater robot can be a massive challenge!
To ensure our robot was easy to pilot, we checked the pilot’s field of view using the main assembly in the CAD model to make sure no internal or external structures were blocking the pilot’s view.
By leveraging the digital version of the underwater robot, we were able to make adjustments to the model to clear up the camera’s view. After moving the manipulator off to the side a little bit, we were able to see through more gaps in the CAD model (and see the side of the center claw a little), while opening up side views, too.
Lo and behold: Our real-life camera view was, in fact, very clear and hardly obscured at all! The slight nudge to the side made it significantly easier to see what was going on.
The manipulator was just one small tweak that had a major impact. We made countless other adjustments to the robot’s design – all informed by our Onshape CAD model.
The view looks good from Onshape….
…and it looks amazing from the pilot’s perspective!
Parallelizing Documentation
It might not be exciting, but documentation is critical for the success of just about any engineering project. Documentation provides helpful information to future customers and developers, making a huge difference in the ease of work.
In the case of the MATE championship, documentation is also a key part of the competition. We didn’t slouch on ours! Our technical documentation tied for 2nd place, in no small part due to our extensive use of cloud-native CAD to document and explain concepts.
Of course, documentation is always done early and designs never change at the last minute. So, it’s the easiest part of any design project. OK, who am I kidding? Documentation tends to be rushed at the last minute and designs are never static!
Fortunately, Onshape handles real-world documentation scenarios like a champ. Folks were able to make tweaks to the CAD model at the last minute, hammering out technical drawings as the clock ticked down. We loved having a CAD system we could trust with our critical technical drawings.
A selection of drawings that were definitely created well before the deadline.
Accurate BOM for Underwater ROV Parts
Our robot has hundreds of purchased components, so it’s critical to get the part orders right the first time to stay under budget and on time. Since we switched to metric this year with the goBILDA system, that also meant that we didn’t have a working stock of compatible fasteners in case we forget to order a size.
To help manage this, we made extensive use of Onshape’s Standard Content library and Bill of Materials (BOM) functionality. By making sure we had every component modeled, down to the individual nut, bolt, and screw, we always knew exactly what we needed to put together the robot. Additionally, having this level of detail prevented issues with misaligned holes and other fastener-related interferences.
Other student engineering teams were often surprised to hear that we modeled all of the fasteners on our robot – after all, it’s a lot of work in some CAD systems! However, for us, it’s just a few extra seconds when making the model. In exchange, we get an accurate BOM and a robot that comes together right the first time.
A ghosted view of our robot showing all of the fasteners we included in our model.
Validating & Optimizing a Radical, New Electronics Enclosure
It is critical for our pressure hold to work correctly. It’s the only thing standing between hundreds of dollars of electronics and high-pressure, corrosive seawater.
Not only does it need to work, but it also needs to give easy access to the electronics inside, provide excellent camera views for our pilots, and be as light as possible to minimize the amount of bulky floatation needed for our ROV.
Nothing on the market matched our requirements, so we designed our own. It’s 35% lighter than any comparable enclosure on the market, while having 78% fewer parts.
Of course, what good is a radical new design if it doesn’t work? Ours did, and it wasn’t a case of luck or fortune. We went into the competition knowing it would work well, with our SimScale simulation validating our design to much greater depths than what we needed to operate at for the competition. As a result, our custom design was 100% successful: no cracks, leaks, or other failures!
Simscale provides super accurate results – quickly – from any machine!
I must mention that after the competition Onshape released Onshape Simulation. The Onshape Professional and Enterprise plans include this new functionality, so if you’re a professional or enterprise subscriber, you can get these sorts of design insights in real time with minimal setup: just add loads to your assembly, and everything else is taken care of automatically. Running a simulation is quite literally just hitting a checkbox to “show results”!
Onshape Simulation provides results as you design!
(Re)building the Underwater ROV at the Competition
We learned the hard way at the 2021 championship that regardless of whether you ship your robot assembled or disassembled, it will arrive disassembled.
This year we disassembled it before packing it to keep it safe. However, that meant putting it back together when we got to California.
Something as complex as an ROV isn’t like IKEA furniture where you can wing it and do it alright – you need some sort of instruction. To guide us, we pulled up Onshape on a few different devices and got to work putting together the robot. Rather than reams of drawings or fiddling around with viewer software and gigabytes of files on individual devices, we had an easy-to-use, install-free 3D guide to put our ROV together.
This meant that even folks who weren’t usually involved in the physical maintenance of our robot – such as business and software specialists – were able to get fully involved, and we put our robot back together in record time.
Putting together the ROV at the championship.
Pro tip! Press Shift + I while hovering over an assembly to isolate it.
What’s Next for the Underwater ROV Team
Our 2022 season went great, but we want 2023 to be even better! We’re already thinking about some ways to better leverage Onshape for our upcoming robot.
For one, we’re hoping to create an automated simulation pipeline using Onshape’s API to let our software developers get to work earlier with a more representative simulation. This will also help our pilots try out the latest tweaks to the design virtually before anything is built.
We’ll also be expanding the depth of data we put into Onshape, including more details like names and color-coded labels on our thrusters, plus a complete wiring model using Neil Cooke’s Wiring Custom Feature.
Finally, we’ll be hard at work improving our design, collaborating across disciplines, and making an awesome robot for the 2023 championship!
Are you working on marine technology or robotics projects? Or are you just interested in how Onshape can help your company work more effectively? Try a free Professional trial today!
Try Onshape Today
Head to our sign-up page to choose the right CAD plan for you and your team.
Latest Content
- Blog
- Becoming an Expert
- Assemblies
Built to Scale: Why Large Assemblies Don’t Slow Down in Onshape
07.16.2026 learn more- Blog
- News from Onshape @ PTC
- Artificial Intelligence
Onshape Labs: AI in CAD Guided by Designers, Driven by Innovation
07.15.2026 learn more- Blog
- Evaluating Onshape
- Data Management
- Collaboration
- Artificial Intelligence
How the Most Underrated CAD Feature Improves Design Workflows
07.09.2026 learn more