
07:49
Real-time collaboration and built-in PDM make Onshape the ideal CAD platform for a large team to work on complex projects. Whether you are on a Formula SAE, Baja SAE, Formula Student, Shell Eco-Marathon, or any collegiate design team, Onshape has the tools to help you.
As a Baja and FSAE alumnus, I know the challenges of getting 20-plus team members to work on the same CAD design and then fabricate it. I remember trying to design the front suspension of our Baja car, only to find out that the chassis sub-team had decided to move a tubing member that I was relying on.
Then, as the president of our team, it was frustrating to hold design reviews where some members couldn’t show up and hadn’t committed their changes or shared their files, so we couldn’t look at their work! We didn’t have Onshape then, but after using it over the last few years, I’ve realized how it can simplify the design process for teams and solve these problems. Everyone can always be working on the most up-to-date model without worrying about checking-in/out files.
So if you find yourself experiencing similar challenges, or if you’re looking to find ways to make your design and build process more efficient, or if you’re just plain curious about cloud-native CAD and what it might do for your team, here’s everything you need to know about Onshape to get your team started:
- Get Your Team Set Up With Onshape
- Import Your Previous CAD Data to Onshape
- Learn Onshape Fundamentals
- Organize Your Team and Design
- Go Beyond Just CAD (Simulation, CAM, and More)
- Additional Resources
Get Your Team Set Up With Onshape
Step one is to get everyone on your team signed up for an Onshape Education account. An education account gives you access to all of the CAD features of Onshape, the Onshape Learning Center, and your Onshape Documents are private. All you have to do is send your team members to the Education Plan sign-up page to create an account.
If you have any mentors or professors that will need access to your CAD designs, they can sign up for an Onshape Education Plan as well. If any of your mentors are not associated with a school, they are still eligible to use an Education Plan as long as they only use it for educational purposes.
In addition to all members signing up for an Onshape Account, we recommend that you create a separate team Onshape account using a team email address. You will want to make sure that any important Onshape folders or documents are owned by this account so that when students graduate or leave, your team doesn’t lose access to their work.
Step two is to set up an Onshape team with all your members. This will make sharing and organizing your team’s data easier. We will talk about sharing and organizing later in the article.
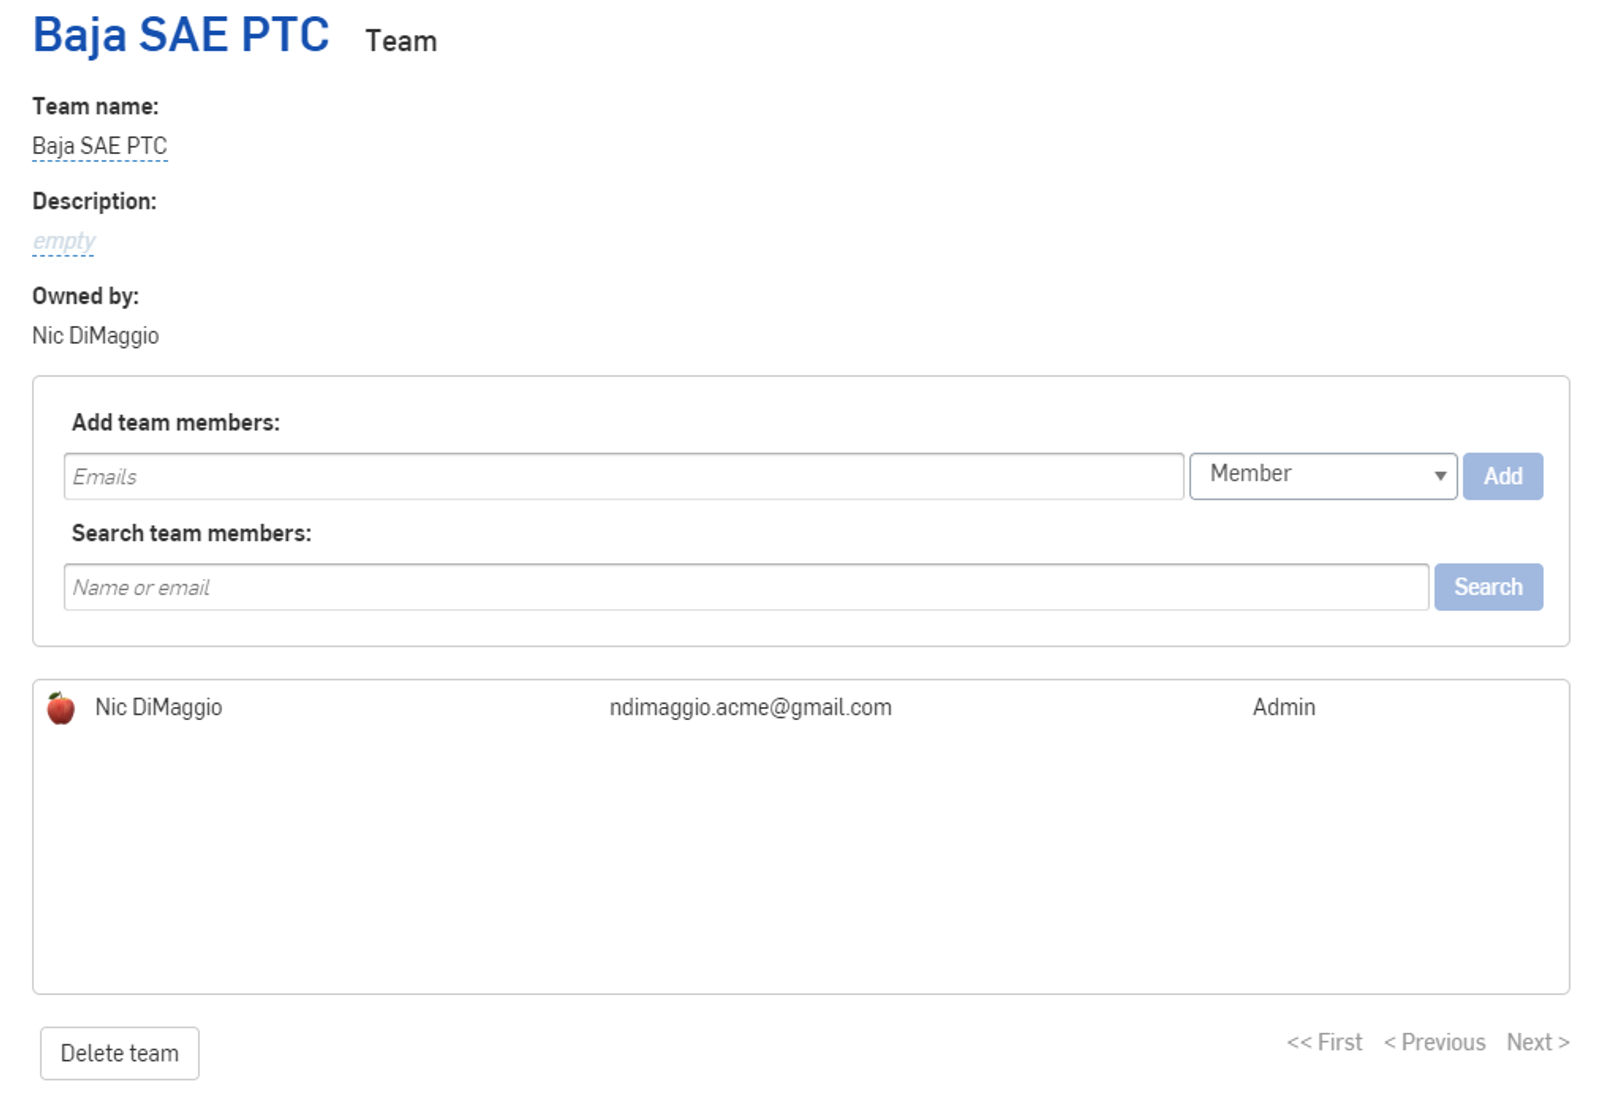
To create a team, click on your name at the top right when you are signed into Onshape. Then select “My Account” and click on “Teams” from the list on the left. Create at least one team for your whole organization. Then add members to the team. You may also want to create separate teams for each subsystem so you can give permissions per group.
Once a team is created you will be able to select that team to share documents or folders with. Everyone on the team will get the same access. If users are added or removed from the team their access will change accordingly.
To learn more about Onshape teams and sharing data with your team, check out this Learning Center article.
Import Your Previous CAD Data to Onshape
Onshape makes it easy to import any files from your old CAD system that you would like to use again or reference. You can use imported parts like a normal Onshape part in assemblies and even edit them with Onshape’s direct editing tools.
If you would like to import a whole assembly and its parts to Onshape, try exporting with the “Pack and Go” option from your old CAD system. This will organize your parts and assembly files into a ZIP file, making it easier to export and import to Onshape.
Alternatively, you can create a folder with the same name as your top-level assembly, put all your parts and subassemblies inside the folder, and ZIP it.
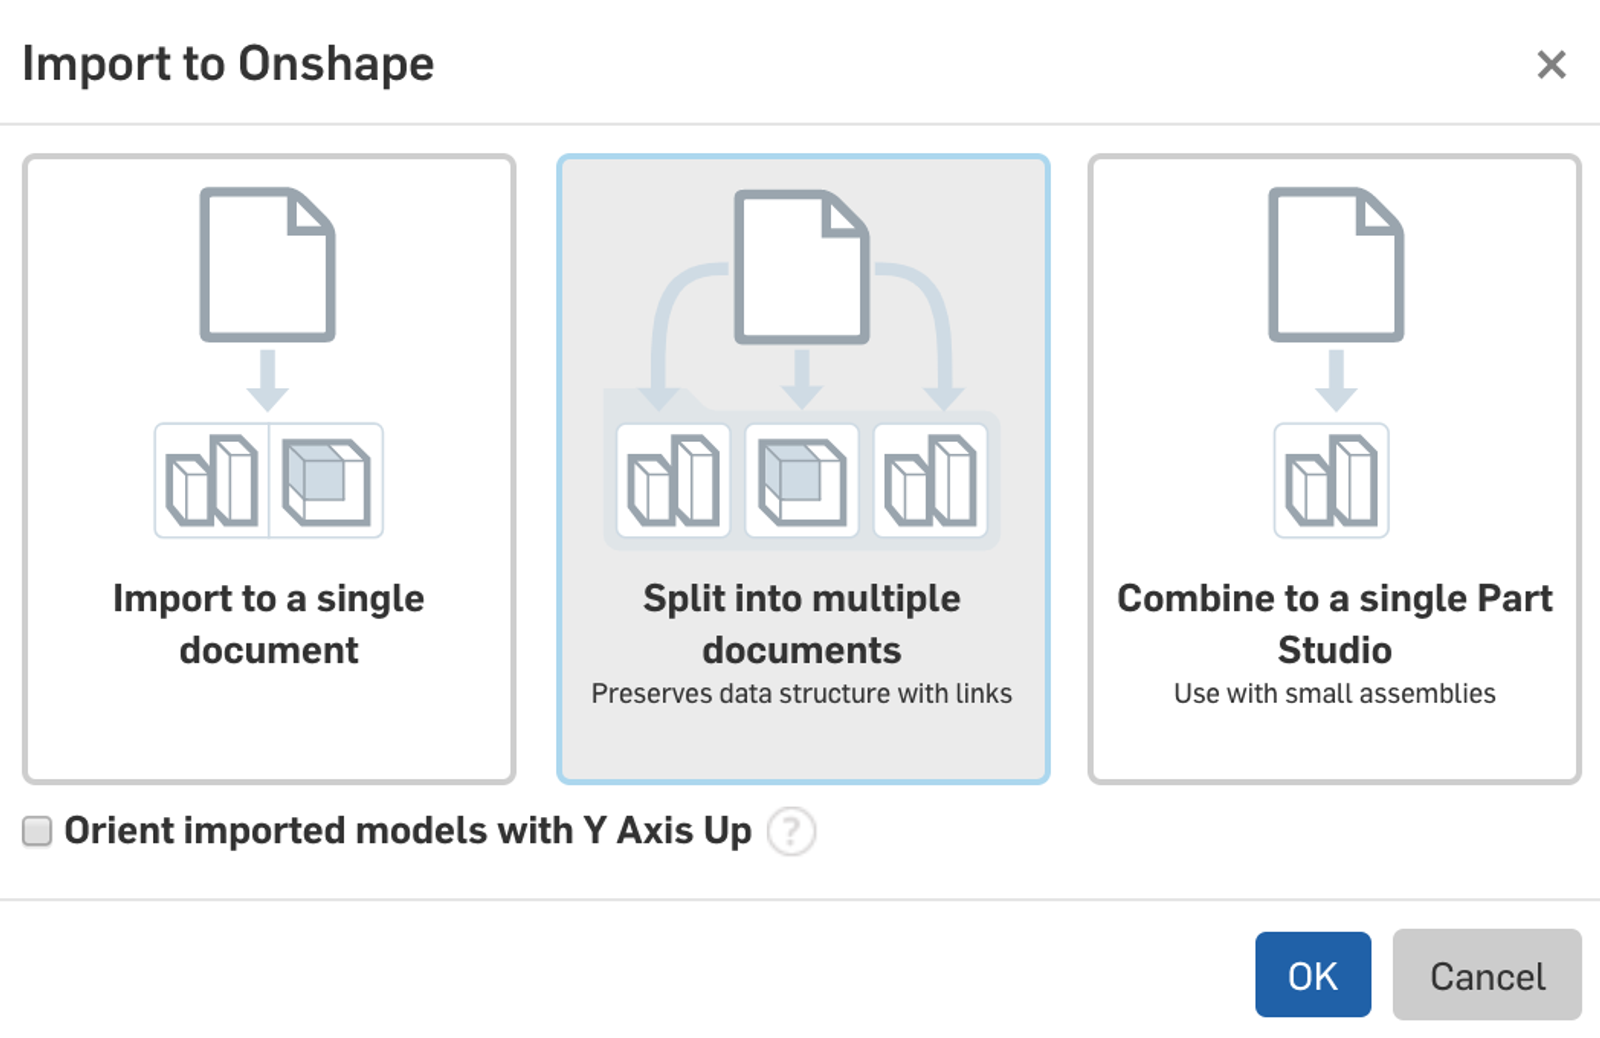
To import large assemblies like a whole car, click on “Create” from your Documents page. Then, select “Import” and from the import dialog, choose “Split into Multiple Documents.” This will preserve the data structure in your ZIP file. You can also “Import to a Single Document” for smaller assemblies.
To learn more about migrating your files into Onshape from your old CAD system, I recommend taking a look at this Learning Center Technical Briefing on Importing Data.
Learn Onshape Fundamentals
Before getting started in Onshape, it’s important that everyone who is going to be contributing to your team’s design understand not only the fundamentals of parametric modeling but also Onshape’s unique collaborative features and organization.
One of the best ways to learn these concepts is through the Onshape Learning Center. The Learning Center contains a number of self-paced courses, learning pathways, and articles that cover everything from the basics to advanced surface modeling.
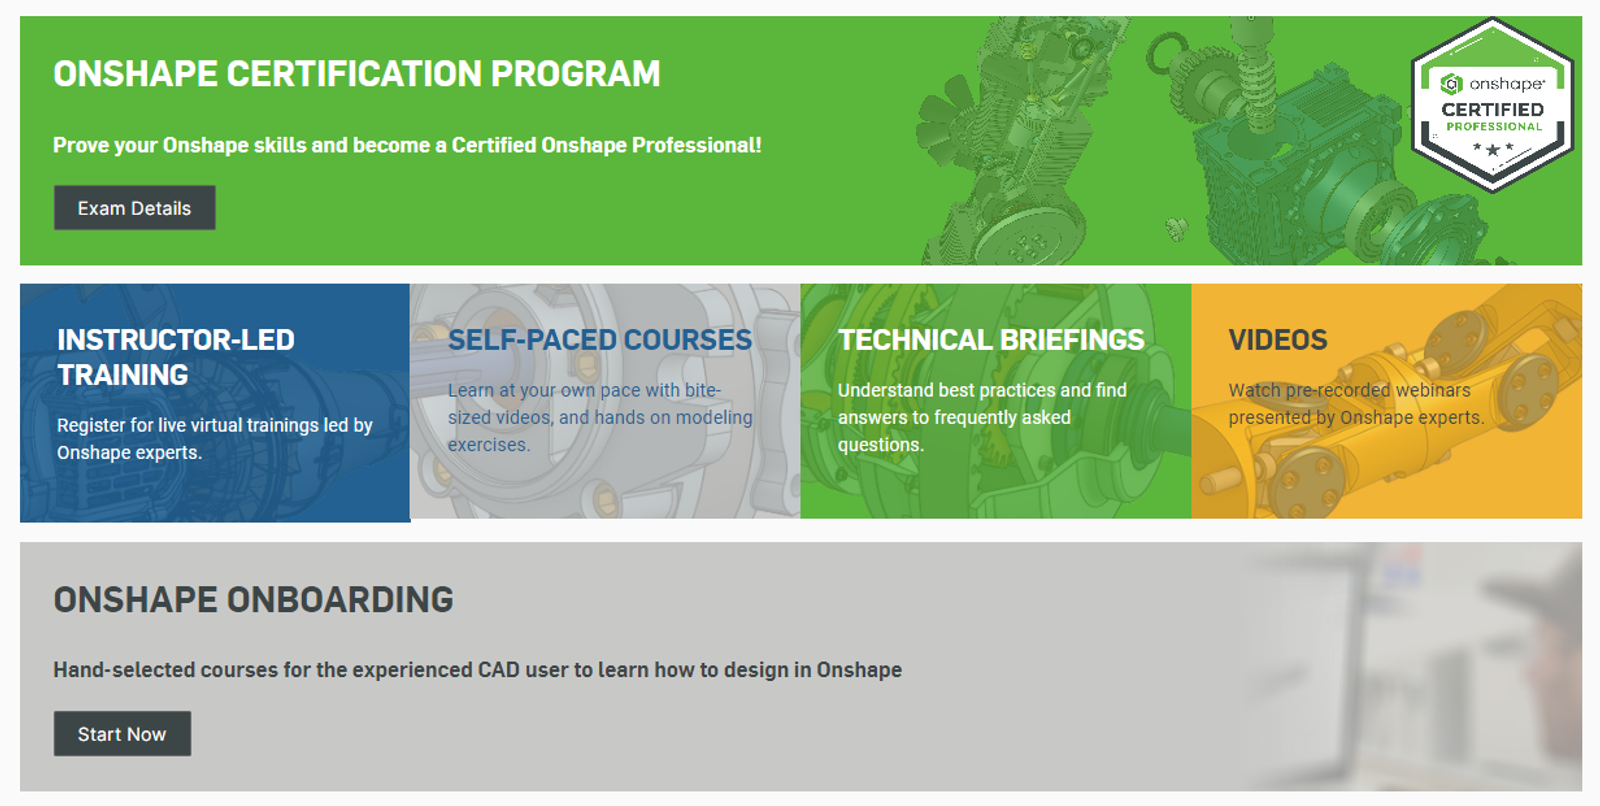
If you and other members of your team are just getting started with Onshape but have used other CAD tools, check out the Onshape Fundamentals: CAD Learning Pathway course. It skips over some CAD modeling basics and instead focuses on fundamentals specific to Onshape. I also recommend that at least any subteam leads go through the Onshape Fundamentals: Data Management course. There is a little overlap, but this learning pathway focuses on concepts specific to organizing, sharing, and managing work in Onshape, essential for anyone on the team managing projects.
If you have new students that haven’t used CAD before, I highly recommend they run through the CAD Basics Learning Pathway instead. This course provides background on parametric feature-based design and the basics of creating parts, assemblies, and drawings.
Organize Your Team and Design
For any team to work successfully, organization is incredibly important. Onshape’s cloud-native architecture offers a lot of flexibility and ways to connect your design data, so it’s important that your team discusses and is clear about its organizational methods.
Onshape Documents can contain many part studios, assemblies, and other data. However, for larger projects like FSAE, Baja SAE, and other college engineering competitions, it is best for performance and collaboration to split up your design into separate documents by subsystem. You may even want to split some subsystems into multiple documents as well.
For example, on a Formula SAE team, you would want to create a folder for that year’s car. In that folder, you would have documents for each subteam (Chassis, Suspension, Powertrain, Electrical, Aerodynamics, etc.) and, importantly, a main top-level assembly of the whole car. You may even decide that a subsystem like suspension should be broken up into separate documents for front and rear or other subteams should have multiple documents. The goal is to make sure that all the parts and sub-assemblies for that year’s car design are organized and designed in this structure and easy to share with the team. No more lost files or designs that your team can’t review because a member only had something saved on their computer.
The only exception is you may want to have a completely separate folder for off-the-shelf parts with its own organization as a library of purchased components. This will make it easier for future years or other projects to find and use these components.
Feel free to change your organization as you get used to Onshape’s more advanced document features like in-context modeling, linked documents, and versioning/branching. Just make sure that everyone understands how and when they should be creating new documents.
Go Beyond Just CAD (Simulation, CAM, and More)
Onshape also has an App Store where you can find free and paid software that integrates directly into your document or connects Onshape to other desktop and cloud-based applications.
Examples of simulation apps include OnScale Solve and SimScale. Both are free and have great resources to get started.
For CAM, you can connect Onshape to Mastercam or if you are looking for a quick, integrated slicer and some CNC milling applications, check out Kiri:Moto. You can also export your models in a variety of formats to bring into a CAM system of your choice.
There are a lot of other apps in the store for things like manufacturers models, data management, design and manufacturing, and more. I highly recommend taking a look.
Additional Resources
If you have any specific questions about Onshape tools, take a look at our Help Documentation.
For more help, you can also post on the Onshape Forums. Professionals, hobbyists, and Onshape employees regularly interact here and help each other out.
If you are having any trouble connecting to Onshape on campus, your school IT department may need to whitelist Onshape. Please reach out to Onshape Support for help. For any account issues please contact support as well.
Onshape enables new ways to collaborate, but make sure to come up with a plan and communicate before getting started. Don’t worry though! You can always change your design strategy as more of your team gets comfortable with Onshape. Good luck with your design and school year!
Onshape for Education
Get started with Onshape and join millions of students and educators worldwide.
(Domenico DiMare is an Onshape Education Applications Engineer.)
Latest Content

- Case Study
- Robotics
Saga Robotics: Powering the Future of Sustainable Farming with Cloud-Native Onshape
01.05.2026 learn more
- Blog
- Becoming an Expert
- Sheet Metal
Two Views, One Model: Faster Sheet Metal Design in Onshape
02.12.2026 learn more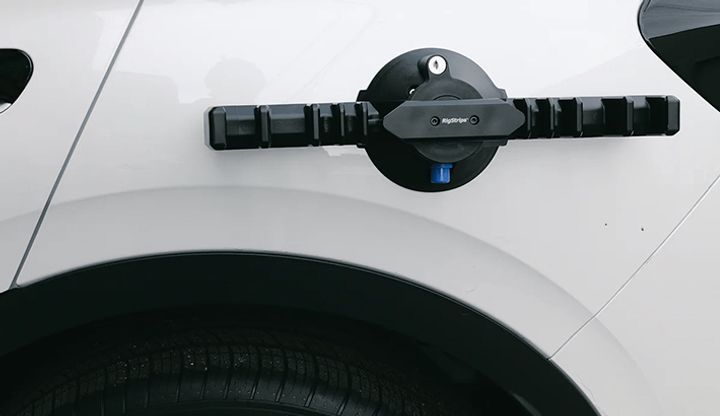
- Blog
- Customers & Case Studies
- Collaboration
- Consumer Products
RigStrips Boosts Design Speed Using Onshape's Collaborative Tools
02.11.2026 learn more
- Blog
- Becoming an Expert
- Features
- Data Management
How Onshape's Repair Tool Fixes Broken References
01.29.2026 learn more


