
7:20
“STEM” has been a buzzword in education for decades. While the individual disciplines of science, technology, engineering, and math date back to antiquity, their combined use in schools took off with the advent of low-cost portable computing coupled with advances in manufacturing technologies and widely available broadband.
Educational fads come and go but the rise of STEM is surely here to stay, and that’s a good thing. What exactly counts as STEM – and even if the acronym should be expanded – is up for debate, but the basic idea is to introduce more cross-disciplinary, technology-rich, and project-based learning into schools.
Rather than learn physics, trigonometry, or programming in a silo, students can engage in real-world problem-solving that draws from all of these disciplines. Add a 3D printer to the mix and you have students learning core subjects while creating authentic products of their own design.
I jumped on the STEM education bandwagon nearly 10 years ago and the first thing I realized was that I needed a STEM Lab, a place dedicated to this new style of learning. My school was built in the 1970s and like most school buildings constructed in that era, the classrooms were almost exclusively small rectangles with tight rectilinear rows of desks.
I needed a space that communicated a new approach to teaching and learning. I needed room for students to brainstorm and collaborate. I needed space for students to tinker, experiment, and build. And I needed a computer lab.
It took me years of research and trial and error, but I eventually constructed a lab that became a hub of creativity, learning, productivity, and fun at our school. Here is what I learned.
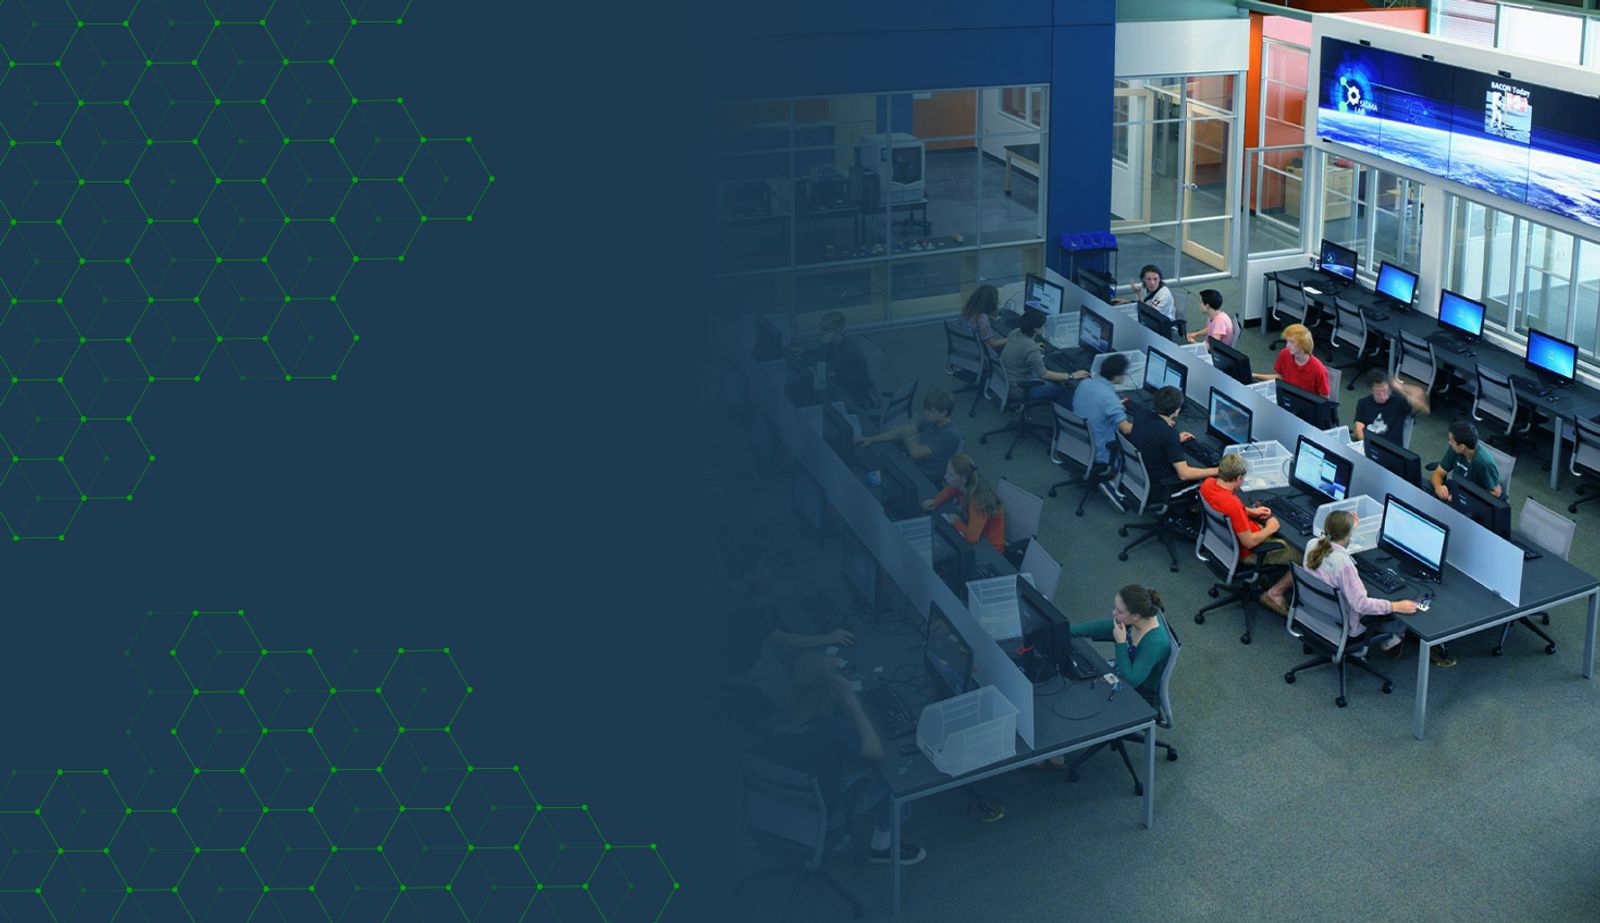
(Courtesy images: Charlottesville High School)
Computers & Hardware Costs
It is certainly possible to do engineering without a computer. Just ask the Romans or Leonardo da Vinci. But today exposing students to programming, electronics, computational software, and CAD is an essential part of STEM. We set out with a lofty vision of what our STEM program would become at our school, and fortunately, the school division provided a budget to match.
We wanted two classes of up to 30 students engaged in professional-level engineering and programming simultaneously. That meant we needed 60 high-performance computers. We bought 30 desktops and 30 laptops with the total bill coming in at close to $60,000, not including software.
If that price tag makes you want to stop reading, you’re not alone. But stay with me; I have some good news. Over the years, I advised other schools that were building STEM programs and the cost of computers and software licenses was often their biggest roadblock.
Until recently, I didn’t have much to tell them to soften that blow. Then along came Onshape, professional-level CAD that runs in any browser. One of the happiest phone calls I have had was with a school when I called to inform them that they didn’t need to build a computer lab in order to get their STEM program off the ground.
Word processing, spreadsheets, and just about every other type of software moved to the cloud years ago. Now with Onshape, CAD was finally in the cloud, too. Any device will do, including the Chromebooks that so many schools have already issued to their students.
Our lab on opening day. Just learning how to use the new 3D printers.
3D Printers in the STEM Lab
One of the best parts of project-based learning is that students can demonstrate their learning through the creation of novel, high-quality products that they are proud of. 3D printers can be an essential and fun part of that process. But if you’ve ever gone 3D printer shopping, the options can be overwhelming. Here is a quick rundown of my experience with 3D printers.
Printers have evolved a lot over the last few years and if you’re on a budget, a good hobbyist printer will accomplish most of your moderate manufacturing goals, with excellent choices starting around $300. My latest printer cost me $460. It is remarkably easy to use and creates high-quality prints, with a default 0.4 mm nozzle diameter and layer resolution down to 0.05 mm. It has a 7”x7”x7” build volume which is plenty big for most of the small projects. It will print a large range of plastics including ABS and PLA, each readily available online for around $20 per spool.
If you have the budget, there are advantages to moving up into the next tier of printers. In the $4,000 to $7,000 range, you can get a workhorse printer that will provide larger build volumes, more reliable printing, temperature and humidity control, and dual extruders. Dual extruders allow you to print more than one color in a print or to print soluble support material for complex jobs. Some printers in this range also print carbon fiber, which is a huge advantage when creating parts for larger robots or parts that will see a lot of stress.
At the top end, you can spend in the neighborhood of $25,000 for an industrial-grade printer. With the higher price tag comes higher resolution, accuracy, and speed. You also get larger build volumes, better temperature control, and a longer life. I was fortunate enough at my school to have one printer in this class and it ran nearly non-stop for years, with almost no issues. In fact, when the COVID pandemic arrived in Virginia, I used this printer to print thousands of face shield holders and mask adapters for local health care providers and first responders. I could start jobs on the printer from home and keep an eye on them through the embedded web camera.
Our FTC team took over the "light fab" room to build and test their robot.
Tools to Create Electronics & Smart Devices
As I’ve said, STEM can be defined very broadly and doesn't necessarily involve computers or electronics. But if you are looking to introduce your students to the modern technologies that now run our cars, watches, and even our homes and appliances, then you’ll want to include electronics.
More specifically, you’ll want students to explore the intersection of the digital and physical worlds. Sometimes called mechatronic, cyber-physical, or electromechanical devices, I like to just call them smart stuff. And again the choices for bringing this concept into your curriculum can be mind-boggling.
When considering ease of use, ubiquity, and cost, it is still hard to beat the Arduino. I bought my first Arduino Uno a decade ago and it is still one of my favorite platforms. It is durable and dependable and the online community is massive. An Arduino is a microcontroller that requires an external computer to program. Once programmed, your Arduino can control servos, motors, and lights, and receive input from a huge array of sensors.
I also love CircuitPython, a flavor of the popular Python programming language specifically designed to interface with hardware. There are a ton of useful CircuitPython devices out there such as the Metro M0 Express by Adafruit. I also like the Circuit Playground Express and the micro:bit because they can be coded with CircuitPython or browser-based block programming.
Some of my more advanced students also enjoyed creating smart devices using Raspberry Pis. A Raspberry Pi is different in that it is a full-blown computer. Just hook up a keyboard, mouse, and monitor and you have a computer smaller than a deck of cards for under $10. Or, once the Pi is powered on, you can access it remotely without plugging in any peripherals.
Students testing a robot drivetrain idea.
Unlocking Creativity in the STEM Lab
It took years of trial and error and countless hours of writing and rewriting curriculum, but the STEM lab at my school eventually became a model of project-based learning and a fount of creativity. Perhaps reflecting my personal proclivities, the curriculum eventually evolved to be centered around CAD and smart devices.
Getting students started with building simple robotic devices teaches so many important skills – programming, electronics, physics, design thinking, project management, teamwork, advanced manufacturing, and more – and unlocks an exciting new world of possibilities.
Armed with CAD on their Chromebooks, a couple of advanced manufacturing machines, and a bucket of electronics, my students were creating interactive art displays, light-up shoes, hands-free soap dispensers, automatic plant watering systems, and even a smart salad spinner.
Of course, I have seen successful STEM labs evolve in completely different ways, some focusing on bio-engineering, entrepreneurship, visual arts, or even fashion and textiles. Hand a student a Chromebook with an internet connection and it only makes sense to break down the walls that traditionally define schools and delineate subjects. When schools provide space and resources to allow students to experiment and create, a world of learning experiences is unlocked.
Onshape for Education
Get started with Onshape and join millions of students and educators worldwide.
Latest Content
- Blog
- Becoming an Expert
- Assemblies
Built to Scale: Why Large Assemblies Don’t Slow Down in Onshape
07.16.2026 learn more- Blog
- News from Onshape @ PTC
- Artificial Intelligence
Onshape Labs: AI in CAD Guided by Designers, Driven by Innovation
07.15.2026 learn more- Blog
- Evaluating Onshape
- Data Management
- Collaboration
- Artificial Intelligence
How the Most Underrated CAD Feature Improves Design Workflows
07.09.2026 learn more