
1:25
Curves play a critical role in surface modeling by allowing the user to control the shape and placement of features. The Bridging Curve feature allows users to connect edges of parts, surfaces, sketches, curves, and is a powerful tool for surface modeling. But did you know that a bridging curve can be placed along the edge of a part or surface without the need for splitting faces? Let's take a look.
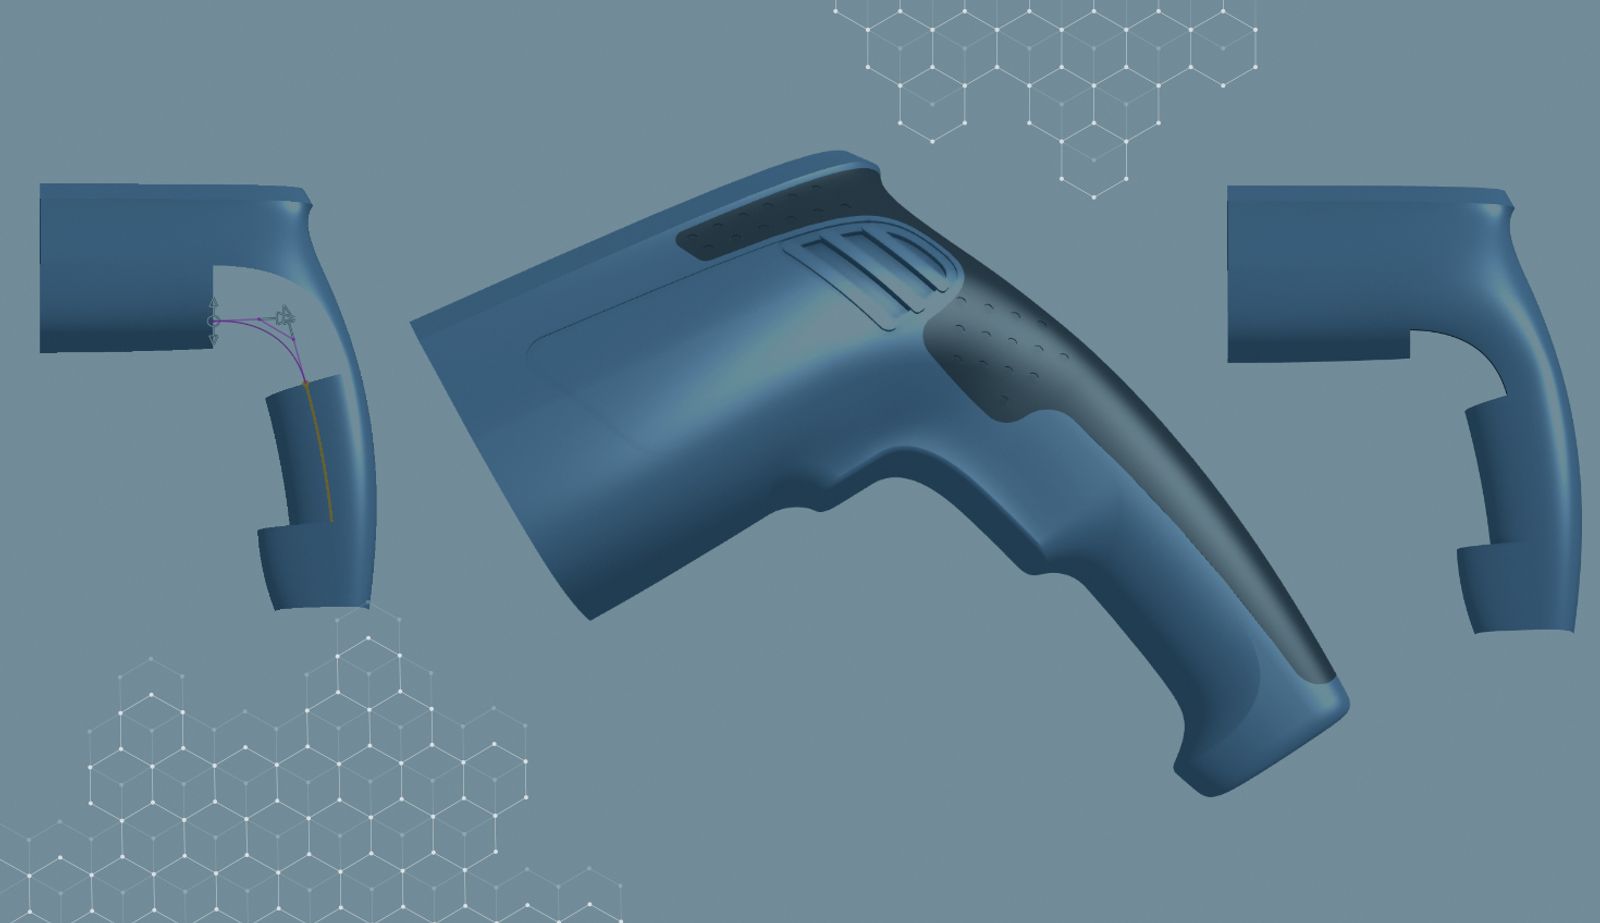
In this example, a boundary surface needs to be applied to join the top and bottom surfaces.
Using the bridging curve, the first connection is made to the lower surface where the two surfaces are split while matching G1 tangency.
The second connection can be placed on the edge of the surface by selecting the face of the surface and the edge where we want to place the curve, eliminating the need to split the face of the surface.
Once the connections are made, we can adjust the placement of the curve by dragging the manipulator along the edge of the surface, giving a precise placement for the curve. This is especially useful when fine adjustments must be made to achieve a quality surface.
Once the curve is constructed, a boundary surface is applied joining the top and bottom surfaces.
Using Bridging Curves on edges of parts and surfaces allows users to apply curves for profiles, guides, or other construction geometry without the need to split faces or construct supporting geometry.
To learn more about curves and surface modeling, check out the Advanced Part and Surfacing Design Learning Pathway in the Onshape Learning Center.
Interested in learning more Onshape Tech Tips? You can review the most recent technical blogs here.
The Onshape Learning Center
Take self-paced courses, read articles, or sign up for an instructor-led training session.
Latest Content
- Blog
- Evaluating Onshape
- Collaboration
With Cloud CAD and PDM, Flexible Design for a Summer Coolcation
07.02.2026 learn more- Blog
- Artificial Intelligence
AI in Mechanical Design: The Fourth Generation of Transformation
06.25.2026 learn more