3:04
Onshape offers a feature called "Share Directly to Assembly" that allows you to share your Assembly models with others more effectively and efficiently. Traditionally, when sharing an Assembly with view-only users, you would have to instruct them to navigate and access the necessary data within the Assembly.
However, with the "Share Directly to Assembly" feature, you can provide a simplified view of the Assembly, focusing on the context you want to share. When you activate this feature, Onshape generates a link that directs users to the Assembly view you intend to share rather than the entire Document.
Doing so eliminates the need for new view-only users to navigate through the Document hierarchy or manually search for the relevant assembly. This saves time and reduces the potential for confusion, making it easier for others to access and understand the shared Assembly.
Step 1: Setting Up the Context
In Onshape, you have the flexibility to set up a context when sharing a part or an Assembly. A context is the specific view you want to share of an Assembly.
Here are some ways you can customize the context of what you want to share. You have the option to:
- Show/hide Feature list
- Show/hide Instance list
- Share an existing Configuration
- Show/hide Sheet metal tab
- Exploded/collapsed Exploded views
- Show/hide BOM table
- Show/hide Featurescript custom table
- Create Display states
- Create Named views
- Turn on Render and camera options
Let's look at a few examples.
In this first example, we accomplished the following:
- Activated an existing Configuration
- Removed the feature tree
- Turned on perspective mode (Camera and Render options > Turn perspective on)
- Changed Camera and Render options to Hidden edges visible and Tangent edges > Phantom
- Showed the Sheet metal table and flat view
In this second example, we accomplished the following:
- Removed the feature tree
- Used Named views to Turn on perspective mode (Camera and Render options > Turn perspective on) and change model orientation
- Changed the Camera and Render options to Hidden edges visible and Tangent edges > Phantom
- Turned on Camera and Render options > Curvature visualization > Color map (also works with Zebra stripes)
In this final example, we accomplished the following:
- Removed the feature tree
- Created a Display state to remove components
- Turned on perspective mode (Camera and Render options > Turn perspective on)
- Created a Named Position (Closed Helmet position)
- Created an Exploded view
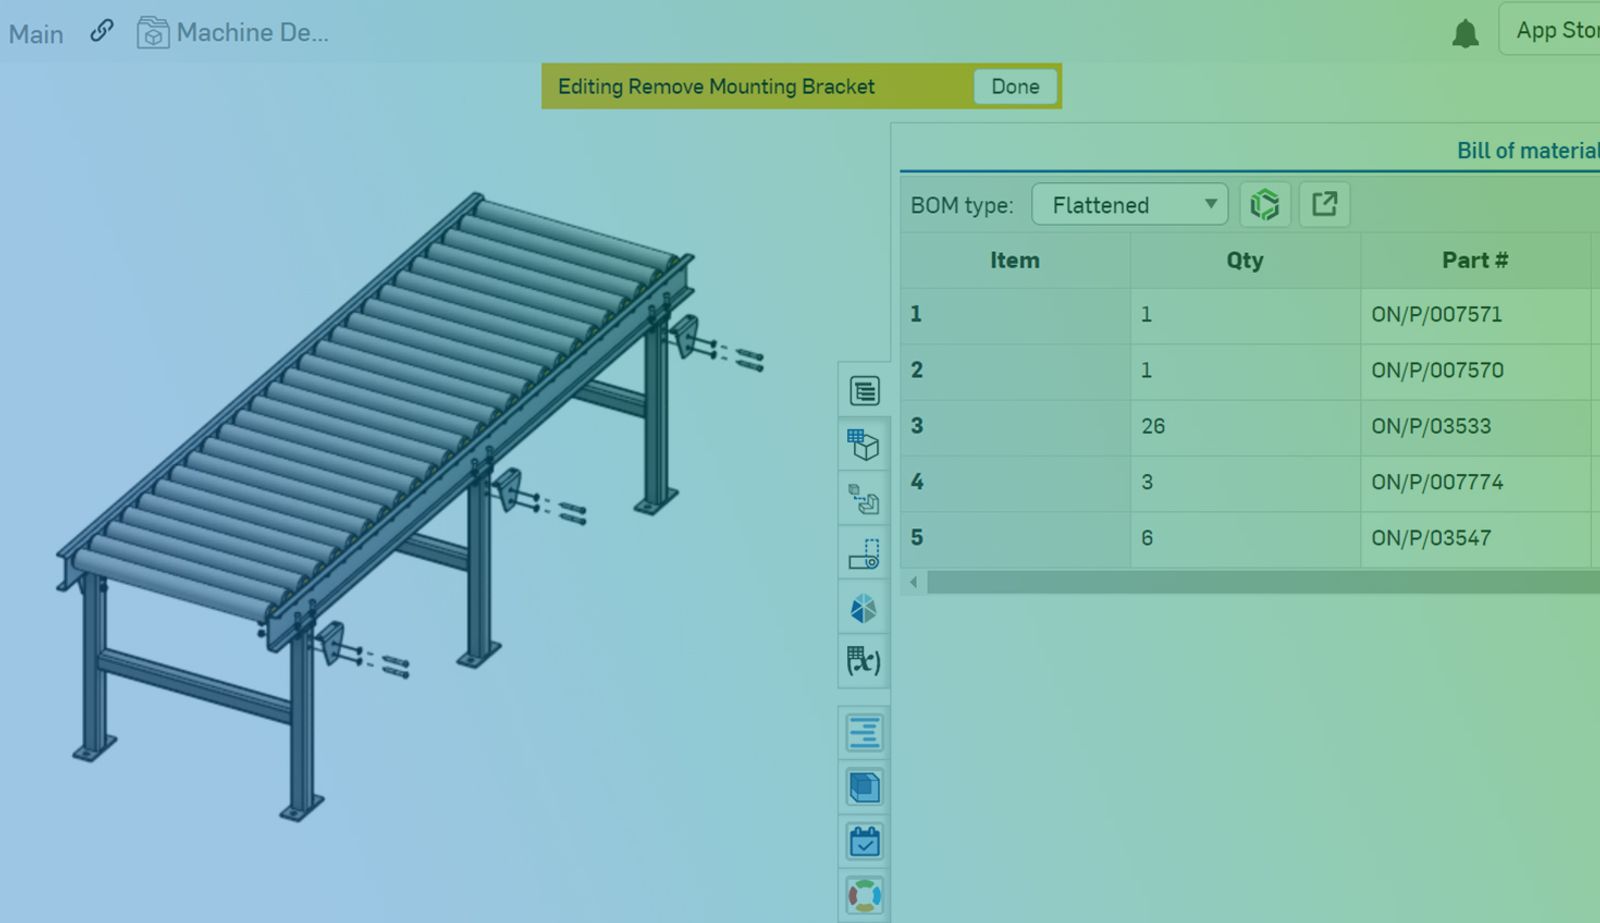
- Showed the BOM table
Step 2: Activate the Link Sharing Option
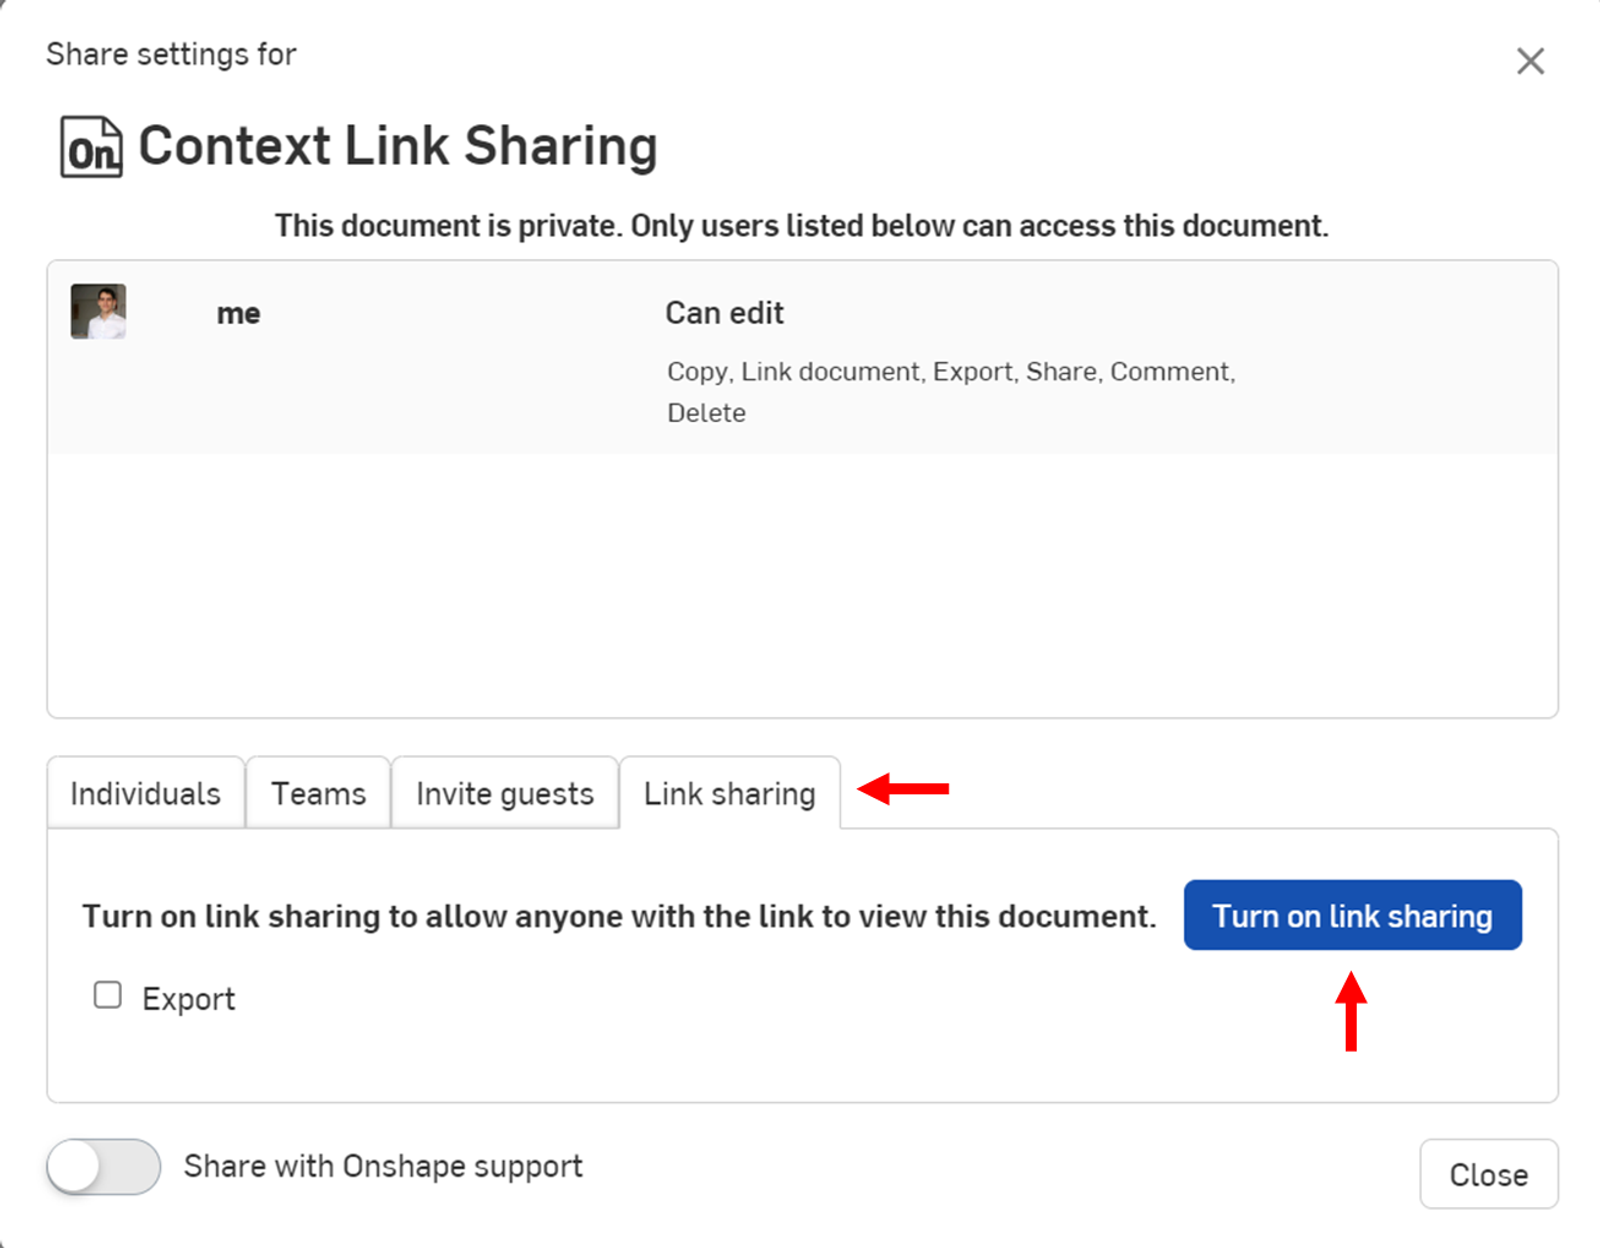
Sharing a context only works when link sharing is active or the person you are sharing with has Document permissions.

Step 3: Share the Link
Click on the "Context link sharing" button, represented by a chain link icon next to the Document name. This action copies the Document URL to the clipboard. You can then share this link with anyone.

This feature is useful when collaborating with team members, clients, or stakeholders who may need to become more familiar with Onshape or the structure of your design Documents. It allows you to provide them with a clear and targeted view, focusing their attention on the specific part/assembly you want to share and reducing the learning curve associated with accessing the relevant information.
In summary, the "Context link sharing" feature in Onshape streamlines the sharing process, allowing you to provide direct access to part/assembly views and enabling more efficient collaboration by eliminating the need for additional training or guidance on accessing the required data.
This Tech Tip helped you learn how to use the “Context link sharing” option. For more resources, see our page on Sharing with New Onshape Users.
Interested in learning more Onshape Tech Tips? You can review the most recent technical blogs here.
Friends Don’t Let Friends Use Old CAD!
Know a colleague who could benefit from our cloud-native, fully-featured collaborative design platform?
Latest Content

- Blog
- Becoming an Expert
- Sheet Metal
Two Views, One Model: Faster Sheet Metal Design in Onshape
02.12.2026 learn more
- Blog
- Customers & Case Studies
- Collaboration
- Consumer Products
RigStrips Boosts Design Speed Using Onshape's Collaborative Tools
02.11.2026 learn more
- Blog
- Becoming an Expert
- Features
- Data Management
How Onshape's Repair Tool Fixes Broken References
01.29.2026 learn more


