
1:11
Today's Tech Tip focuses on how to apply drafts when using the Rib feature.
Ribs are used to add stiffness and strength to parts without adding excessive weight or increasing wall thickness.
Ribs are commonly used in molded parts that require a draft angle so the part can release from the mold. To save time and additional features, users can now apply draft from within the Rib feature.
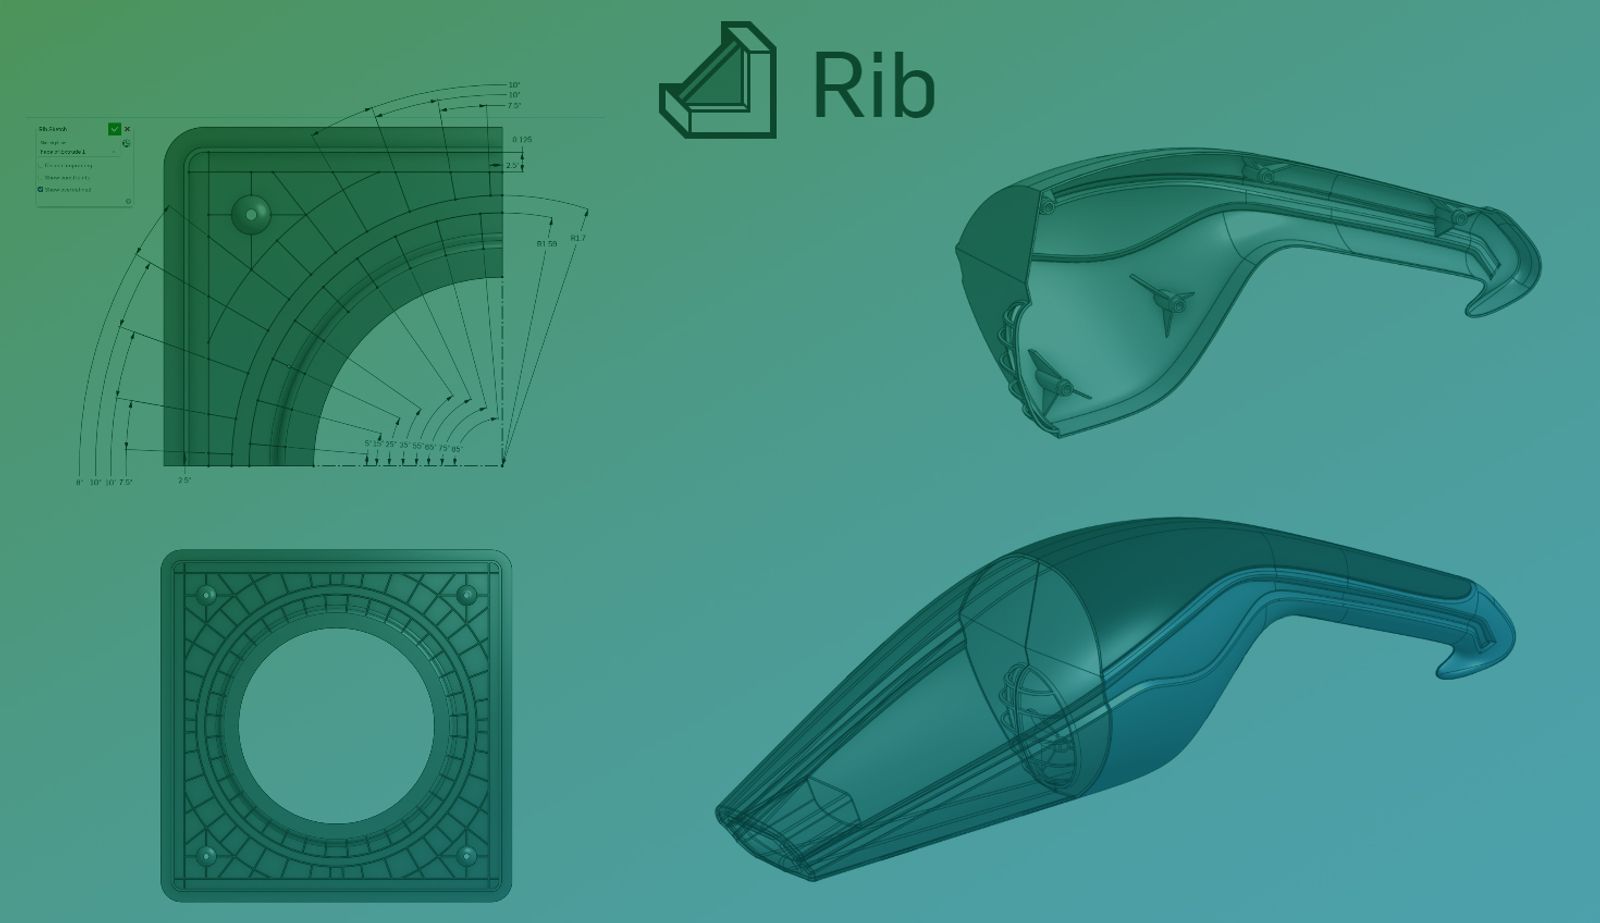
In this example, we need to apply ribs to the face highlighted in blue.
Since this part is symmetrical, we can apply the rib to a quarter of the model. A sketch is created on the face of the part where the ribs need to be applied.
In the Rib feature, the sketch is selected, followed by the part to merge with. The thickness of the rib is set to .01 inches.
Applying the Rib feature to the face of the part with a thickness of .01 inches.
The checkbox option for draft is selected and the draft angle is set to 3 degrees.
Enabling the draft checkbox with a value of three degrees.
Draft Analysis can be enabled to ensure the proper draft angle has been achieved. As a final step, the model is mirrored to complete the part.
Enabling Draft Analysis to check for proper draft angle.
To learn more about the Rib feature, check out the Part Design Using Part Studio course in the Onshape Learning Center.
The Onshape Learning Center
Take self-paced courses, read articles, or sign up for an instructor-led training session.
Latest Content
- Blog
- Evaluating Onshape
- Arena PLM Connection
The Cloud-Native CAD-PDM-PLM Workflow That Finds Problems Before They Cost You
06.11.2026 learn more- Blog
- News from Onshape @ PTC
- Artificial Intelligence
- Robotics
How Multi-Agent Orchestration Between Onshape and NVIDIA Improves CAD-to-Simulation Workflows
06.01.2026 learn more- Blog
- Evaluating Onshape
- Robotics
- Aviation, Aerospace & Defense
- Collaboration
- Integrations
- Arena PLM Connection
- Data Management
Why the Best Hardware Teams Have Started Talking Like Software Engineers
05.28.2026 learn more