
1:27
When multiple designers are working on a model, the Feature List can become confusing. That’s where taking time to organize the Feature List as the design evolves can pay big dividends.
In this Tech Tip, you’ll learn about some tools you can use to make life easier for the next person who works with your design (and for yourself six months later!).
Naming Features
While it’s certainly not necessary to name every feature in the list, there are always a few features that play a key role in capturing design intent. These features should be given names that reflect their purpose.
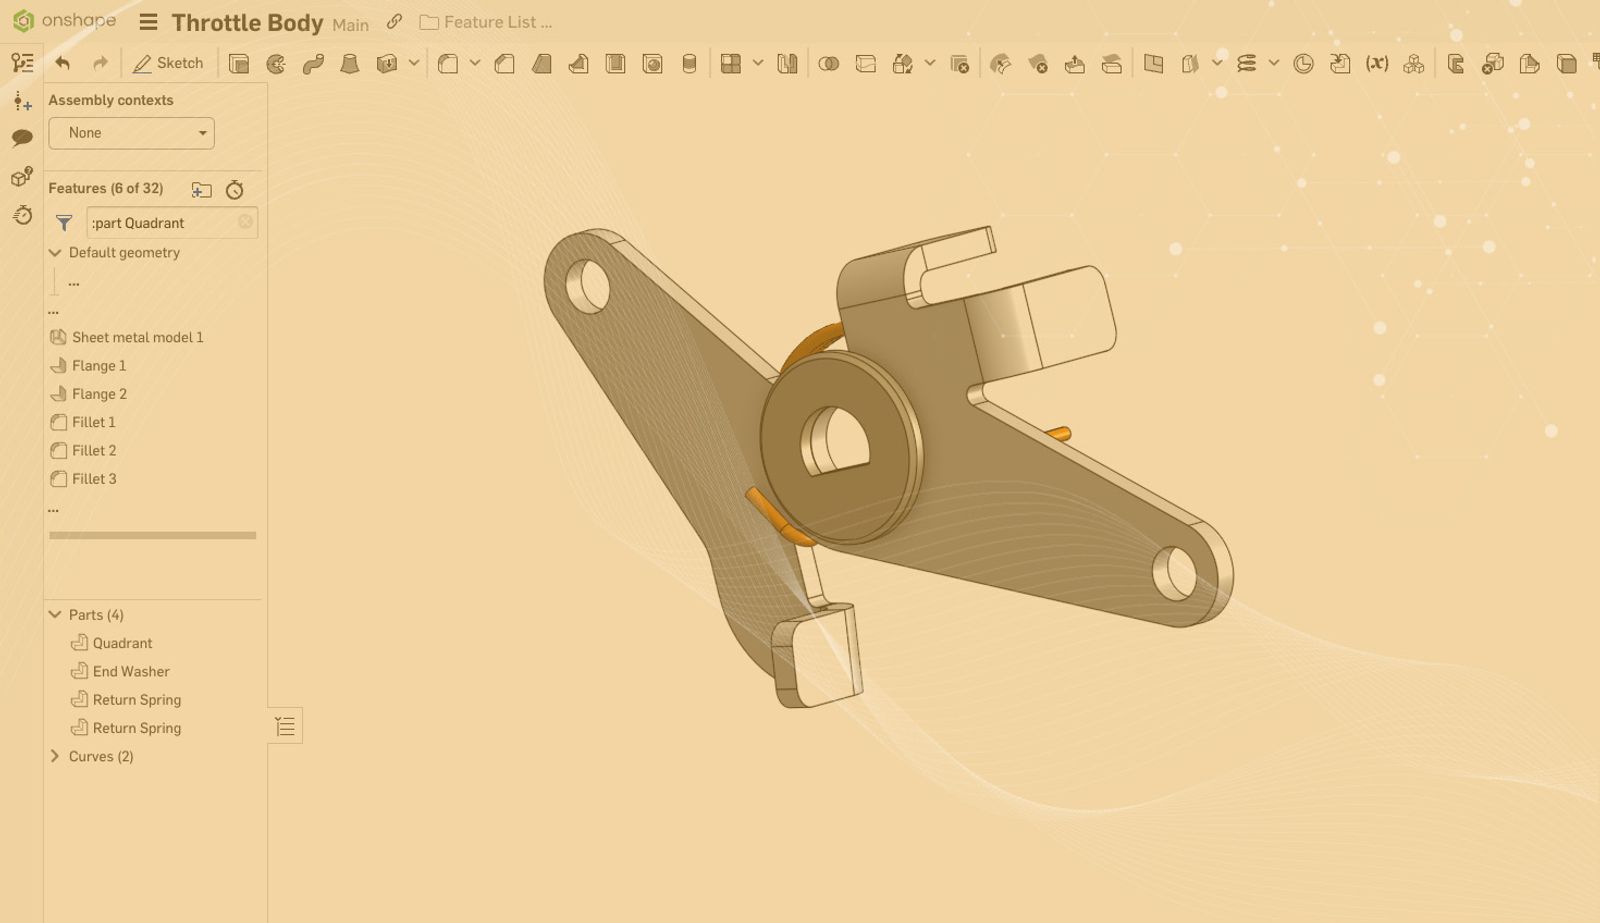
In the image below, it makes sense to name the sketch shown to something more meaningful than “Sketch 3”, like “Lever Profile.” To do this, right-click on the sketch and select “Rename”.
Organizing Groups of Features with Folders
Now that you’ve given names to important features, why not organize some of them into folders with names? Folders can be collapsed so that the Feature List is compressed, and scrolling of long Feature Lists is minimized.
To create a folder in the Feature List, select the features you want to place in the folder, then right-click and select “Add selection to folder”.
Take a look at the image below, where variables and early sketches have been placed in named folders.
This Tech Tip showed you how to help your teammates understand your models by organizing your Feature List using named features and named folders. For more information about Feature List tools, take a look at this Onshape help system article.
Watch the video below to see today's Tech Tip in action:
Interested in learning more Onshape Tech Tips? You can review the most recent technical blogs here.
Friends Don’t Let Friends Use Old CAD!
Know a colleague who could benefit from our cloud-native, fully-featured collaborative design platform?
Latest Content
- Blog
- Evaluating Onshape
- Electronics
- Integrations
- PCB Studio
How Onshape PCB Studio Pulls 3D Component Models Straight from Altium 365
05.21.2026 learn more- Blog
- Evaluating Onshape
- Collaboration
- Data Management
What’s the Difference Between File-Based and Cloud CAD?
05.20.2026 learn more- Blog
- Customers & Case Studies
- Arena PLM Connection
The Cloud-Native Workflow Behind Coco’s Next-Gen Delivery Robot
05.14.2026 learn more