2:45
Surface design is a critical component of the design process, requiring rapid iteration of concepts, collaboration, and custom workflows. Fortunately, Onshape is well-equipped to handle these tasks.
When it comes to creating surfaces, visualizing the end result is essential. Let's take a closer look at three important surfacing features in Onshape that aid in design visualization.
The Loft Feature
Did you know the term “loft” comes from the old shipbuilding practice of laying out physical templates in an honest-to-goodness loft, or a great big room. Later fitting a flexible piece of wood to them, called a “spline” (another word you may know), carving out the curve it made.
Loft is a fundamental feature that fits surfaces to a sequence of profiles and can be modified with guide curves, connectors, and continuity conditions.
However, as more conditions are added, the feature has to work harder and more anomalies crop up, such as wrinkles near an edge of a loft.
Here is an example of a Loft feature to create a fuselage:
The Fill Feature
Fill is another important surfacing feature in Onshape that fills holes. It works best for small, irregular holes. However, using Fill to create large swaths of surface can be hit or miss. Fill can generate a trimmed patch that is not aligned with the boundary curves, which can lead to quality issues at the boundaries.
To visualize what the Fill feature does, imagine filling a small, irregular hole with material.
Boundary Surface
Boundary Surface is a symmetrical Loft or larger-scale Fill that fits a high-quality surface to a four-sided boundary. It distributes the effects of boundary constraints throughout its domain, avoiding tight creases that technically satisfy mathematical constraints but not the designer's intent. It also creates surfaces with relatively even and sparse control point grids, making them less wrinkly and more stable for downstream operations than ones with very dense grids.
To visualize Boundary Surface, imagine fitting a high-quality surface to a four-sided boundary, with boundary constraints distributed throughout the domain. The resulting surfaces have relatively even and sparse control point grids, making them less wrinkly and more stable for downstream operations.
In the video below, you will learn how to define a boundary surface and the differences between Fill, Loft, and Boundary Surface features:
More Tips on Surface Quality
In general, keep these rules in mind to create the best possible surface quality:
- Build a good “flow” of control points;
- Use the minimum number of control points;
- Look to single-span curves when possible (eg. Bezier curve > spline);
- Maintain tangency across your guide curves;
- Aim to use four-sided boundary surfaces and trim to shape when possible;
- Match curves on opposite sides when possible.
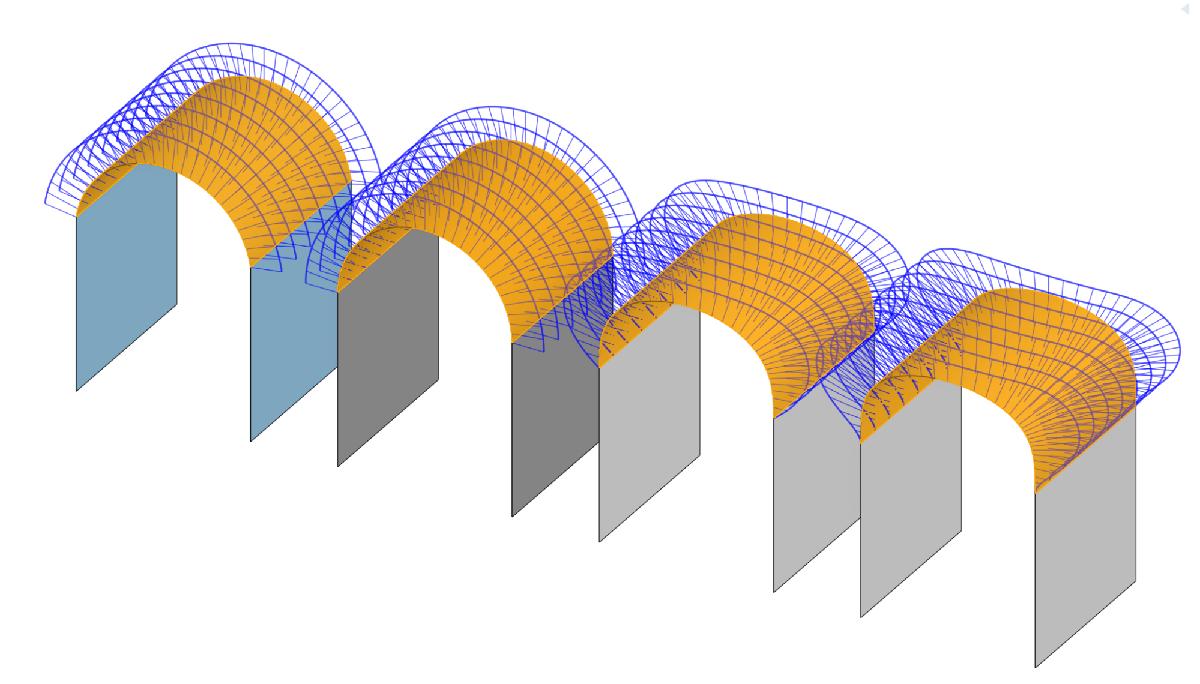
Lastly, here is a visualization of G0, G1, G2, and G3 continuity in Onshape.
In order: G0, G1, G2, G3.


Onshape's surfacing features, including Loft, Fill, and Boundary Surface, offer designers a range of options to create high-quality surfaces for their industrial and consumer product designs. By visualizing the end result and understanding how these features work, designers can choose the best tool for their needs and create the surfaces they envision.
Learn more about Onshape Surfacing by taking a look at our Learning Center courses or downloading our eBook.
Latest Content

- Blog
- Becoming an Expert
- Features
- Data Management
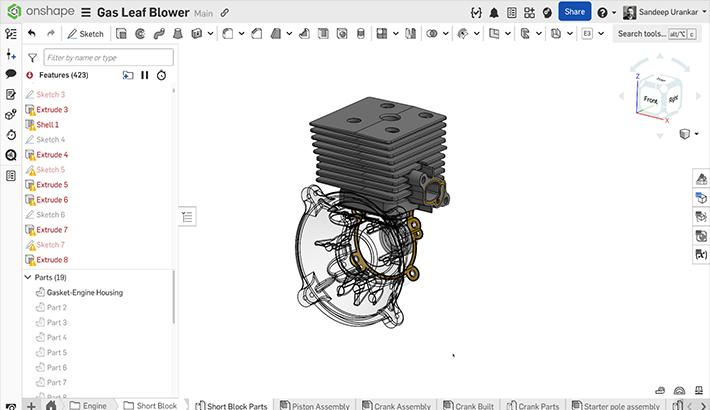
How Onshape's Repair Tool Fixes Broken References
01.29.2026 learn more
- Blog
- Startup
How Hardware Startups Can Cut Costs, Find Funding, and Scale in 2026
01.28.2026 learn more
- Blog
- Customers & Case Studies
Future Joinery Systems: Bridging the Gap Between Architecture and Manufacturing with PTC’s Onshape
01.23.2026 learn more


