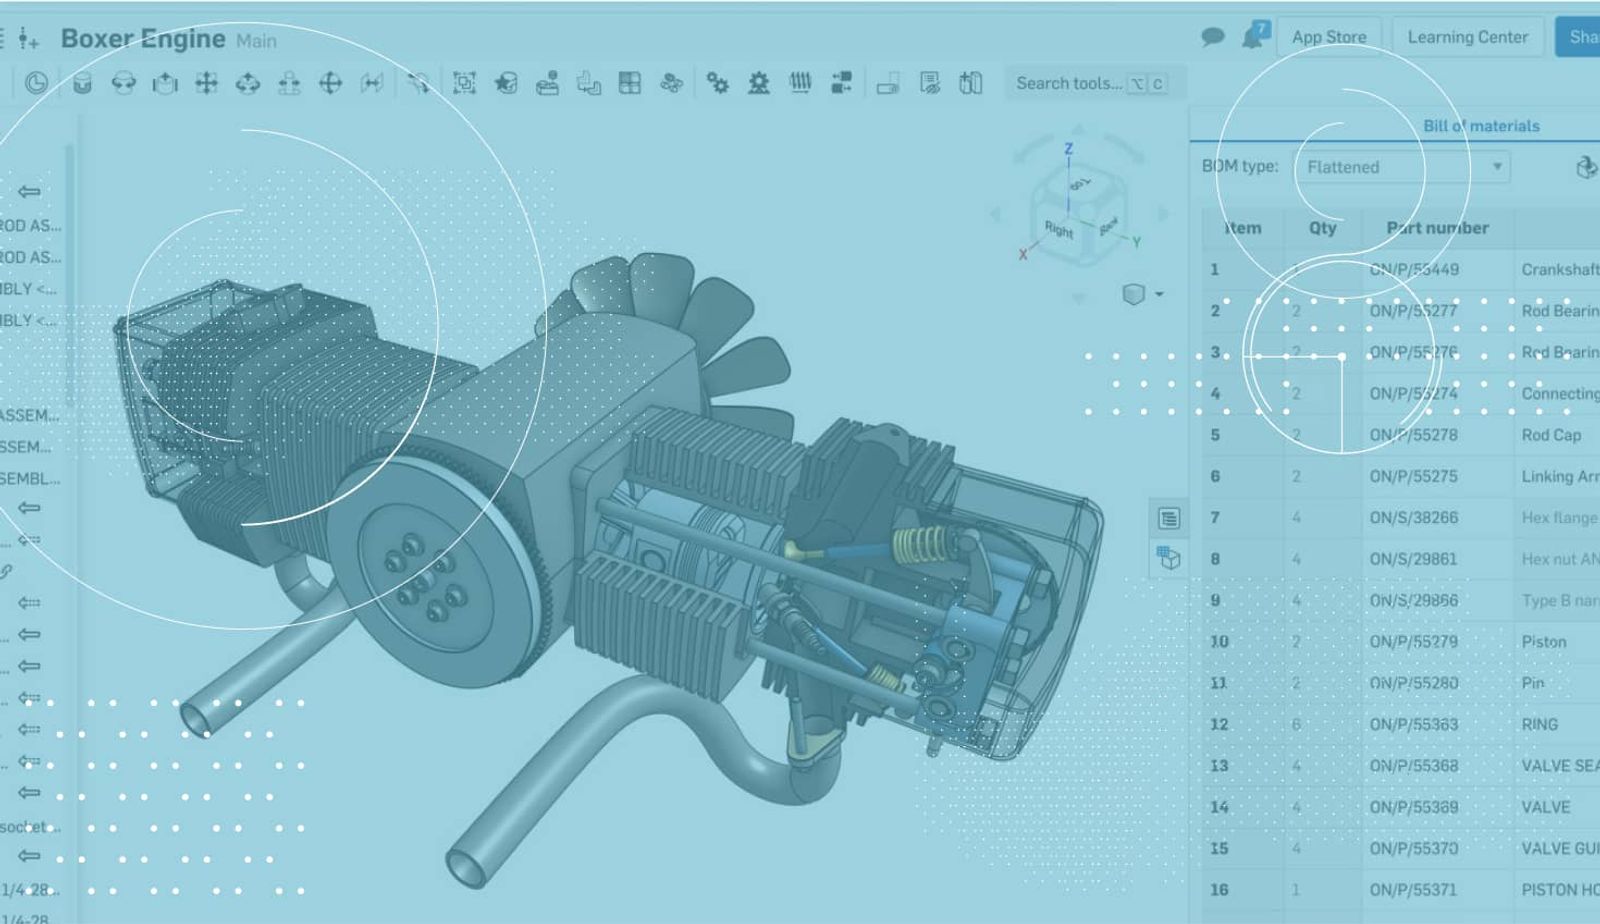
2:34
Belts and chains are used in many applications for transmitting power or rotary motion. They are efficient and cost effective for high-volume production runs for products such as automotive engines. For bespoke machine design, however, the cost of custom belts is harder to justify. A machine designer must therefore resort to standard off-the-shelf belts and adjust the design to suit. On complex designs with many belts and pulleys, adjusting each pulley size and position to get everything just right is no simple task.
What if you had a custom feature that made belt routing and sizing a breeze? Thanks to Onshape and FeatureScript, you have!
FeatureScript is the same programming language that our developers use to create all of Onshape’s built-in features. By sharing it with the public, Onshape has given every user the power to build their own native CAD features. Unlike macros, all the feature logic can be built in – and custom features react to changes in model topology, just like native features. But the best thing about FeatureScript is that you don’t have to be a programmer to enjoy the benefits. There are numerous custom features available for free on Onshape’s FeatureScript Spotlight page.
Let’s take a look at the Belt feature:
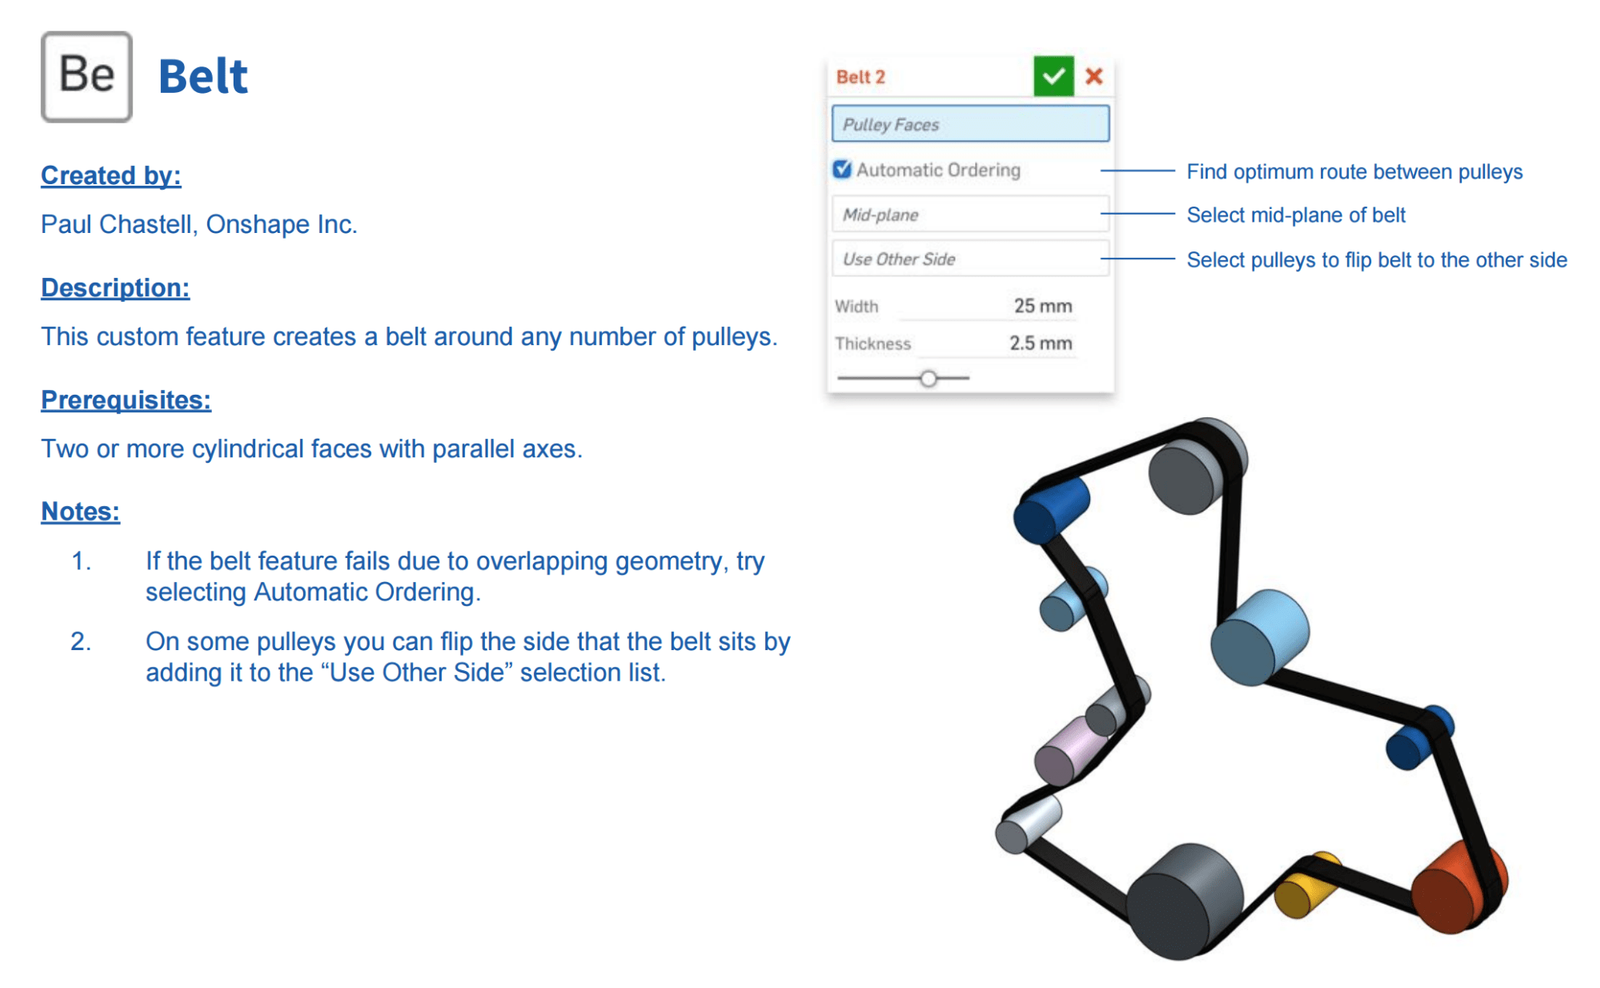
In the video at the top of this blog, I create a simple, but real-world serpentine belt on a V8 engine using the Belt feature (with a little help from Onshape’s unique Managed In-Context Editing tools).
You could, of course, build this belt using a single sketch and an extrude. However, the sketch would be very time-consuming with lots of offsets, constraints and trimming operations. So which is better: Spending several minutes doing it by hand or using the Belt feature and be finished in a matter of seconds? Both methods give you a robust part that updates if the pulley positions change, but if you need to reroute the belt, it takes literally seconds using the Belt feature. That’s the power of FeatureScript!
Adding the Belt Feature to your Toolbar
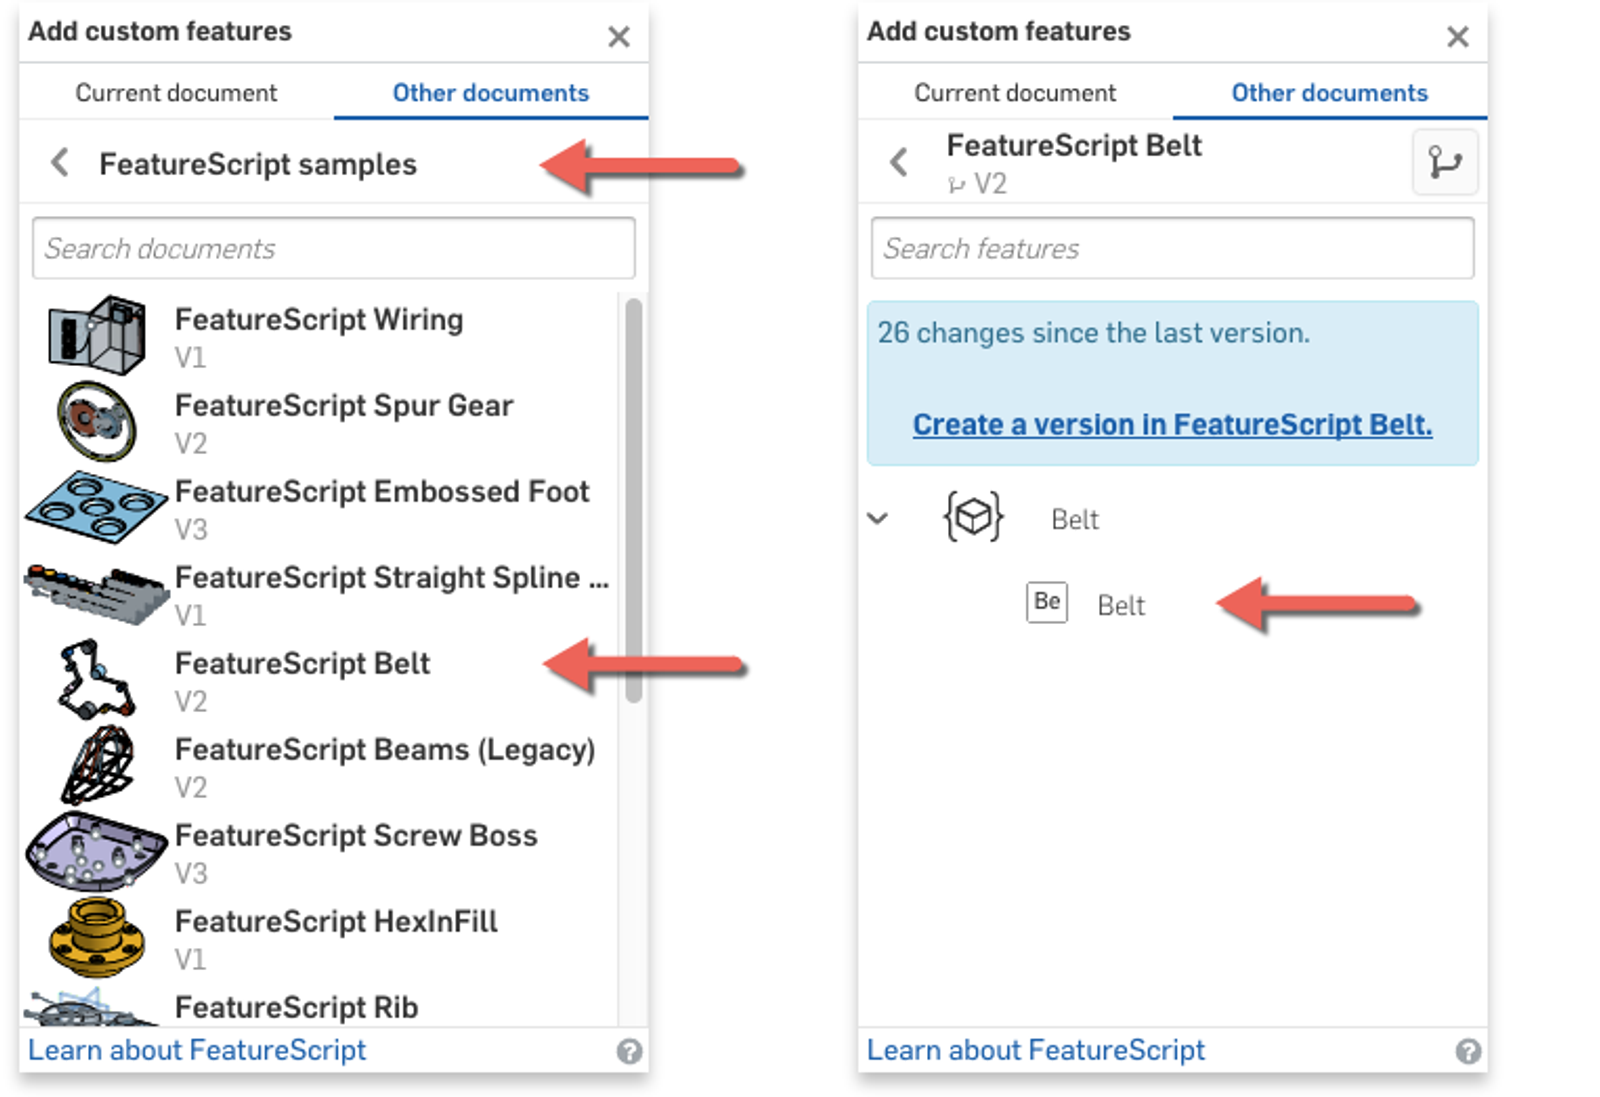
To use the Belt feature, click the “Add custom features” icon on the far right of the Part Studio toolbar.

In the “Add custom features” dialog, select the “FeatureScript samples” filter, then “FeatureScript Belt” from the list and then the Belt feature itself. This will add the Belt feature icon to your toolbar and you’ll be able to use it in every Document.
This custom feature is very powerful. If you feel it needs something extra or you want to see what makes it tick, why not make a copy of the Document and try your hand at FeatureScript? If the thought of writing code sends shivers down your spine, no worries – you can still reap the benefits of using this and other custom features right now. Visit Onshape’s FeatureScript Spotlight page to see what’s available and check back regularly for new additions.
Take the Belt feature for a spin (see what I did there?) and let me know what you think by posting your comments in the Onshape Forums.
Latest Content
- Blog
- Evaluating Onshape
- Simulation
- Rendering
- Surfacing
- Consumer Products
Earlier Validation, Better Outcomes: Onshape’s Approach to Surface Design
02.20.2026 learn more
- Blog
- News from Onshape @ PTC
- Publications
- Configurations
- Data Management
Onshape MBD: Single Source of Truth from Design to Manufacturing and QA
02.23.2026 learn more
- Blog
- Becoming an Expert
- Sheet Metal
Two Views, One Model: Faster Sheet Metal Design in Onshape
02.12.2026 learn more


