
1:00
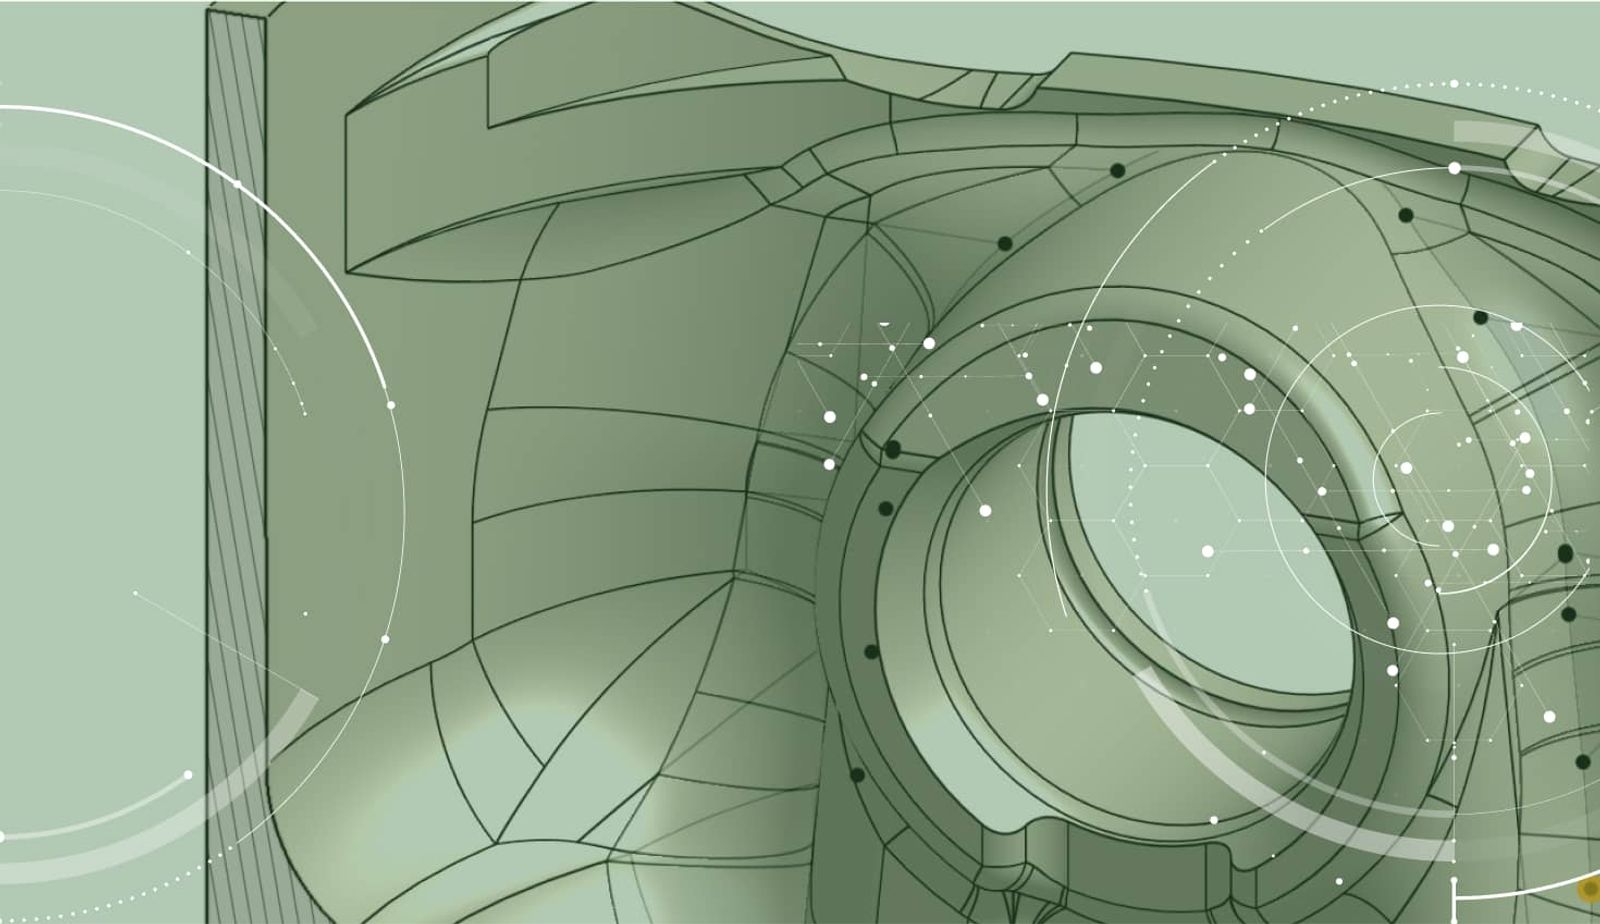
A pipe flange is a great example of the revolve feature. Let’s take a look at modeling a pipe flange in Onshape.
Of course, the key to our pipe flange is the revolve sketch. A tip when working with revolve sketches is to sketch a construction line down the middle of the revolve. This construction line will aid in adding dimensions as well as give you a reference for the revolve axis later on.
After you have created your revolve sketch, it’s time to actually revolve.
Now that the basic shape is done, we can create the bolt circle. Simply start a sketch on a face of the pipe flange and sketch a construction circle with the bolt circle diameter. Then attach a circle to your construction circle and create a circular pattern. The last step is to cut the holes in the pipe flange using extrude-remove.
So creating a simple pipe flange is easy using the revolve feature. However, if you want to take it one step further, you can create variables in the part to control the important dimensions. This would allow you to build different pipe flange sizes by changing just a few simple variables.
Latest Content
- Blog
- Becoming an Expert
- Assemblies
Built to Scale: Why Large Assemblies Don’t Slow Down in Onshape
07.16.2026 learn more- Blog
- News from Onshape @ PTC
- Artificial Intelligence
Onshape Labs: AI in CAD Guided by Designers, Driven by Innovation
07.15.2026 learn more- Blog
- Evaluating Onshape
- Data Management
- Collaboration
- Artificial Intelligence
How the Most Underrated CAD Feature Improves Design Workflows
07.09.2026 learn more