
3:51
As innovative as any new product design may be, always try to reuse components. Reuse makes designs quicker and cheaper to produce. As a result, every Onshape user should have a library of referenceable items set up and ready to go.
Some companies have extensive libraries with many hardware components. Some have very basic libraries.
In this Tech Tip, we briefly look through a few critical items to consider having in your library and how you might set them up.
Basic Library Setup
Your Library is a shared set of data. Here’s how to create a basic Library:
- Create a root library folder, and give it a meaningful name. We’ll just call ours “Library”.
- Set up the share permissions for this folder. Open the folder’s share settings dialog.
- Select the Companies tab.
- Select the company from the dropdown.
- Select Can View.
- Check Link Document.
- Click Share to share this folder with all users in your company.
These are the minimum required share settings. All data placed in this folder inherit these permissions.
Pro Tip: We recommend that users with admin permissions perform this task. You may also share the folder with upgraded permissions (for example, edit) with a team of users responsible for maintaining the library.
Drawing Templates
Onshape makes sharing 3D data faster and easier than any other tool. However, almost every company still creates 2D drawings as a deliverable for manufacturing their designs.
You can create drawing templates to save time. Creating templates is beyond the scope of this Tech Tip, but you can find more information on creating drawing templates in the Onshape Learning Center.
Once created, store the drawing template in your library as a single document at the root of your library folder.
Within that document, store the DWT files for all templates and sizes of sheets you will use.
Pro Tip for Enterprise Licenses: Your administrator can open Enterprise settings, then Preferences and point to this document as the approved drawing template so all users are forced to use them.
Standard Content Library
Standard Content is the built-in library of screws, bolts, nuts, washers, and other basic fasteners.
At the time of this writing, we can’t configure which items to display in this library nor add to it. However, applying part numbers and descriptions to any Standard Content components you use is important.
One option is to apply the part number and description to the item as it is inserted.
Alternatively, set up the items ahead of time. Create a document named Standard Content Part Numbers in your library folder. Create Assemblies that contain only the hardware sizes you require. For example, if you use 8 different sizes of ¼-20 Socket Head Cap Screws, insert one of each size into an Assembly, as shown below.
Because this is an Assembly, you can update the properties from the BOM table. Doing so is a quick and easy way to update the part number and description of several similar pieces of hardware all in one place.
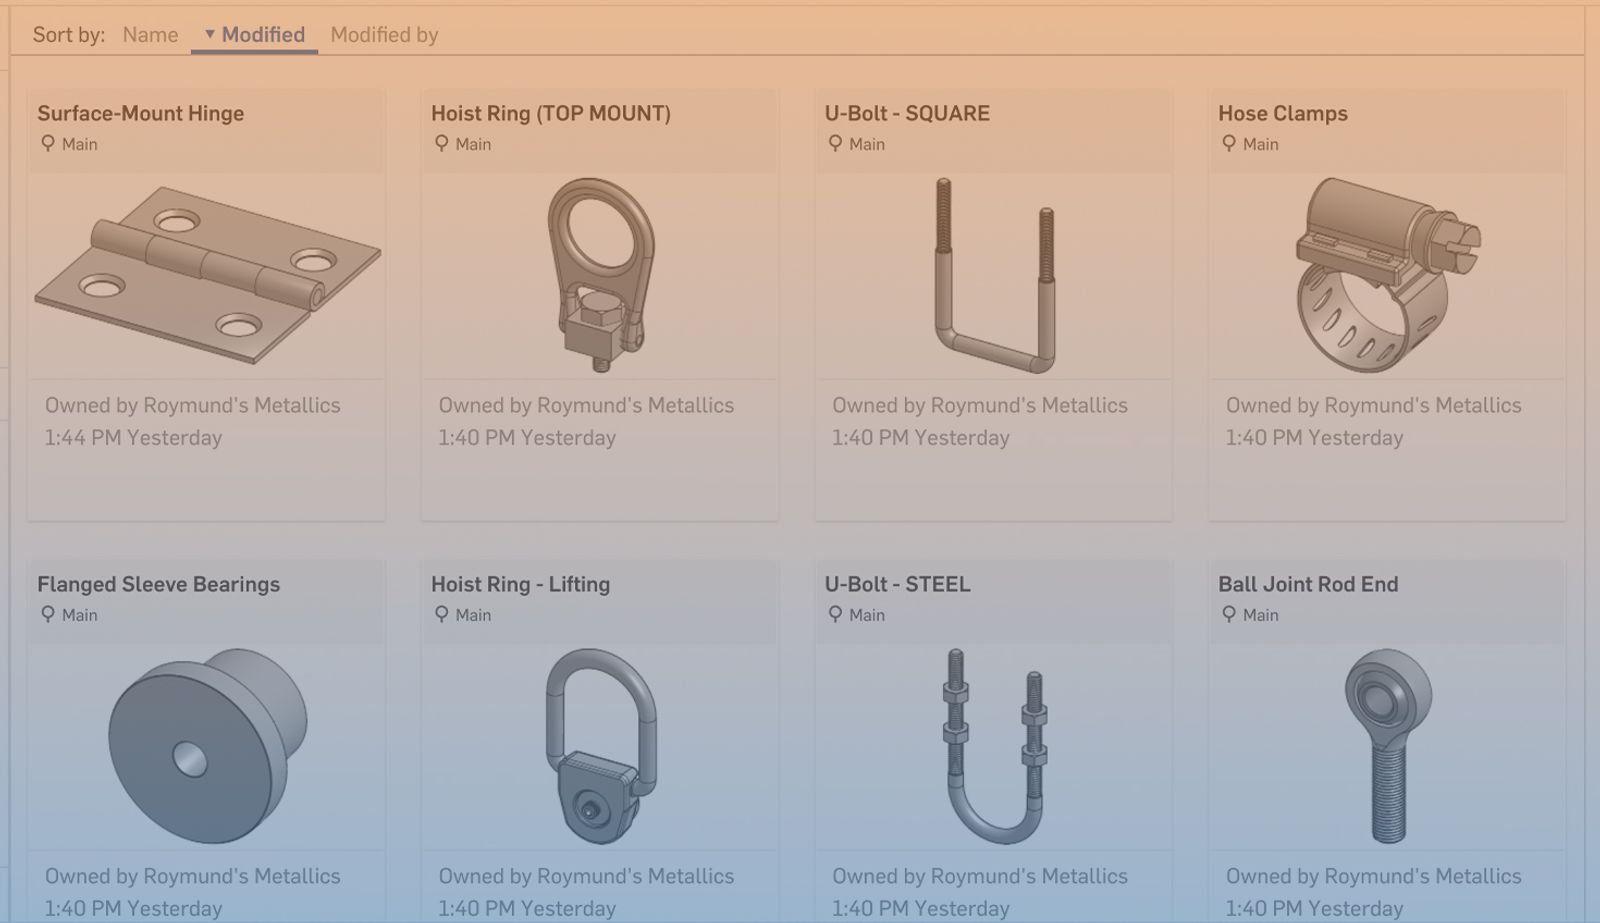
Hardware Library
What about parts that are not in the Standard Content library? Let’s call this your “hardware library”. You may not natively model many of these components. They might be downloaded from somewhere like McMaster-Carr.
- Create a nested folder named hardware library in your library folder.
- In the hardware library folder, there should be one document per individual piece of hardware.
- If a specific component comes in multiple sizes, there are two options:
- Configure the part studio to capture each of the different sizes.
- Have multiple part studios within the same document, with each different length residing in the Part Studio
Option “A” works well with readily resizable objects (for example, a pin). Option “B” works better for objects where changing their variable or size proves difficult (for example, a hinge).
Frames Profile Library
You can also define Custom Frame Profile libraries. At the time of this writing, the containing folder must reside in the root directory.
- Create a folder and provide a name for your library.
- Nest subfolders for each different organization standard used in the library folder.
- Place frame profile documents in the appropriate standards folders.
Profiles of different sizes with the same shape are best managed as configurations. Capture different profiles as different tabs (Part Studios) in the document stored in the appropriate standard folder.
For more information about creating Frame Profile Libraries, visit the Help Documentation.
Importance of Libraries
You can (and should) set up many different types of libraries in Onshape. Doing so will make component reuse more efficient. Hopefully, this quick overview encourages you to use libraries to your advantage.
Friends Don’t Let Friends Use Old CAD!
Know a colleague who could benefit from our cloud-native, fully-featured collaborative design platform?
Latest Content
- Blog
- Becoming an Expert
- Assemblies
Built to Scale: Why Large Assemblies Don’t Slow Down in Onshape
07.16.2026 learn more- Blog
- News from Onshape @ PTC
- Artificial Intelligence
Onshape Labs: AI in CAD Guided by Designers, Driven by Innovation
07.15.2026 learn more- Blog
- Evaluating Onshape
- Data Management
- Collaboration
- Artificial Intelligence
How the Most Underrated CAD Feature Improves Design Workflows
07.09.2026 learn more