
1:08
Adding Mates to an Assembly creates relationships between parts, allowing users to convey design intent.
Adding Mates to an Assembly
Adding mates to this Assembly and dragging the Handle displays the intended movement.
To further restrict movement, add limits to these mates. In this Assembly, add a limit to the Handle's Revolute Mate.
After accepting the Mate, movement is now limited to the values set.
Precise Positioning Using Mate Values
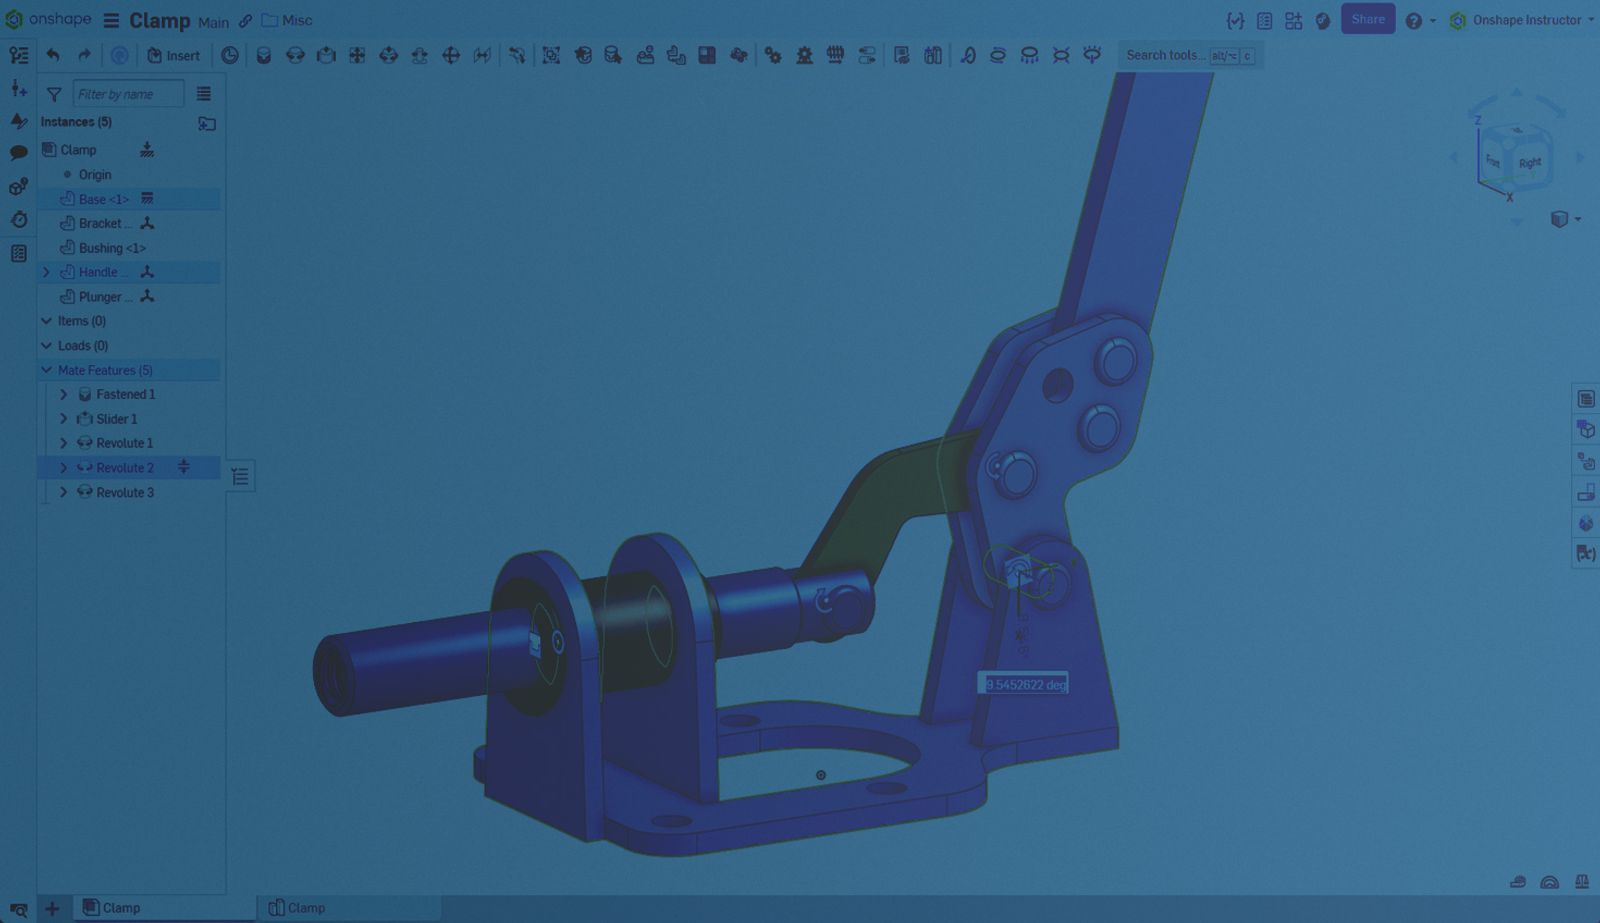
Mate limits restrict the overall movement, but precise positioning by dragging is hard to accomplish. In this example, position the Handle at 39 degrees.
To do this quickly, press “J” on the keyboard to display all mates, then single-click on the Mate inside the graphics area. The Mate's positional value appears. Double-click on that value and input a new value.
If you already know which Mate to edit, single-click on it inside the Mate Features list and repeat the previous steps. For example, click the Slider Mate and edit the value to be 0.25 from the original location.
This Tech Tip helped you learn how to edit a Mate's value to position parts precisely. We have more resources for you to learn about related features, like advanced Assembly modeling. See the Advanced Onshape Assemblies self-paced course in the Onshape Learning Center.
Interested in learning more Onshape Tech Tips? You can review the most recent technical blogs here.
Friends Don’t Let Friends Use Old CAD!
Know a colleague who could benefit from our cloud-native, fully-featured collaborative design platform?
Latest Content
- Blog
- Becoming an Expert
- Assemblies
Built to Scale: Why Large Assemblies Don’t Slow Down in Onshape
07.16.2026 learn more- Blog
- News from Onshape @ PTC
- Artificial Intelligence
Onshape Labs: AI in CAD Guided by Designers, Driven by Innovation
07.15.2026 learn more- Blog
- Evaluating Onshape
- Data Management
- Collaboration
- Artificial Intelligence
How the Most Underrated CAD Feature Improves Design Workflows
07.09.2026 learn more