
1:47
Onshape’s Mate Connectors aren’t just for assemblies. They can be used in Part Studios, too! Here are five quick tips for using Mate Connectors in your Part Studios:
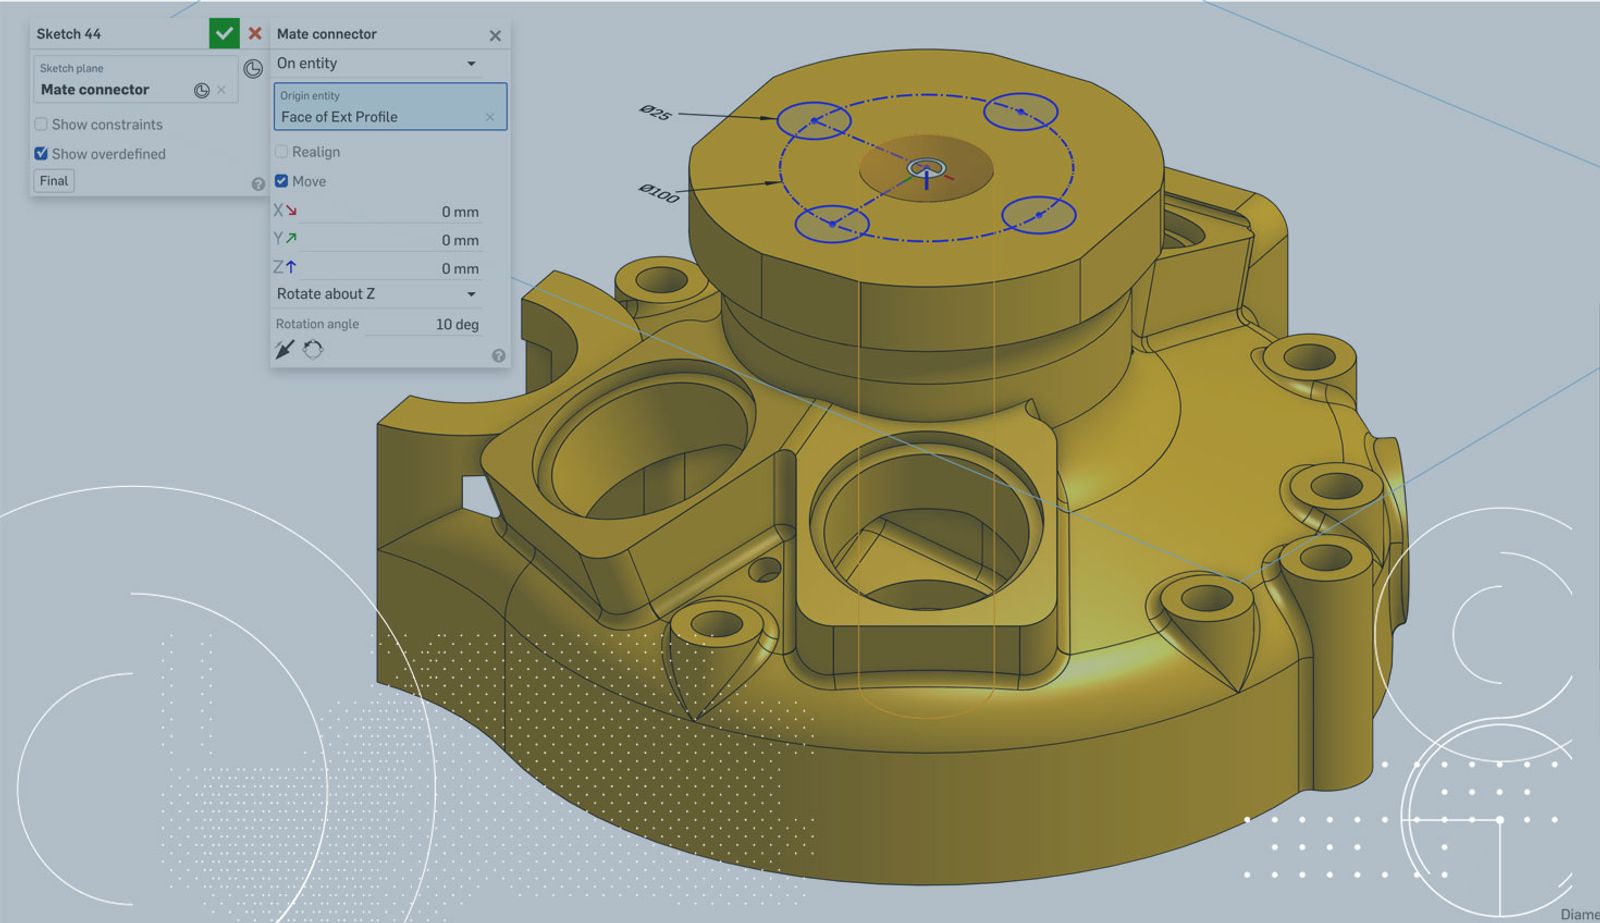
1. Sketch Planes
When starting a new sketch, select the Mate Connector icon to the right of the selection box. Select a point to make an implicit Mate Connector. The sketch is coincident with the X-Y plane of the new Mate Connector. There is a smaller Mate Connector icon inside the selection box that you can select to change the location and orientation.
2. Patterns
Mate Connectors are available to use in patterns and mirrors as well. For linear patterns , the primary (z) axis of the Mate Connector defines the direction of the pattern. In a circular pattern , the primary axis defines the axis of rotation. Finally, the X-Y plane of the Mate Connector defines the mirror plane in a Mirror feature. All of these allow explicit or implicit connectors.
3. Section Views
If you don’t have a model that has planar or cylindrical faces, it can be a challenge to section a model. Use a Mate Connector in place of model geometry for the section plane.
4. Draft
Use a Mate Connector in a Draft feature to define the Neutral Plane. Use it in Draft Analysis to define the Mold split direction.
5. Defining a New Origin
Sometimes, you need the center of mass with respect to a certain point. Instead of using a feature to move the entire model, use a Mate Connector to set a new reference point. This option only works with explicitly defined Mate Connectors (you cannot define it within the dialog).
Finally, use a Mate Connector when defining the origin of a new Part Studio in context of an assembly to set the appropriate location and orientation.
These are just five tips, but there are many more uses. Keep an eye out for the Mate Connector icon in any of your feature dialogs to take advantage of this versatile tool.
Interested in learning more Onshape Tech Tips? You can review the most recent technical blogs here.
Latest Content
- Blog
- Becoming an Expert
- Assemblies
Built to Scale: Why Large Assemblies Don’t Slow Down in Onshape
07.16.2026 learn more- Blog
- News from Onshape @ PTC
- Artificial Intelligence
Onshape Labs: AI in CAD Guided by Designers, Driven by Innovation
07.15.2026 learn more- Blog
- Evaluating Onshape
- Data Management
- Collaboration
- Artificial Intelligence
How the Most Underrated CAD Feature Improves Design Workflows
07.09.2026 learn more