
1:43
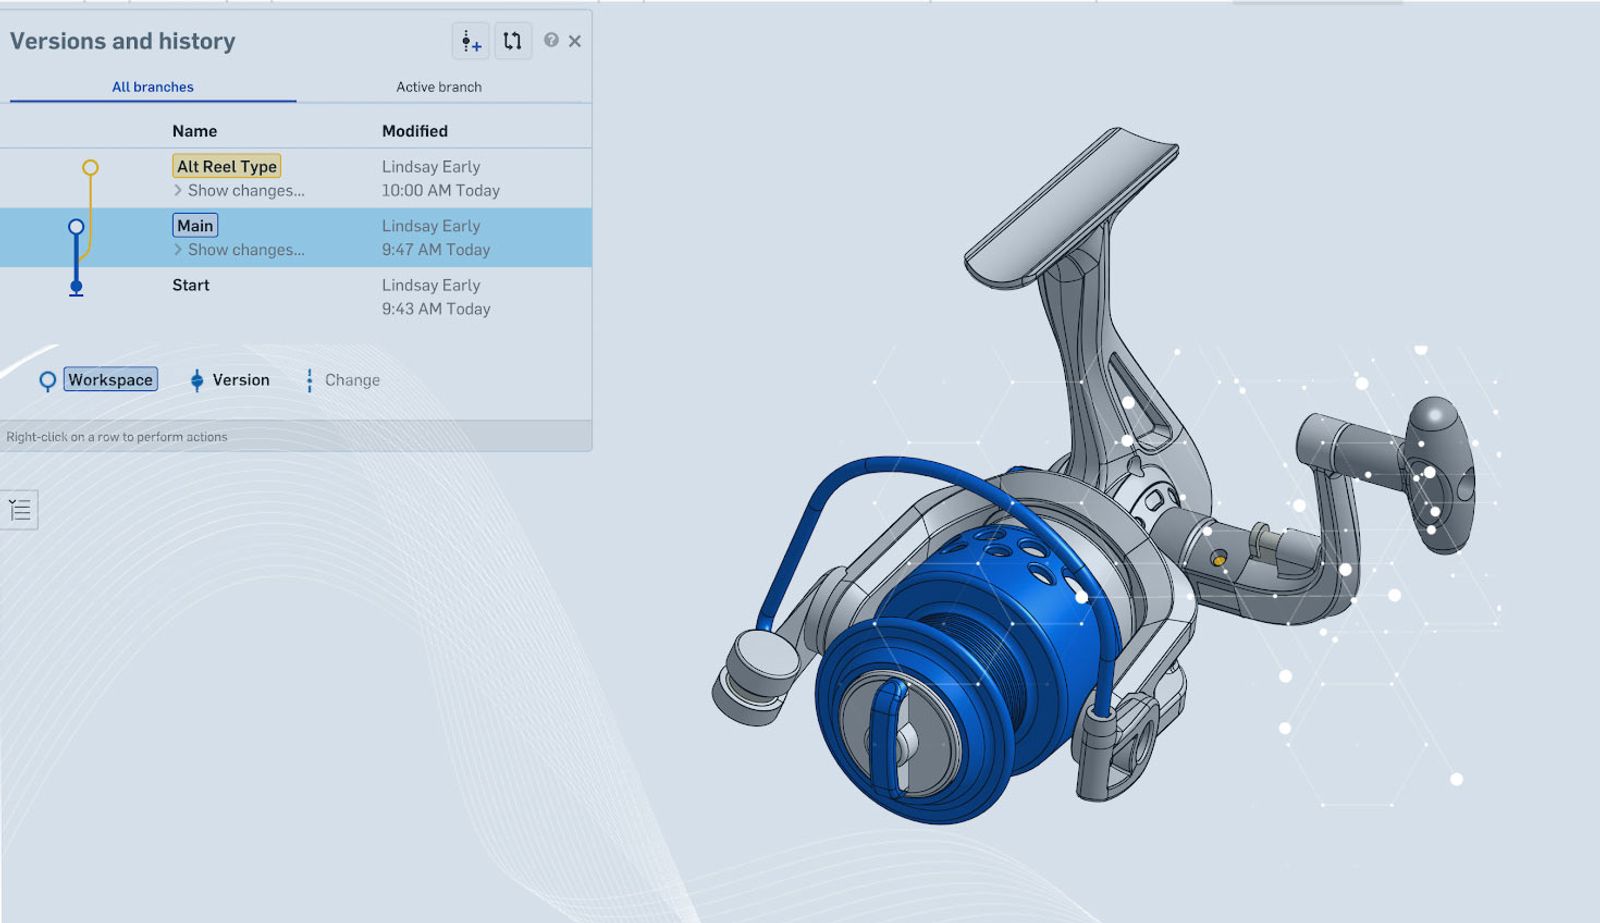
A previous Tech Tip discussed how to branch your History tree to make additional workspaces. Today, we will discuss Onshape’s Merging feature and the rules by which it is governed.
Merging is when you take the changes from one branch and merge it into the workspace of another. Usually, you merge into the Main branch, but changes from a branch can be merged into any workspace.
To merge into a branch, make the workspace active on the branch you wish to merge into (Target). Right-click on the version or workspace of the branch you want to merge from (Source) and select “Merge into current workspace.” A microversion is created with the name of the branch (if you merged the branch workspace) or version.
Generally, changes from the Source will push to the Target. Sometimes, especially if the Target was also modified after the Source branch was created, there are conflicts between the two versions. The following sections will explain what happens with conflicts for each element type.
Part Studios and Assemblies
There are several areas here where conflicts can occur. Anything new or deleted will persist whether it is done in the Source or the Target. This includes new/deleted dimensions, sketch constraints, features, parts, and mates. For example, if you delete a part in the Target, it will still be deleted after the merge regardless of which edits were done in the Source.
Additionally, new dimensions, sketches, and features sometimes create invalid geometry when merged. In this case, they will still merge, but will fail to load and show as a red warning for you to repair.
Drawings and Other Types
All other types of element tabs such as drawings and non-native formats are completely replaced in a merge (if they were changed in the Source). If a Drawing tab is replaced, Onshape will warn you:
With these tips, you should be able to effectively use the Branching and Merging features with predictable results. Interested in learning more Onshape Tech Tips? You can review the most recent technical blogs here.
Latest Content
- Blog
- Evaluating Onshape
- Collaboration
With Cloud CAD and PDM, Flexible Design for a Summer Coolcation
07.02.2026 learn more- Blog
- Artificial Intelligence
AI in Mechanical Design: The Fourth Generation of Transformation
06.25.2026 learn more