
0:56
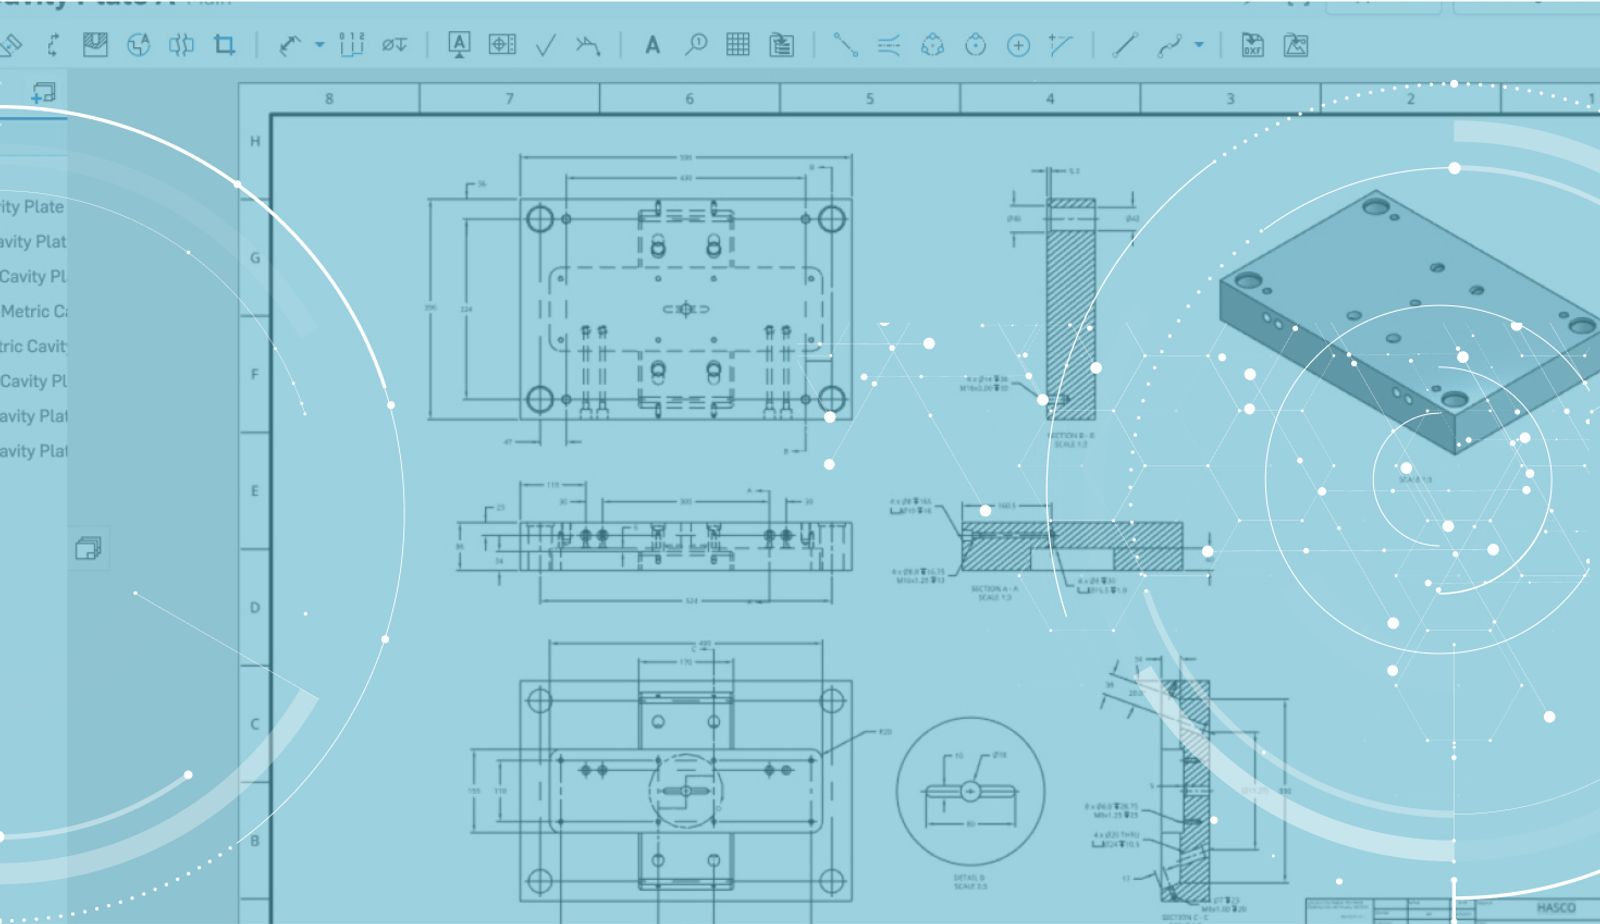
One of the most highly requested improvements in our last update was the ability to adjust line thickness in Onshape Drawings. Let’s take a closer look.
Adjusting line thickness is done from the Drawing properties flyout. To access the Drawing properties flyout, click the wrench icon on the right-hand side of the drawing.
The Drawing properties flyout will then appear. In the Drawing properties flyout, click the “Views” tab and you will see options for “thickness.”
You can adjust the line thickness of visible edges, tangent edges, hidden edges, and hatches independently.
Want to make this the default line thickness for all future drawings? Make sure to save a template. You can do this by right-clicking the drawing tab and choosing the option to “Export.” Then set the type to “DWT” and store that file in a new tab in the Document.
Now if you create a new drawing and choose this template, it will have the line thickness you prefer – as well as any other changes you might have made before saving the template.
That’s it! Give it a shot.
Latest Content
- Blog
- Evaluating Onshape
- Electronics
- Integrations
- PCB Studio
How Onshape PCB Studio Pulls 3D Component Models Straight from Altium 365
05.21.2026 learn more- Blog
- Evaluating Onshape
- Collaboration
- Data Management
What’s the Difference Between File-Based and Cloud CAD?
05.20.2026 learn more- Blog
- Customers & Case Studies
- Arena PLM Connection
The Cloud-Native Workflow Behind Coco’s Next-Gen Delivery Robot
05.14.2026 learn more