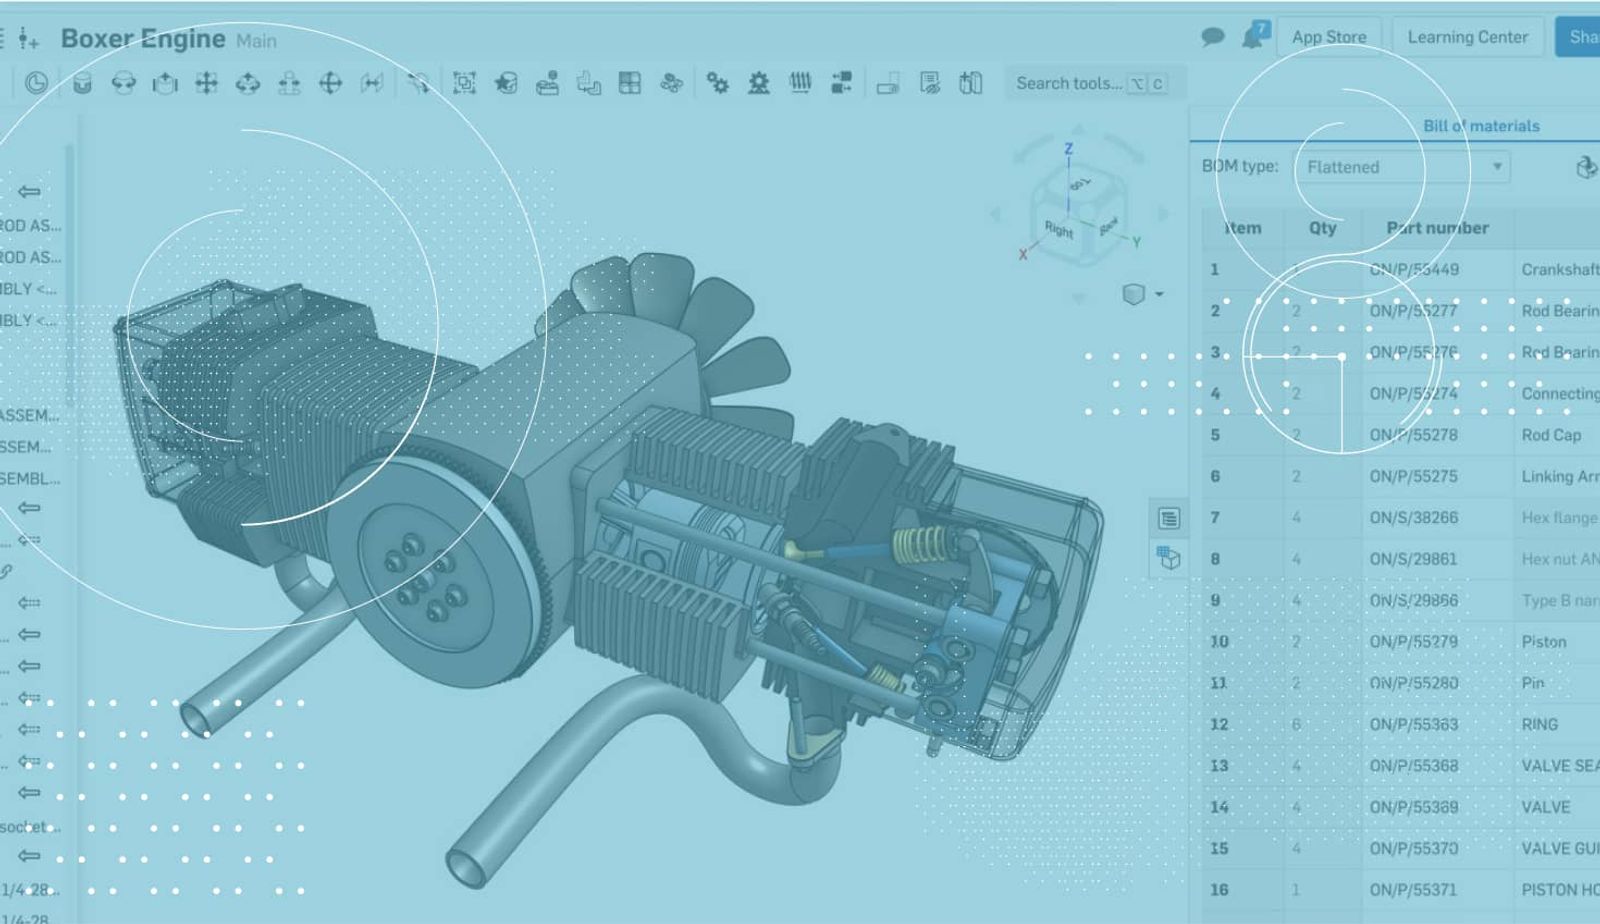
1:15
A question we get asked often is “How do I assemble gears in Onshape?” Let’s take a look.
Mates
The first step to assembling gears is to mate the gears in place. Make sure to choose a mate with a rotational degree of freedom. Revolute mate is ideal, but a cylindrical mate can also work. In this example, we will use two revolute mates to locate the gears in the frame.
Gear Relation
After the parts are mated into place, a gear relation can be created. Select the command from the toolbar and select the two mates associated with the gear. In the Gear relation dialog, you can set the Relation ratio. This is the gear ratio, and determines how much one gear will rotate with respect to the other.
After you have created your gear relation, you can drag the gears to test the motion. You can even animate the mate to see it in action.
Not satisfied with the result? Here are two things to check if your gears are not rotating correctly:
- Are your gears rotating the wrong way? Edit the Gear relation and check Reverse Direction.
- Are the teeth meshing correctly? If not, edit a mate connector associated with the gear’s mate, check “Move,” and use the “Rotational angle” option to rotate the gear until the teeth mesh properly.
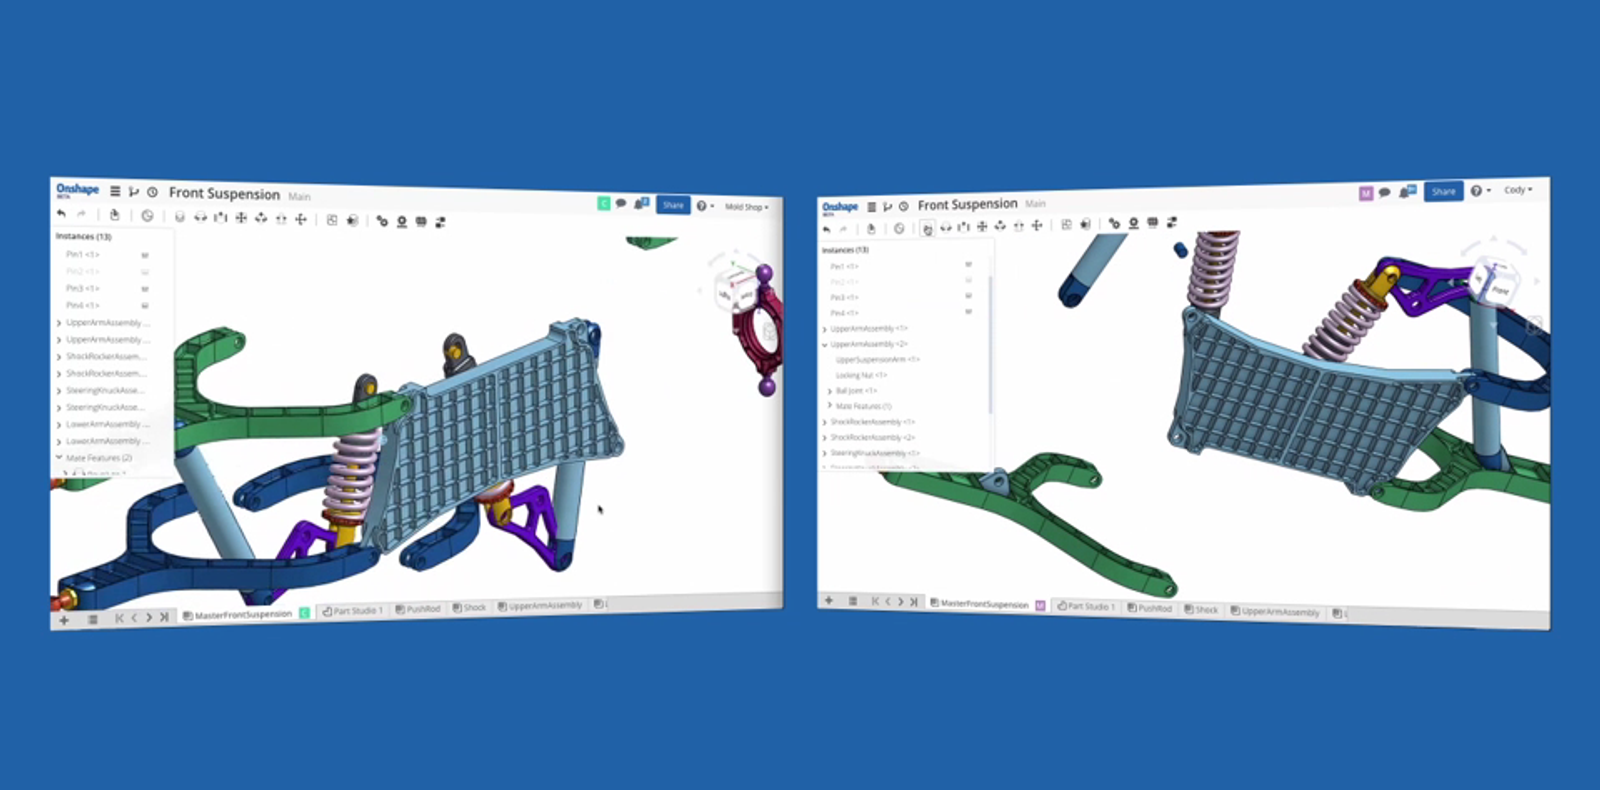
And that’s it! Assembling (and animating) gears in your assembly is very cool and allows you to get realistic motion from your design in Onshape.
Latest Content

- Blog
- Becoming an Expert
- Sheet Metal
Two Views, One Model: Faster Sheet Metal Design in Onshape
02.12.2026 learn more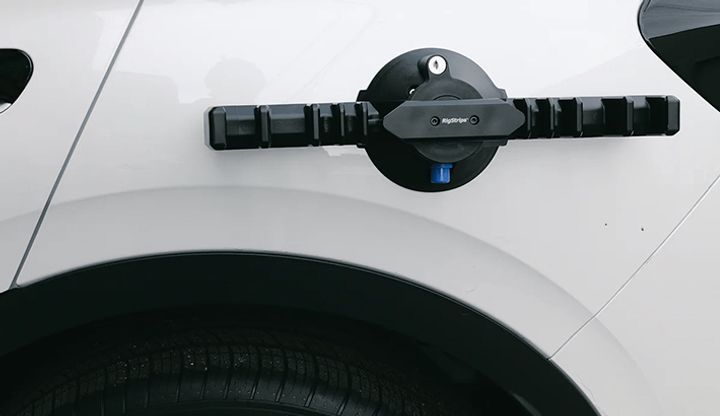
- Blog
- Customers & Case Studies
- Collaboration
- Consumer Products
RigStrips Boosts Design Speed Using Onshape's Collaborative Tools
02.11.2026 learn more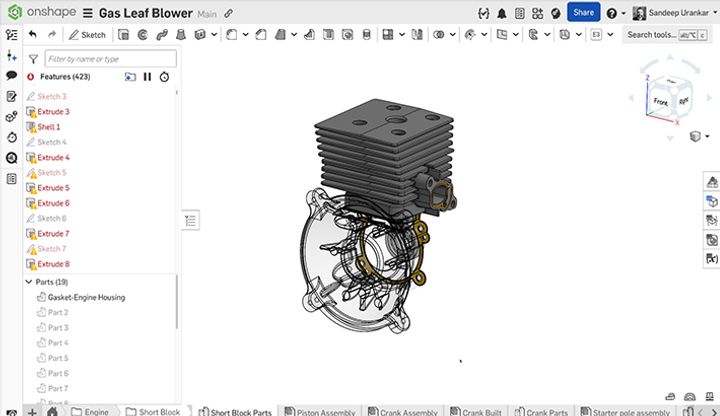
- Blog
- Becoming an Expert
- Features
- Data Management
How Onshape's Repair Tool Fixes Broken References
01.29.2026 learn more


