
0:53
One of the more common questions we hear is “Can I assign a state to my model in Onshape?” The answer is yes. Onshape currently has four states to choose from: “In Progress,” “Pending,” “Released,” and “Obsolete.” Let’s take a look at how to assign the correct state to your design.
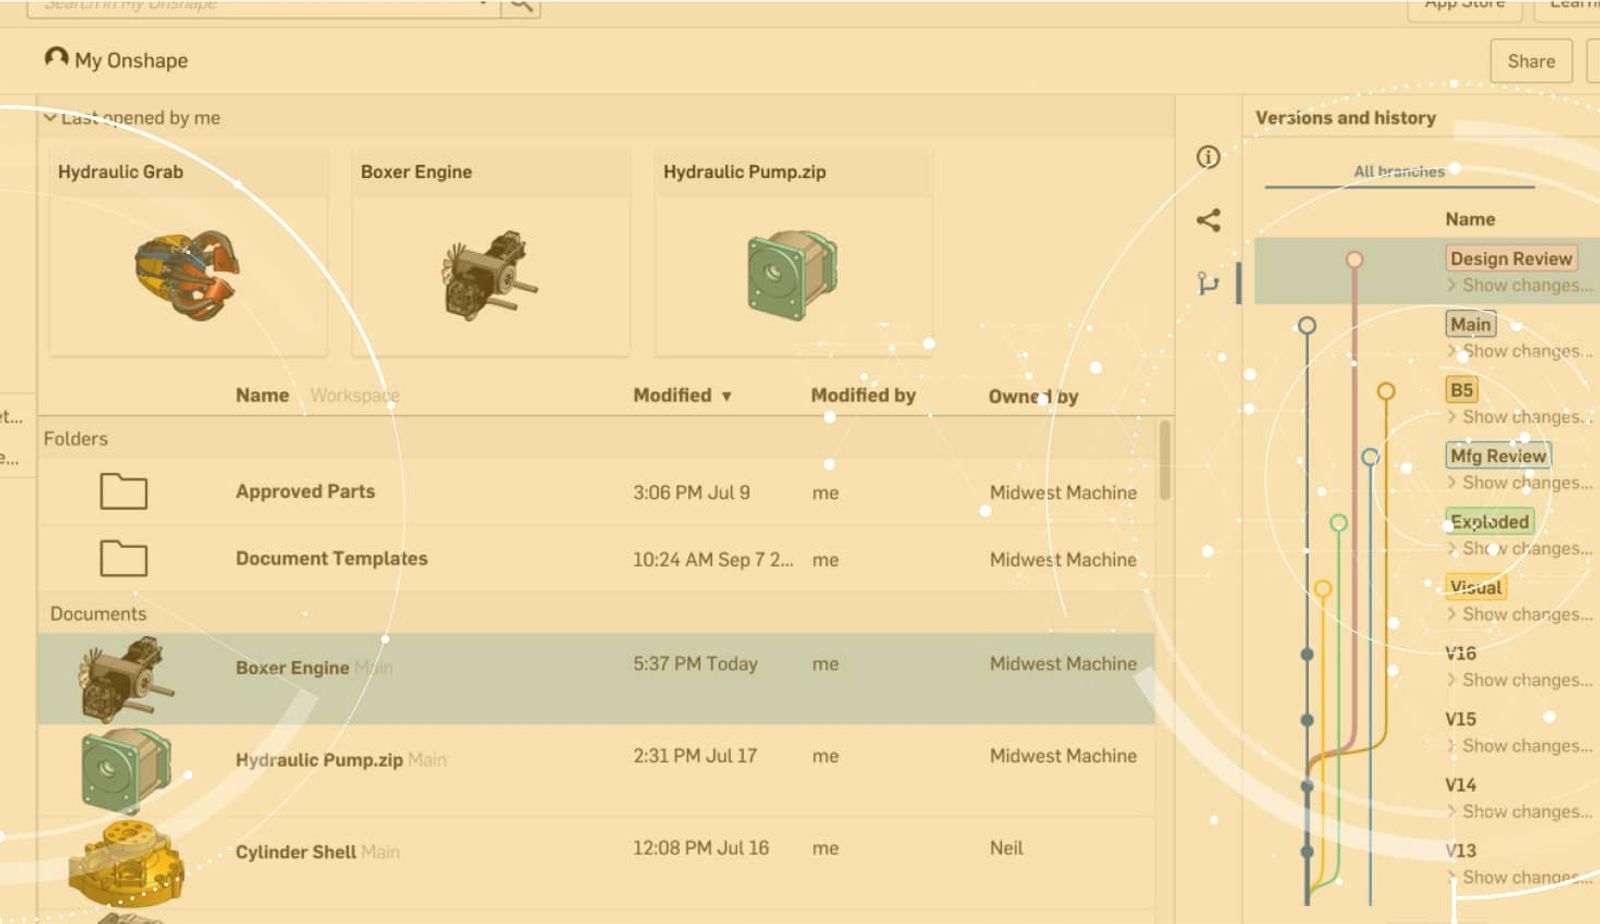
The first important thing to remember is that you can only edit the State property while creating a version. So step one, create a version. To do this, click the “Create version” icon in the top left corner of the interface.
This brings up the Create version dialog. From here, click the “Create version and edit properties” button.
This will bring up the version properties dialog. Here you can edit Description, Part number, Revision, and of course, State.
To change the state, click the current state and a dropdown will appear with options.
Simply select your state, and click the checkmark to accept. Here you can see that I have set my design to the “Released” state. That’s all there is to it. Give it a shot!
Latest Content
- Blog
- Becoming an Expert
- Assemblies
Built to Scale: Why Large Assemblies Don’t Slow Down in Onshape
07.16.2026 learn more- Blog
- News from Onshape @ PTC
- Artificial Intelligence
Onshape Labs: AI in CAD Guided by Designers, Driven by Innovation
07.15.2026 learn more- Blog
- Evaluating Onshape
- Data Management
- Collaboration
- Artificial Intelligence
How the Most Underrated CAD Feature Improves Design Workflows
07.09.2026 learn more