1:02
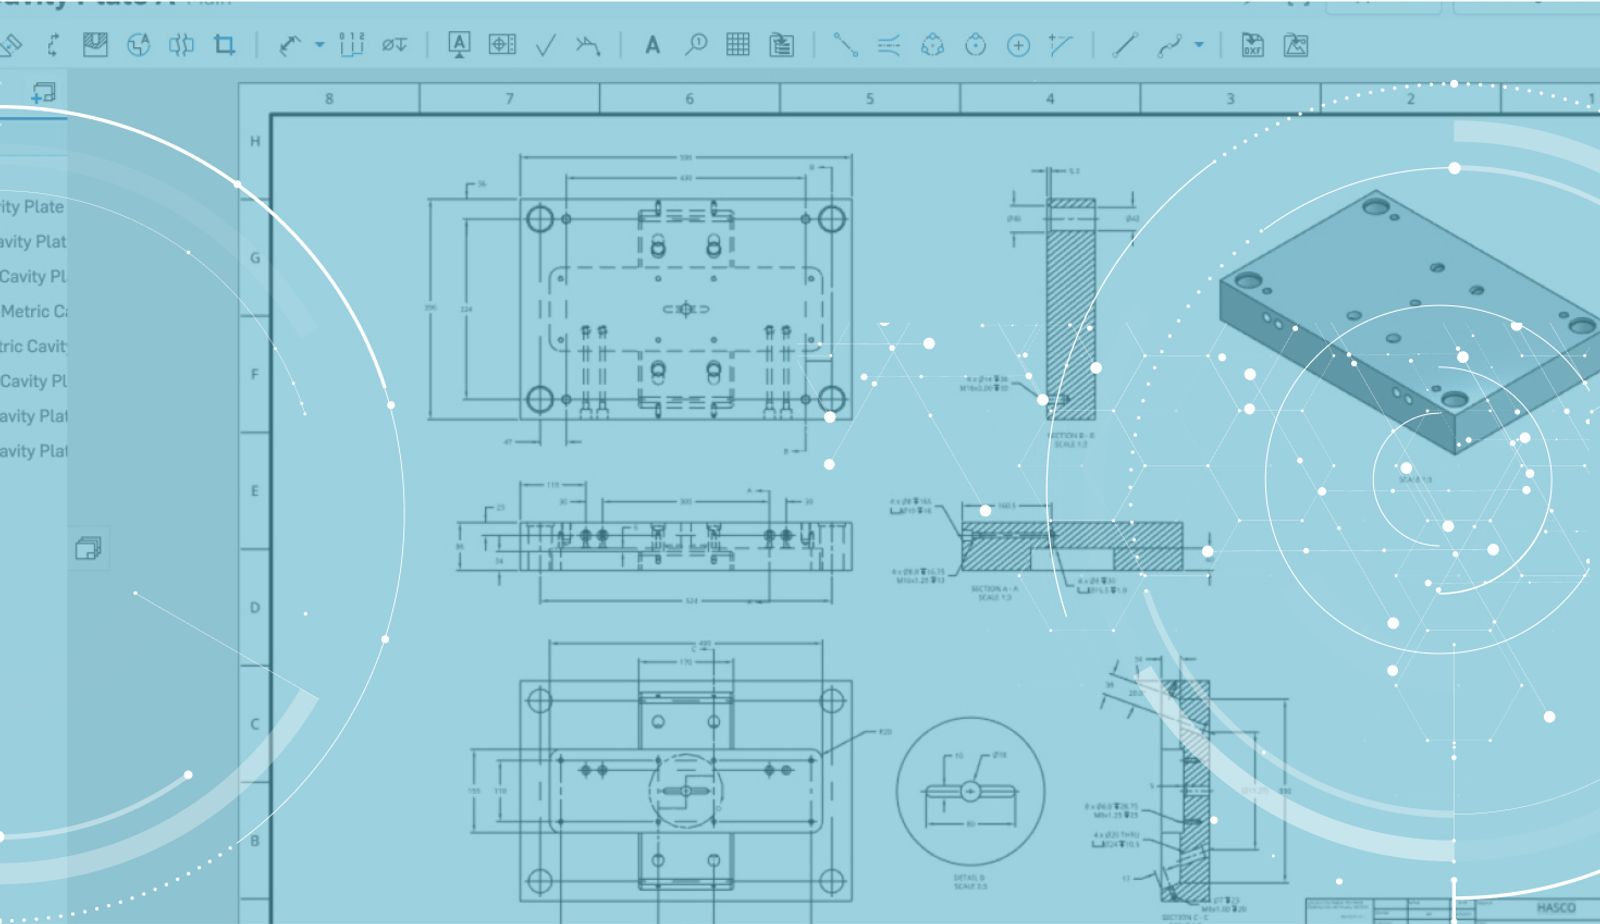
Today’s tech tip is a productivity booster for those who spend a lot of their time creating drawings. We are often asked the question “Is there a way to automatically insert standard orthogonal views into a drawing?” So let’s take a look at how it is done.
The key to automatically inserting orthogonal views into your drawing is to right-click the part or assembly that you want to create a drawing of. In the right-click menu, you will see the option to “Create drawing of…”
After clicking this command in the right-click menu, the template selection options will appear. Choose the template that you want to create the drawing with, then choose the “Four views” option in the bottom left.
This will create a new drawing with that template, and insert four standard views automatically for you.
Keep in mind, the type of projection used to generate these views is dependent on the type of drawing template you choose. If you choose an ANSI template, you will get third angle projection. If you choose an ISO template, you will get first angle projection.
That’s it! Give this tip a try and save some time the next time you need a standard four-view drawing.
Latest Content
- Blog
- Evaluating Onshape
- PCB Studio
- Integrations
- Collaboration
- Consumer Products
- Electronics
- Medical Tech
- Robotics
How Onshape and Altium Are Erasing the ECAD-MCAD Divide
04.30.2026 learn more- Blog
- News from Onshape @ PTC
- PCB Studio
- Integrations
- Consumer Products
- Electronics
- Medical Tech
Introducing the Onshape Altium Connector: True Cloud-to-Cloud ECAD-MCAD Collaboration
04.29.2026 learn more