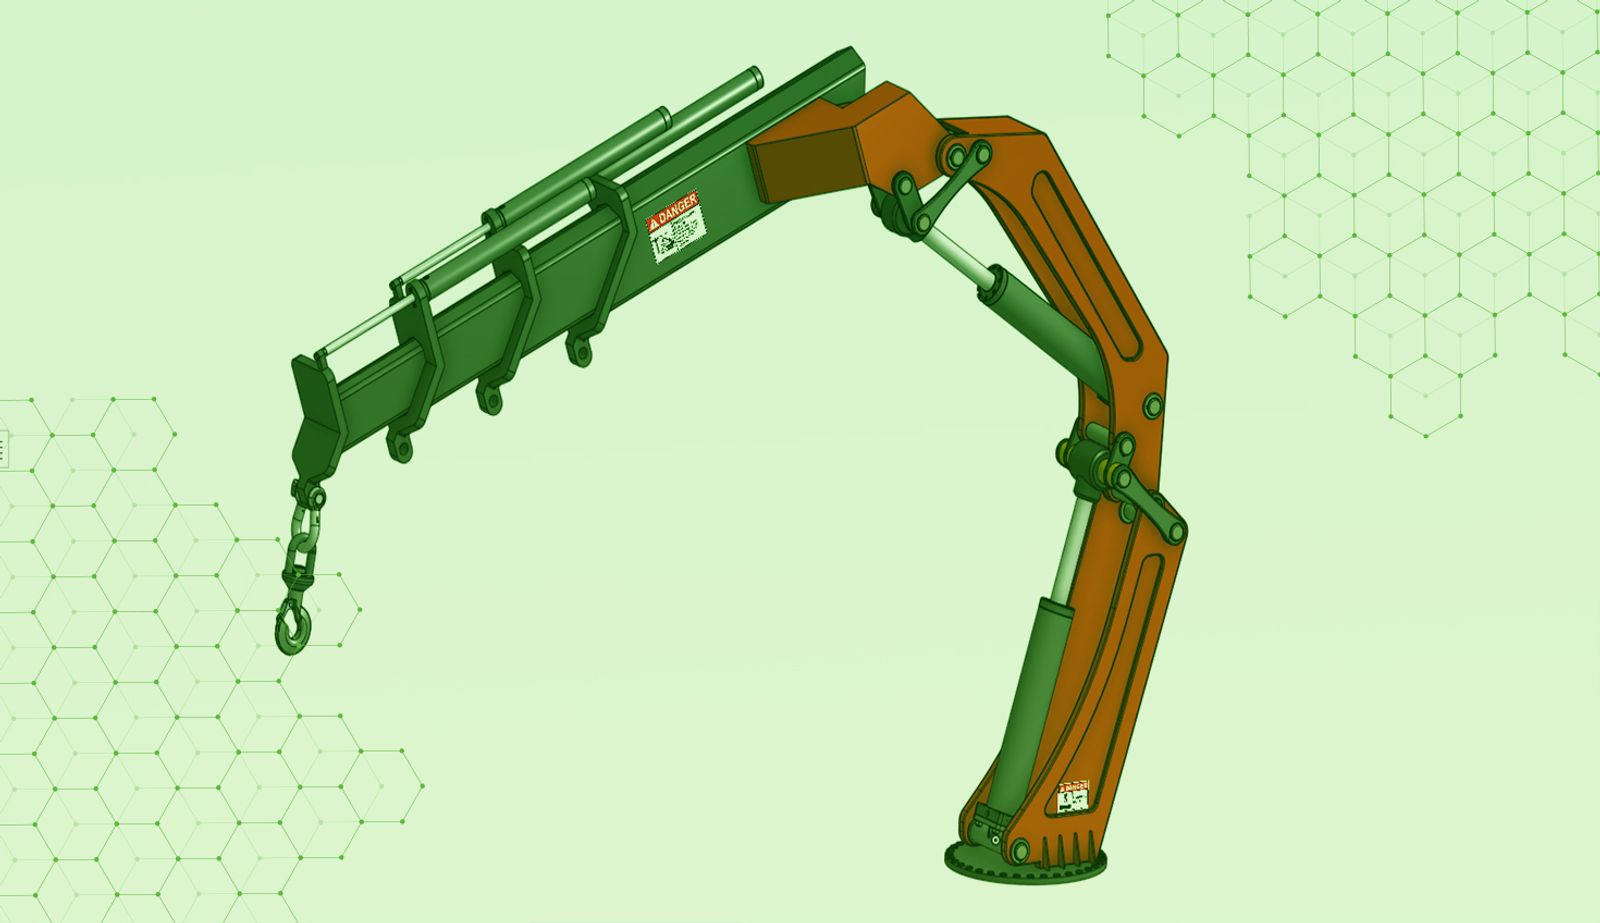
2:16
For decades, designers relied on screenshots or neutral export file formats (e.g. STEP or PDF) that were often exchanged with internal or external stakeholders via email to get feedback on a design.
Not only was this a slow and insecure way of communicating, but it was also error-prone as non-associative copies of CAD data were constantly being created and shared externally.
With Onshape, and its Comments feature, you can communicate directly on the native CAD model in a completely secure environment in a web browser.
Working with Comments
Comments are a built-in communication tool in Onshape that not only allows you to leave comments in the Document but also to directly link features, Mates, Mate Connectors, or entities in subassemblies.
Tag users in comments and annotate and markup your design. This eliminates the need for third-party communication tools such as email. And provides a single source of truth for communication directly on the CAD model in Onshape.
Adding a New Comment
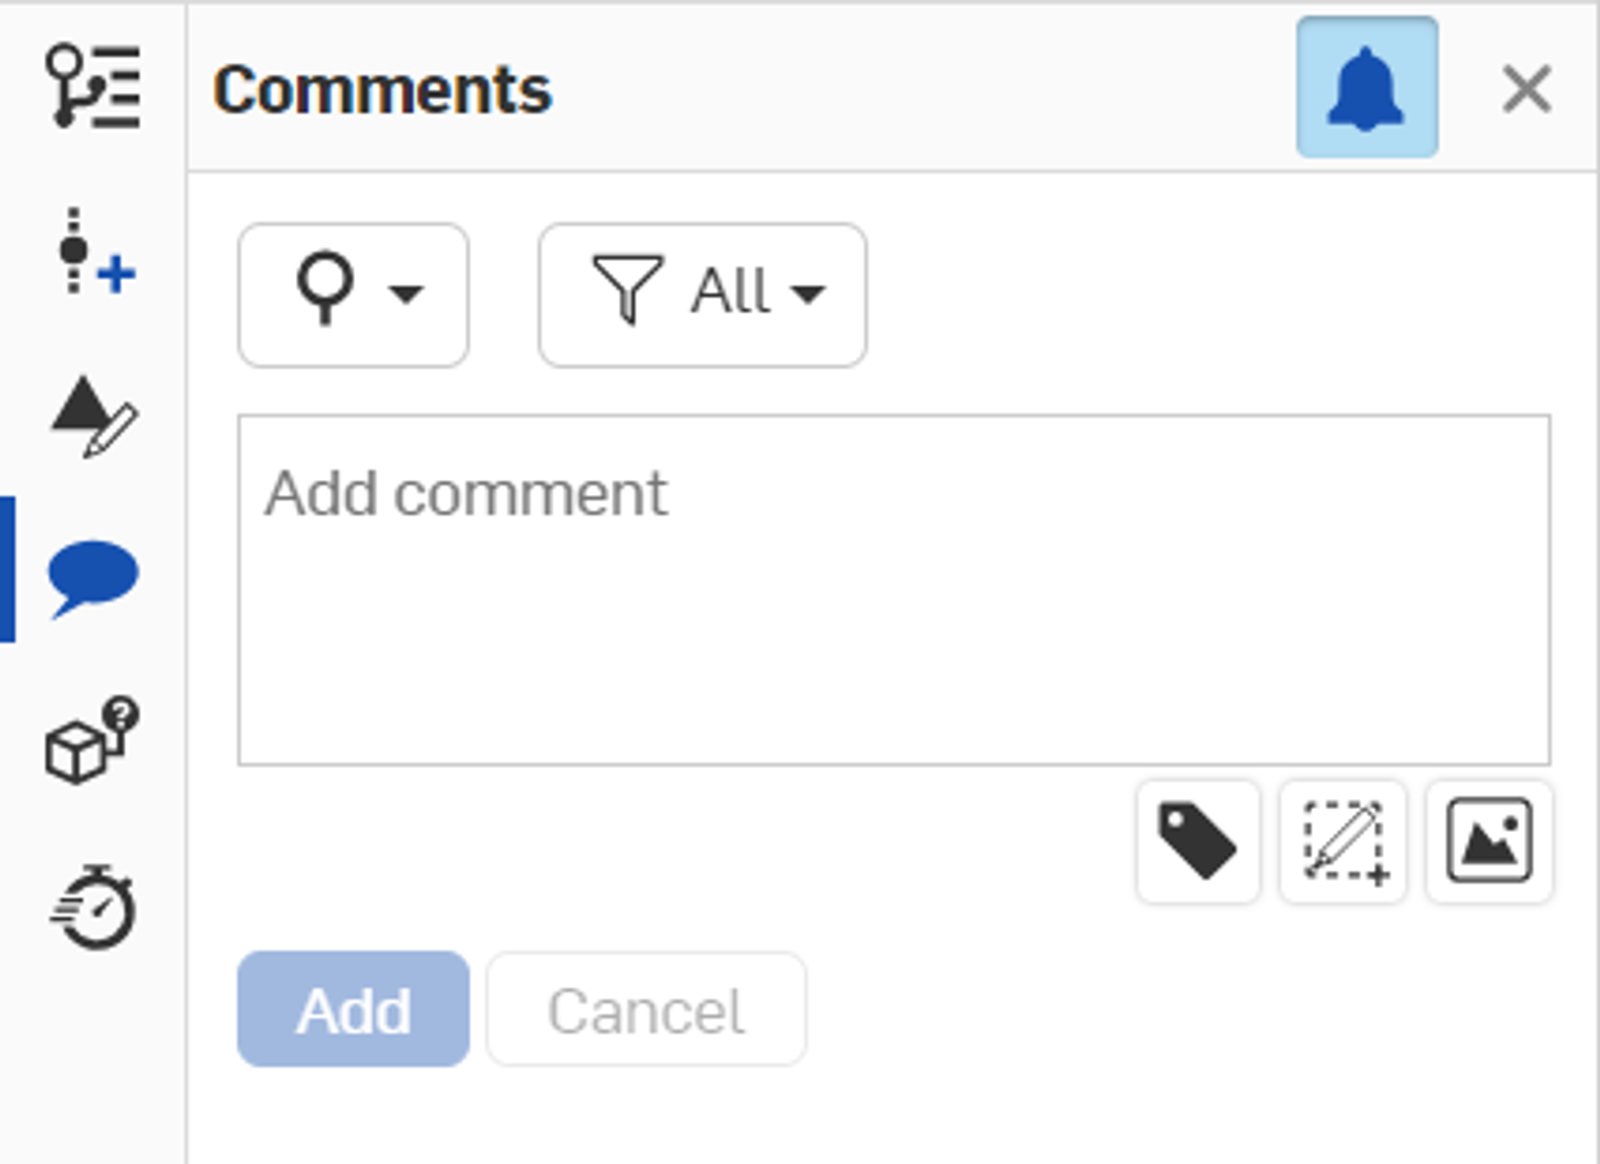
To create a new comment, click the Comments button to open the Comments panel. To tag people, type @mailadress or @user. Click the Markup button to annotate and markup your design space and include it in the comment.
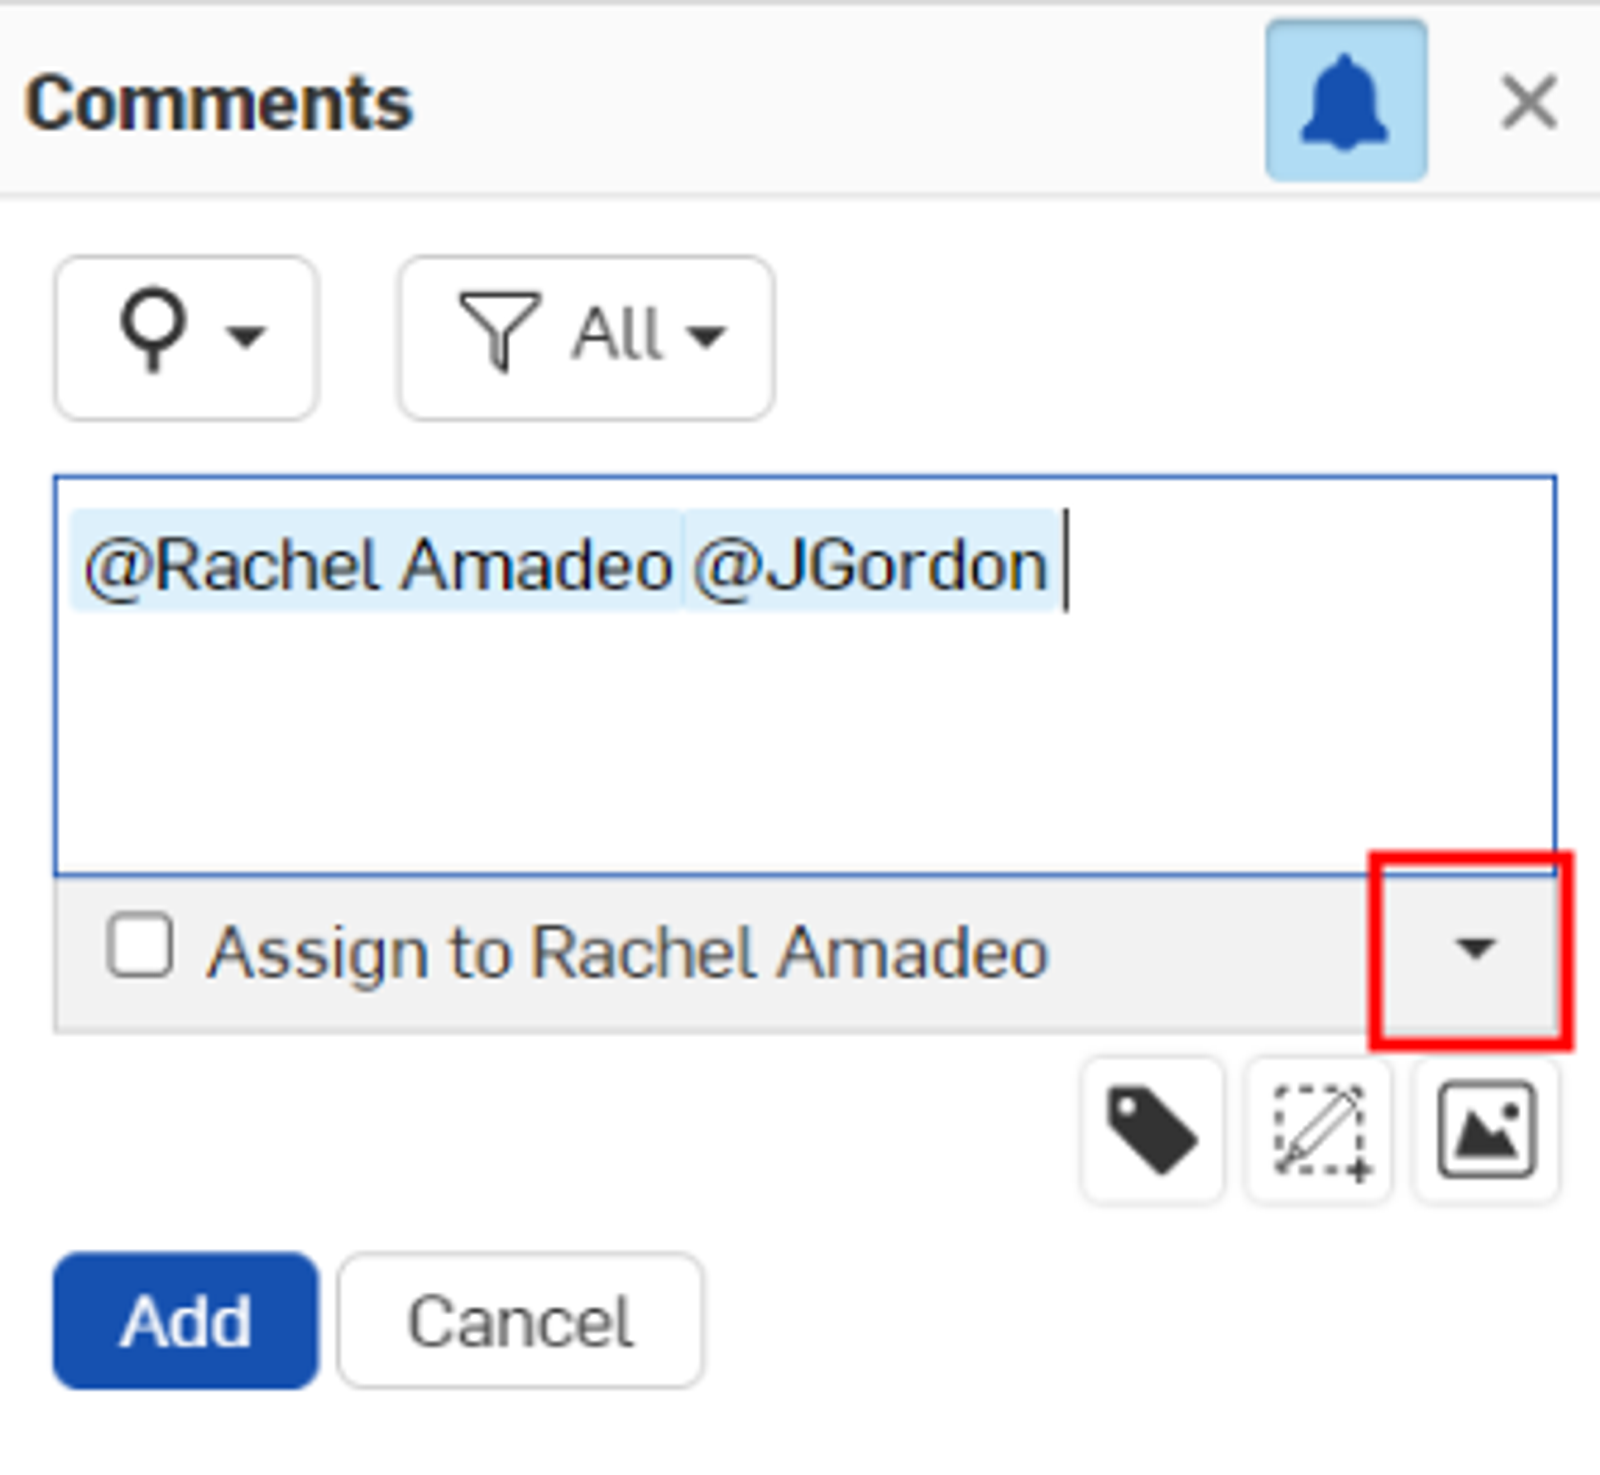
Once a person is tagged in the comment, an Assign to checkbox appears where you can assign a task to other users in Onshape. If there are multiple user mentions in the comment, the first user is shown beneath the comment. Click the dropdown arrow to the right of the user’s name to select another tagged user. Tasks can be assigned to only one user per comment.
Tips When Working with Comments
- Click the link in a comment to navigate directly to the tab for which the comment was created.
- Once in the tab, the link changes to reflect the entity the comment was created on, if appropriate.
- Click the new link to highlight that part in the graphics area.
- Comments are associated with a specific Document and one of its workspaces, so the set of comments will vary depending on which workspace is active.
- Click the Comments button or X icon in the upper-right corner to close the Comments panel.
- Click the Add button to add another comment.
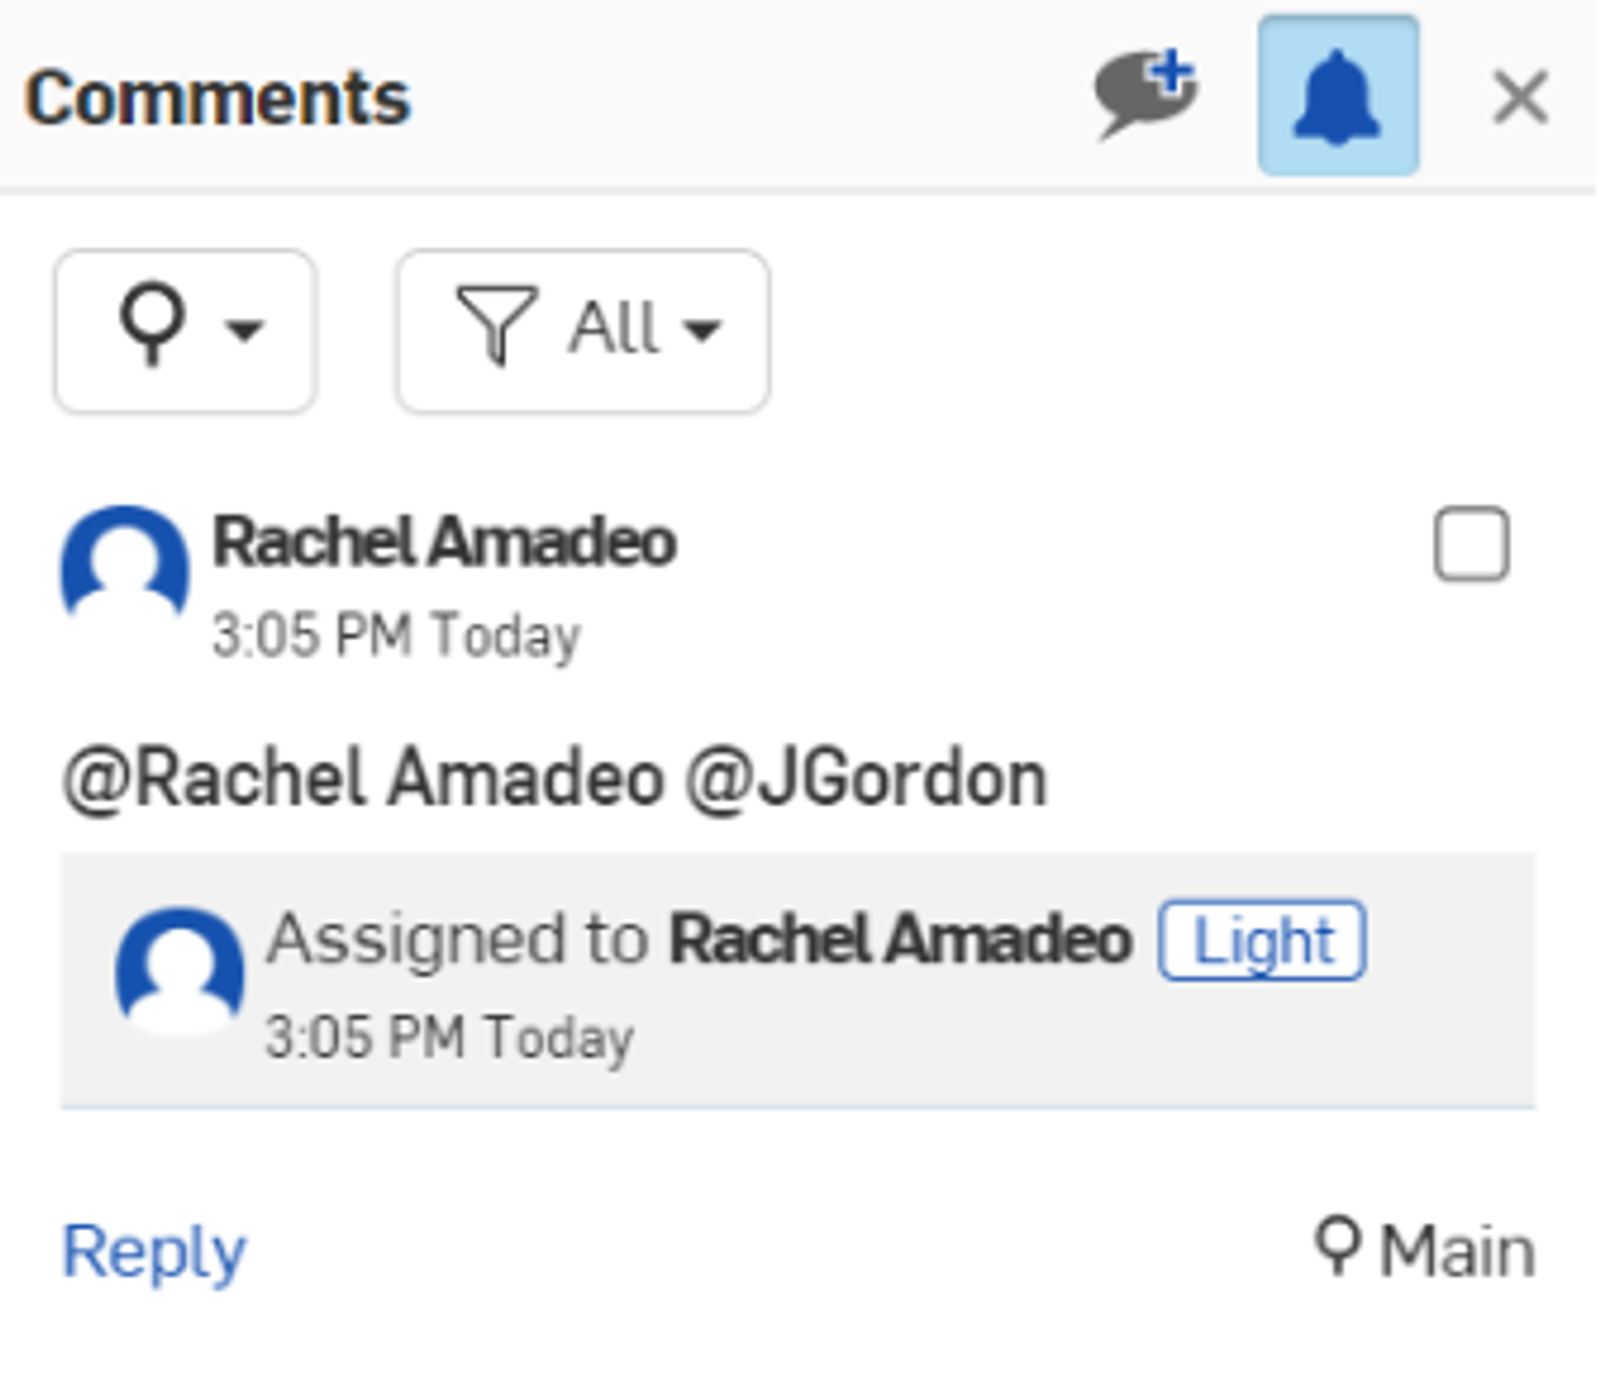
- To respond to a comment, click the Reply link, enter a reply in the provided field, and click the Reply button.
- Hover over the comment to access the edit and delete icons.
- Comments are not recorded in the workspace history.
- When an Assembly is moved to a new subassembly, the comments follow and remain attached.
Watch the video below for more on the commenting in Onshape:
Interested in learning more Onshape Tech Tips? You can review the most recent technical blogs here.
Friends Don’t Let Friends Use Old CAD!
Know a colleague who could benefit from our cloud-native, fully-featured collaborative design platform?
Latest Content

- Blog
- Becoming an Expert
- Sheet Metal
Two Views, One Model: Faster Sheet Metal Design in Onshape
02.12.2026 learn more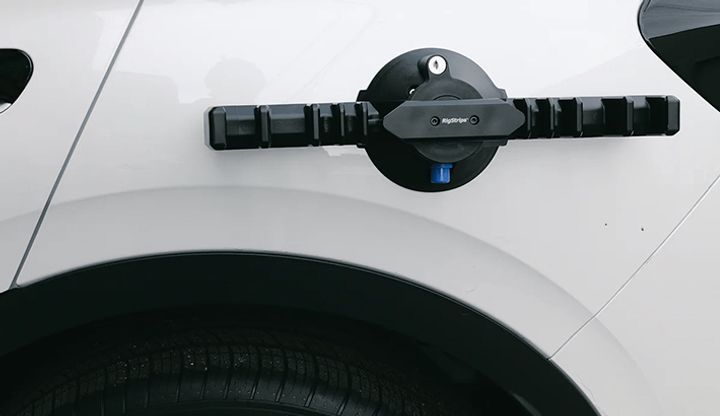
- Blog
- Customers & Case Studies
- Collaboration
- Consumer Products
RigStrips Boosts Design Speed Using Onshape's Collaborative Tools
02.11.2026 learn more
- Blog
- Becoming an Expert
- Features
- Data Management
How Onshape's Repair Tool Fixes Broken References
01.29.2026 learn more


