
READ TIME:
1:32
1:32
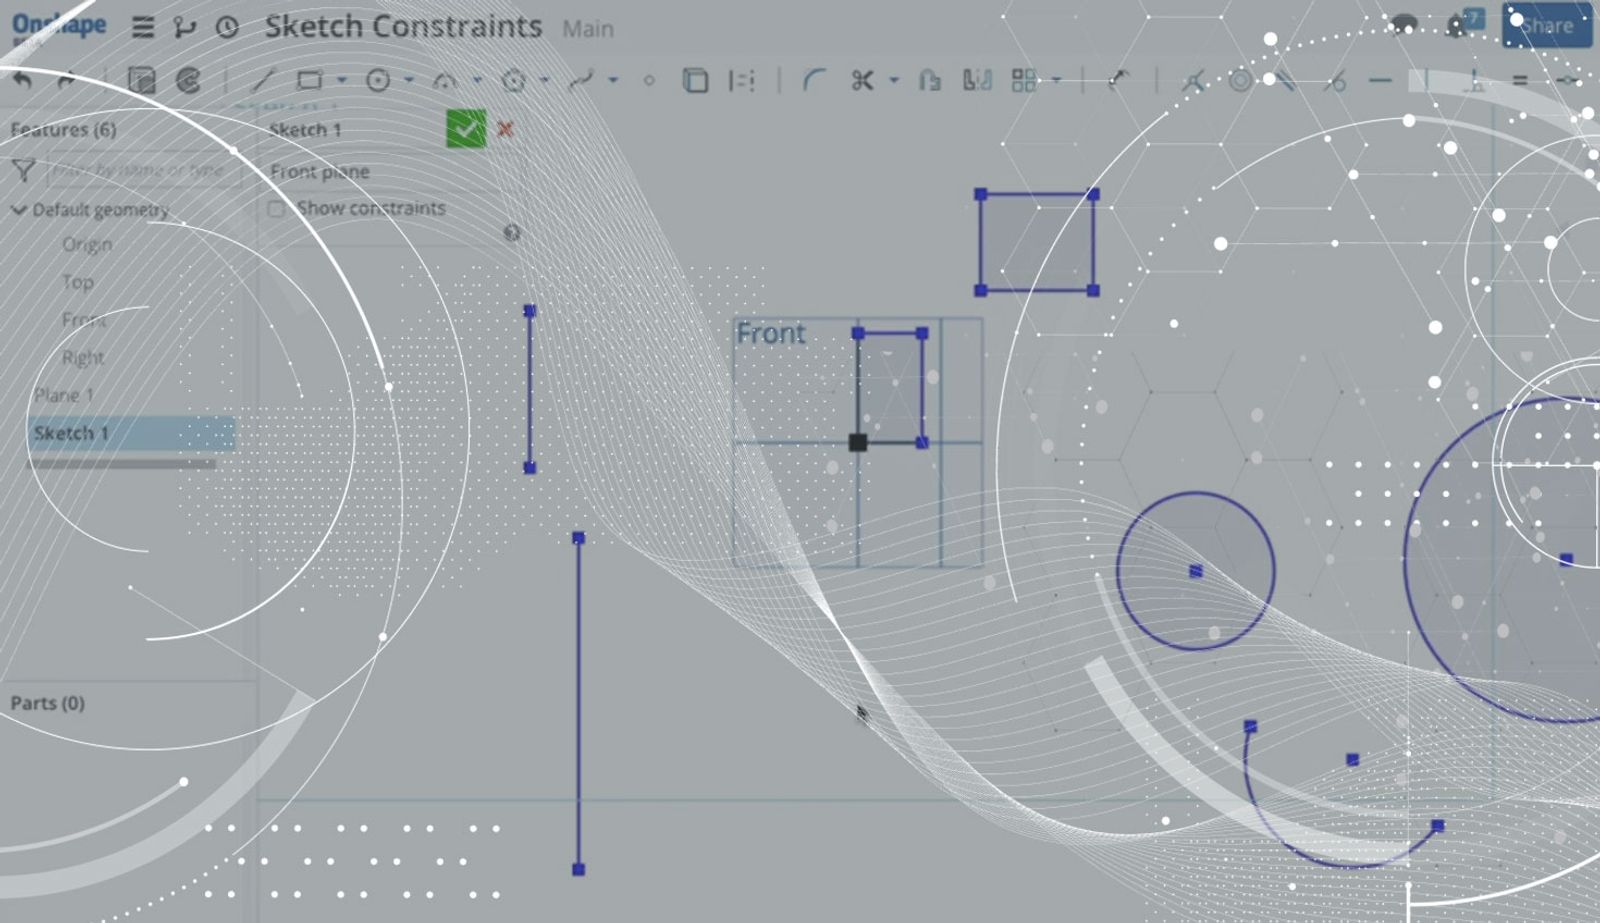
Properly constrained sketches are the key to a successful design. With Onshape, you have many different constraints to choose from to help define your design intent. You will find the constraints in Onshape on the far right of the sketch toolbar:
To add a constraint, simply select the entities you want to constrain and the constraint type. Here is a quick summary of the constraint options:
- Coincident - Create Coincident relationships between Lines, Arcs, Circles, and Points with the Coincident constraint.
- Concentric - Attach a point to the center of a circle or arc, or merge two circles or arcs’ center points with the Concentric constraint.
- Parallel - Make two or more lines parallel with the Parallel constraint.
- Tangent - Create tangency between two arcs/circles, a line and arc/circle, or even a plane and arc/circle.
- Horizontal - Select a line or lines, or two or more points and make them horizontal with the Horizontal constraint.
- Vertical - Select a line(s) or two or more points and make them vertical with the Vertical constraint.
- Perpendicular - Create a perpendicular constraint between two lines by selecting Perpendicular from the toolbar.
- Equal - To make two or more of the same sketch entities equal in size, use the Equal constraint.
- Midpoint - A point can be constrained to the midpoint of a line or arc using the Midpoint constraint.
- Normal - Select a line and curve, or curve a plane to make them normal to each other.
- Pierce - Constrain a point or curve coincident with the intersection point of its sketch plane and another curve using the Pierce constraint.
- Fix - To ground any sketch entity in place, use the Fix constraint.
Watch the video at the top of this post to see a few simple examples of each of the different constraint types.
Latest Content
- Blog
- Evaluating Onshape
- Arena PLM Connection
The Cloud-Native CAD-PDM-PLM Workflow That Finds Problems Before They Cost You
06.11.2026 learn more- Blog
- News from Onshape @ PTC
- Artificial Intelligence
- Robotics
How Multi-Agent Orchestration Between Onshape and NVIDIA Improves CAD-to-Simulation Workflows
06.01.2026 learn more- Blog
- Evaluating Onshape
- Robotics
- Aviation, Aerospace & Defense
- Collaboration
- Integrations
- Arena PLM Connection
- Data Management
Why the Best Hardware Teams Have Started Talking Like Software Engineers
05.28.2026 learn more