
1:24
Design reviews are a great way to evaluate the ebbs and flows of your product design. Onshape has useful features for conducting this review, and one of the more powerful tools is the option to compare history entries.
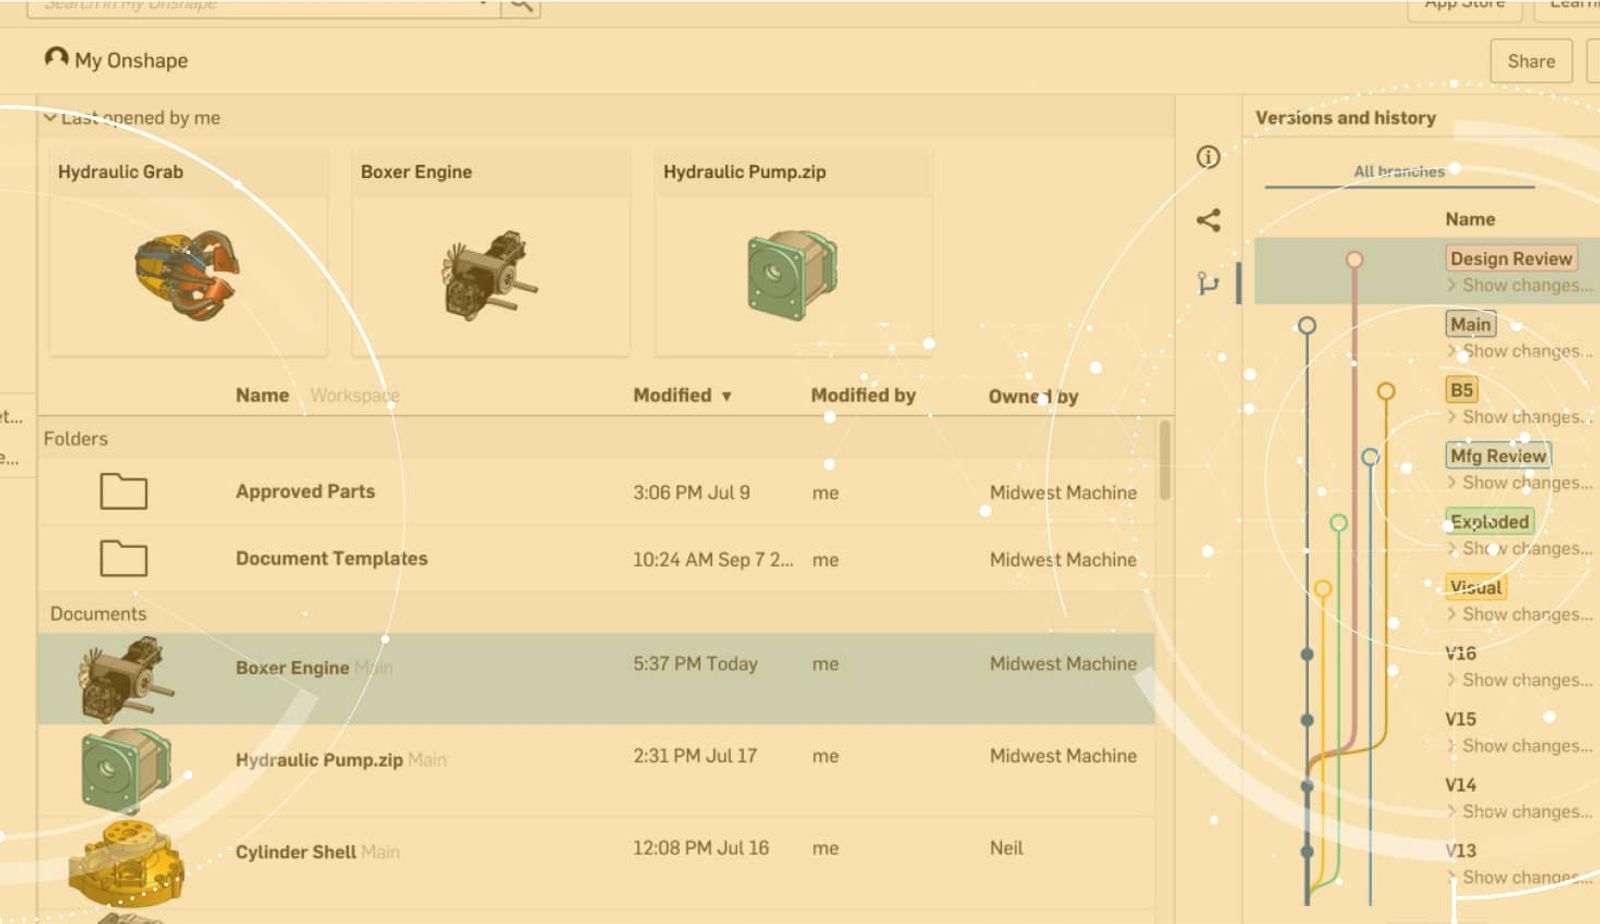
Onshape’s version and history graph provides an audit trail of every design change -- from formal versions and revisions to discrete feature edits. To compare any two points in this history, use this button in the Versions and history tree:
If you are comparing a multi-part Part Studio, or an Assembly, it is possible to have issues with visibility. Perhaps there are internal parts that are obscured by casings or smaller parts that are more difficult to visualize due to their geometric arrangement. In these situations, you can use the context menu (right-click in graphics space) to hide selected parts and sketches.
In this example, let’s compare an arduino case concept from a previous version to our current workspace. This is what the current workspace looks like:
Since my previous versions, I have inserted the internal electronics. To make it viewable in the Part Studio, I made the cover transparent. However, transparency is not captured when comparing history entries. In this situation, you should use the workflow for hiding specific parts.
Note that the parts stay hidden as you use the slide bar to oscillate between history entries (so long as your part exists in both spaces). Another way you can visualize the internals is to use the secondary view cube and select “Hidden edges visible.” This method will not allow Onshape to highlight the differences in color, but it does allow you to see all parts at the same time.
Latest Content
- Blog
- Evaluating Onshape
- Arena PLM Connection
The Cloud-Native CAD-PDM-PLM Workflow That Finds Problems Before They Cost You
06.11.2026 learn more- Blog
- News from Onshape @ PTC
- Artificial Intelligence
- Robotics
How Multi-Agent Orchestration Between Onshape and NVIDIA Improves CAD-to-Simulation Workflows
06.01.2026 learn more- Blog
- Evaluating Onshape
- Robotics
- Aviation, Aerospace & Defense
- Collaboration
- Integrations
- Arena PLM Connection
- Data Management
Why the Best Hardware Teams Have Started Talking Like Software Engineers
05.28.2026 learn more