
2:50
Custom Tables are built in a Feature Studio just like Custom Features, but they are distinctly different. They are not added to the Feature List at all and are only accessed through the Custom Tables tab on the right of the interface. Because of this, Custom Tables only execute on a fully generated Part Studio.
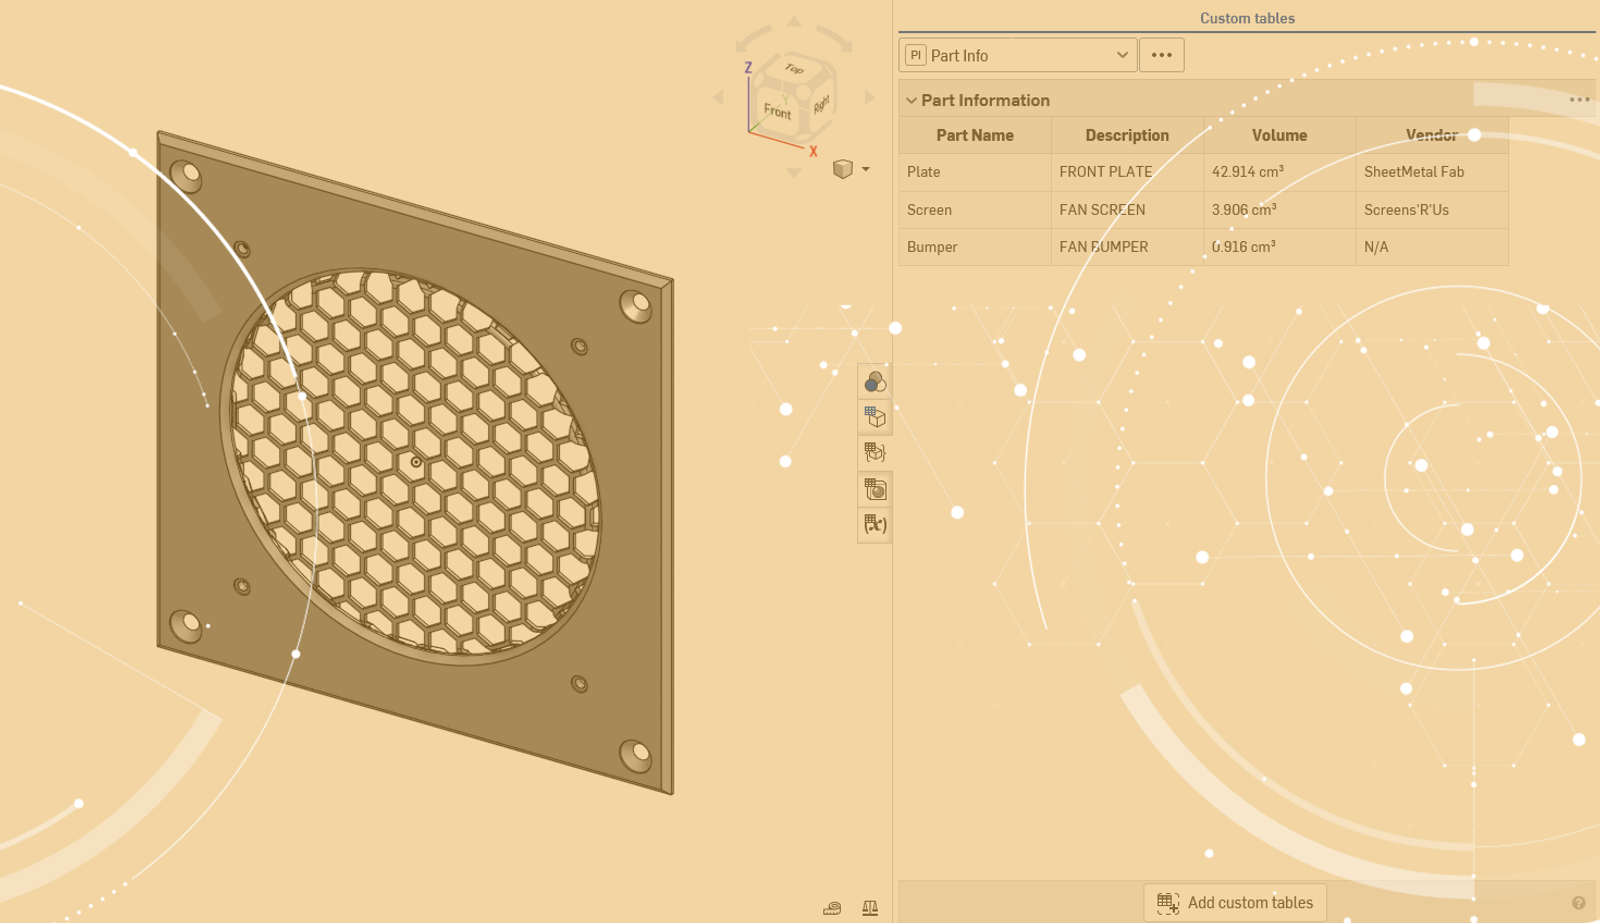
In this Tech Tip, we will build a basic Custom Table to list the part name, description, volume, and vendor for all the parts in a Part Studio.
To create a new Custom Table, select the + at the bottom of an open document to add a Feature Studio. A new Feature Studio always starts with the FeatureScript version and an import for all the functions in the FeatureScript library. In this case, it is best to replace geometry.fs with table.fs because it doesn’t link to all of the FeatureScript functions and is faster.
Start typing “define table” and the Feature Studio automatically completes it for you. Name the feature “Part Info”.
The precondition is where you can define user inputs. For this example, we don’t need any, but a full walkthrough of all the inputs you can use in FeatureScript are located here.
There are three general steps to creating a Custom Table.
Step 1: Define the Columns
First, you must use an array to define the columns. Use the function tableColumnDefinition for each value in the columnDefinitions array. The tableColumnDefinition takes in an internal ID, column name, and optionally the cell alignment and associated entities.
Step 2: Define the Rows
Next, under the array declaration for the rows, define a for loop that will cycle through all the parts in the studio. To do this, use the condition below. More information on queries is located in the Standard Library Documentation.
Then, define variables for each of the columns:
The getProperty function is how you can grab Standard and Custom Properties. For Standard Properties, you only need to define the entity (the part declared in the for loop) and propertyType. Custom Properties require an extra parameter named customPropertyId that you can get inside the properties dialog in the company settings:
CustomPropertyId is only necessary when you select CUSTOM for the PropertyType. You can get the ID in the company settings under custom properties. The volume is defined with the evVolume function. It takes in the entity parameter for the part.
To finish the for loop, append the values for each variable to the rows array:
The value is entered as a map (key/value pair), using the IDs we declared in the tableColumnDefinition.
Step 3: Return the Finished Table
Finally, end the entire script with a return value for the finished table:
The table function takes in three arguments: the table title, columns, and rows.
Now, you are ready to test it. Build a Part Studio with a few parts. Go to the Custom Table tab on the right and select the Part Information table:
This is a simple example, but you could use this to report information on selected data by using a precondition, or even report information from a Custom Feature.
For a copy of the full script, go to the public document here.
Watch the video below to learn more about building Custom Tables.
Interested in learning more Onshape Tech Tips? You can review the most recent technical blogs here.
Latest Content
- Blog
- Becoming an Expert
- Assemblies
Built to Scale: Why Large Assemblies Don’t Slow Down in Onshape
07.16.2026 learn more- Blog
- News from Onshape @ PTC
- Artificial Intelligence
Onshape Labs: AI in CAD Guided by Designers, Driven by Innovation
07.15.2026 learn more- Blog
- Evaluating Onshape
- Data Management
- Collaboration
- Artificial Intelligence
How the Most Underrated CAD Feature Improves Design Workflows
07.09.2026 learn more