
2:00
By using the context menu for a specific part (or group of selected parts), you can assign a material (and thereby, a density), as well as specify a custom density without assigning a material. Onshape provides a Material Library for your use, and you are also able to add (or remove) your own Custom Material Libraries.
In today’s Tech Tip, we will discuss the main workflow for creating a Custom Material Library in Onshape. Let’s dive in!
Export the Onshape Material Library
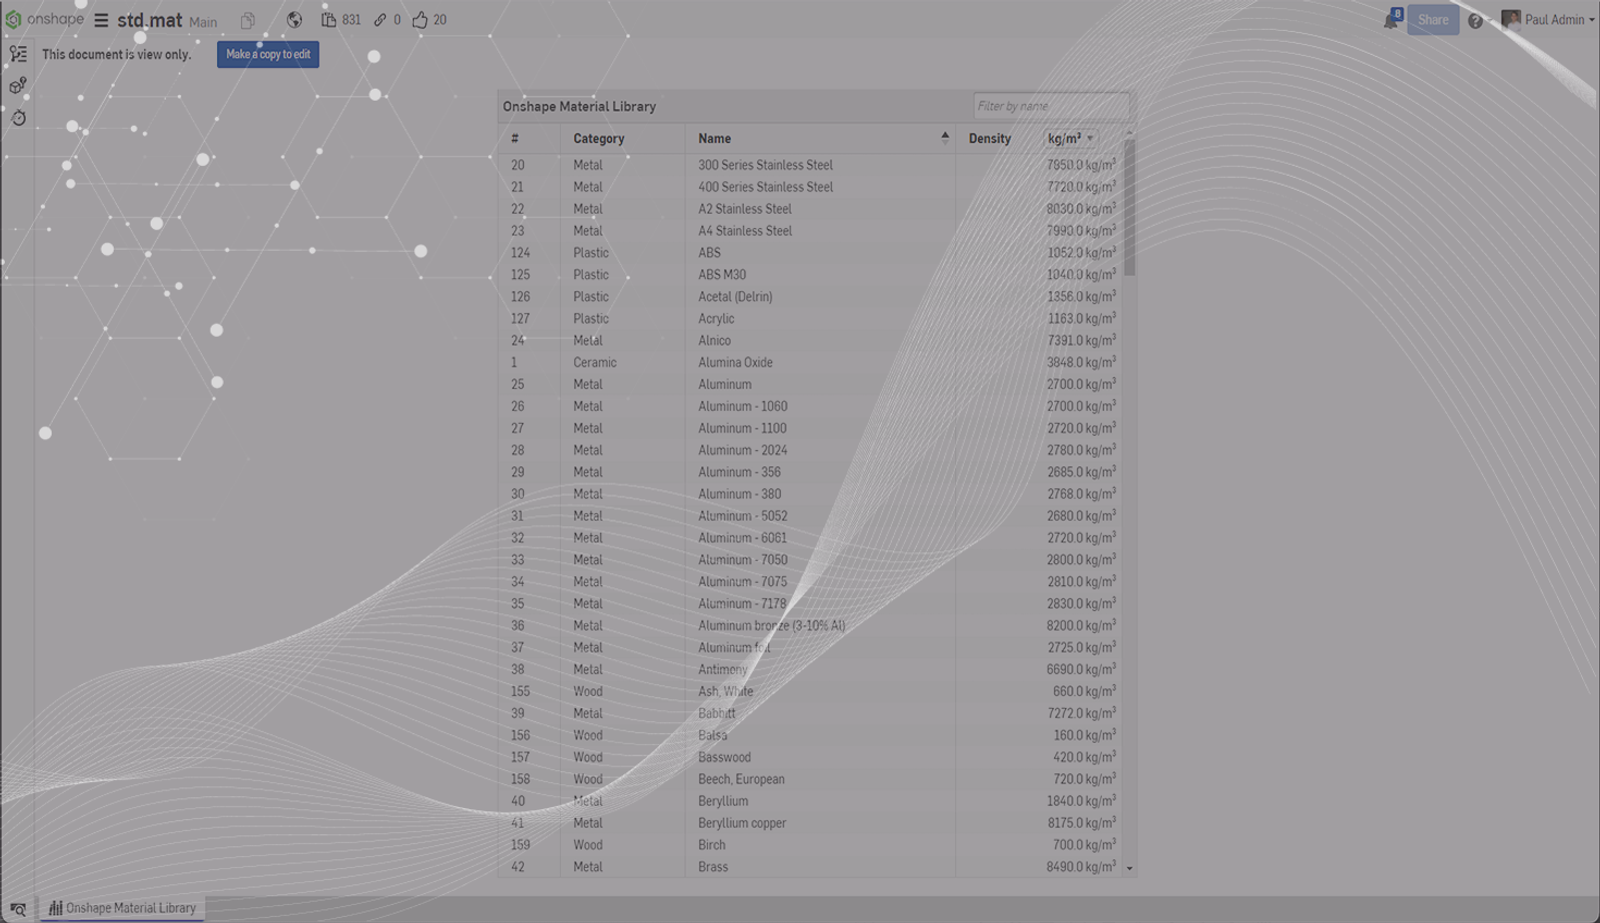
First, search the public filter for the standard Material Library (std.mat document) or go to the Onshape standard material library.
Open the document, right-click on the std.mat tab and select Export. The tab is exported as a CSV file (in UTF-8 format).
Import the Library into a Spreadsheet, Edit & Export
You can now open the CSV file you just exported to start editing. Leave the first row as is since each column name (Category, Name, Density) is necessary for export.
After editing, save the spreadsheet with a new name and export it as a CSV file (in UTF-8 format) from the editor.
Note: You can create multiple Custom Material Libraries to aid in organizing materials for your users.
Import the Edited Library to Onshape
Create a new Document in your Onshape account. The name is irrelevant because the name of the Document is not used for the name of the library; the name of the tab is used for the name of the library.
Select the “+” icon and select “create Material Library”. It will add another tab to your Document to hold the new Material Library.
Right-click on the new Material Library tab and select “Update”.
Share the Library With Others
Once the new library has been created, you can share it with others. Hit the “share” button and select the individuals or teams you want to share the Document that contains the library with. The minimum user permission must be “view”.
Manage Your Custom Libraries
If a Material Library Document has been shared with you, even just as “view only”, you can simply add the Material Library to your preferences list in your account settings.
This new library will be available in all other Documents you have access to through the Material Library dialog.
Interested in learning more Onshape Tech Tips? You can review the most recent technical blogs here.
Latest Content
- Blog
- Becoming an Expert
- Assemblies
Built to Scale: Why Large Assemblies Don’t Slow Down in Onshape
07.16.2026 learn more- Blog
- News from Onshape @ PTC
- Artificial Intelligence
Onshape Labs: AI in CAD Guided by Designers, Driven by Innovation
07.15.2026 learn more- Blog
- Evaluating Onshape
- Data Management
- Collaboration
- Artificial Intelligence
How the Most Underrated CAD Feature Improves Design Workflows
07.09.2026 learn more