
1:44
This week's Tech Tip focuses on how split face operations can be used before creating a sheet metal part.
Converting a solid part to sheet metal is a fast and effective way to produce a sheet metal part. A solid part is constructed so that it represents the general shape of the model, and is converted to form the sheet metal part.
This option takes each face of the solid, and breaks it out into all the possible faces to be folded. The user can exclude faces not needed for the sheet metal part, select edges to bend, and can apply any additional end conditions.
In some situations, a sheet metal part will need to meet in the middle and not at an edge to form a seam. This would typically be done by creating two flanges that meet in the middle of the part.
However, there is another technique that can be used to produce this feature without creating additional flanges. Let’s take a look.
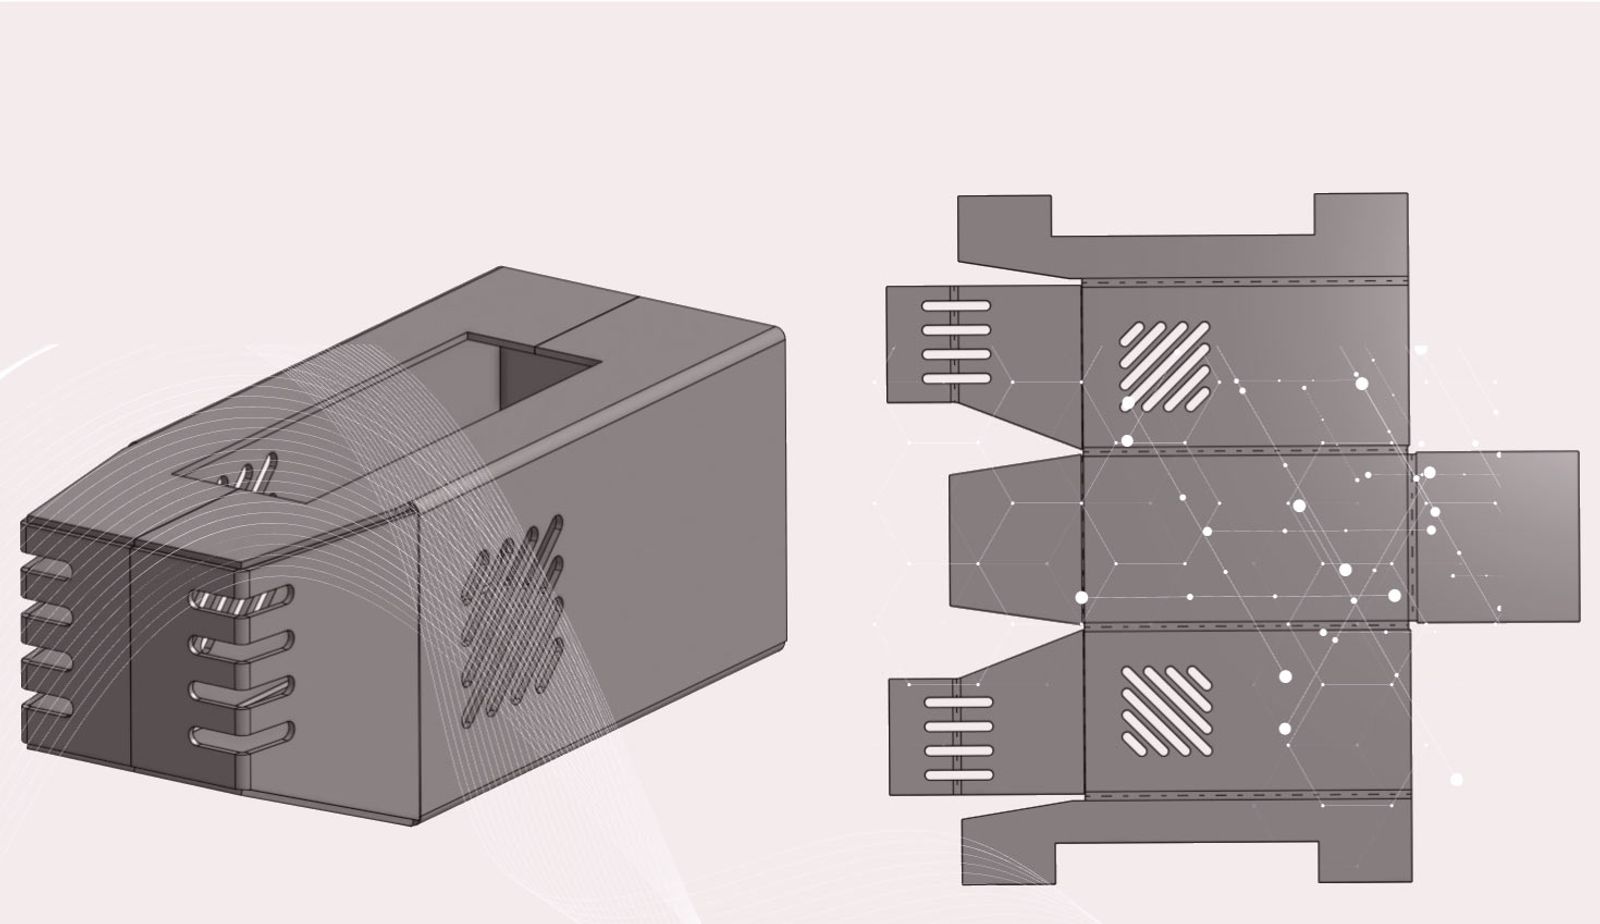
First, create a solid that represents the finished sheet metal part.
Next, use the Split Face feature to split the face or faces of the solid part where the seam will be located. In this example, a plane is used as the split tool, and splits the top and side of the solid part.
Now select the sheet metal feature with the option to convert, and select the solid part in the graphics area. Notice the faces that were split form two separate edges to bend. Once all appropriate edges have been selected as bends, the feature can be accepted and the model is complete.
By splitting the faces before converting, the sheet metal model produces the desired feature without adding additional flanges.
In addition, this technique can also be used with the Thicken option when creating a sheet metal part.
To learn more about Sheet Metal features in Onshape, check out the Simultaneous Sheet Metal self-paced course in the online Learning Center.
Interested in learning more Onshape Tech Tips? You can review the most recent technical blogs here.
Latest Content
- Blog
- Evaluating Onshape
- Collaboration
With Cloud CAD and PDM, Flexible Design for a Summer Coolcation
07.02.2026 learn more- Blog
- Artificial Intelligence
AI in Mechanical Design: The Fourth Generation of Transformation
06.25.2026 learn more