
2:38
Typically in design it’s fairly simple to apply an emboss or engrave feature to a geometry with a planar surface. The normal workflow is to generate a sketch on a datum plane, surface or planar face, and apply an extrude to add or remove geometry. However, applying a similar workflow and adding text to a cylindrical feature tends to be more complex.
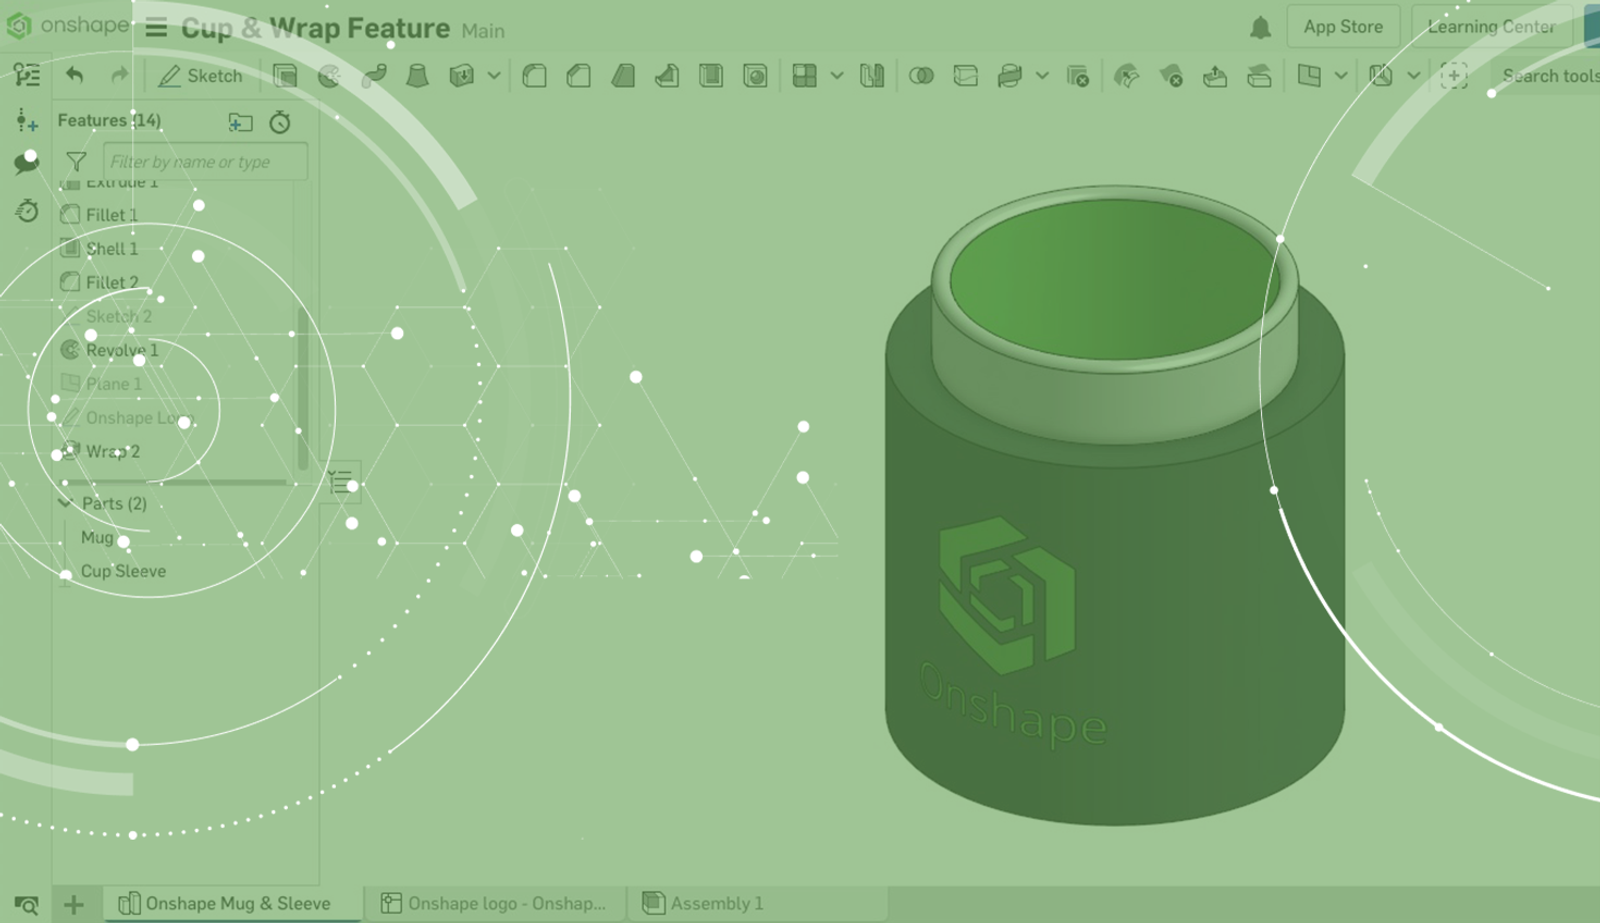
To mitigate this issue, Onshape developed the Wrap feature. The Wrap feature allows you to wrap a surface or sketch entity around a cylinder with ease.
Today’s Tech Tip will focus on using the Wrap feature to emboss or engrave text on a cylindrical surface.
To apply a text or imported DXF sketch feature to a cylindrical surface, select the Wrap feature icon located along the top of the interface on the main toolbar. Once selected, the Wrap dialog will appear with several options displayed.
The Wrap feature icon:
At the top of the dialog you can select Solid body, Surface body or Split face. Additional dialog options will appear depending on your selection type.
For instance, if the Solid body option is selected, boolean options such as New, Add, Remove and Intersect will display. Additionally, the Trim to Target checkbox and the Thickness option appear. The Trim to Target checkbox hides the tool when it goes beyond the borders of the target. Whereas, the Thickness option provides thickness to the selected entity. When enabled, the Specify anchor points option matches one point of the tool to target and assigns a location. To perform an Emboss feature with the wrap tool, ensure the Solid body option is selected and choose the Add boolean feature. Conversely, to perform an Engrave feature, while the Solid body option is chosen, select the Remove boolean feature.
Similar to the Solid body, when the Surface body option is chosen, the Trim to target checkbox displays.
However, when the Split face option is selected, the boolean options, Trim to target and Thickness options are unavailable.
Next, click inside the Tools field and select the sketch entity in the feature list or graphics area.
Afterward, click inside the Target field and select the cylindrical face in which the wrap will be applied.
Select the arrow, to the left of the Position name, to expand additional dialog options such as Angle, U shift and V shift. The Angle option requires a value in degrees to rotate the entity. The U shift option transforms the entities along the circumference of the cylindrical geometry. The V shift option transforms the entities along the height of the cylindrical geometry.
In addition, within the Graphics area the Triad Manipulator is shown and provides you with similar functionality as the Position options within the dialog.
Select the green checkmark button to accept the options and exit the dialog.
Incorporating the Wrap feature in your daily CAD workflow helps you streamline your design and provides an easy solution to applying emboss or engrave features to your cylindrical geometry.
Interested in learning more Onshape Tech Tips? You can review the most recent technical blogs here.
Learn more about the Wrap feature by watching the video below:
Latest Content
- Blog
- Evaluating Onshape
- Collaboration
With Cloud CAD and PDM, Flexible Design for a Summer Coolcation
07.02.2026 learn more- Blog
- Artificial Intelligence
AI in Mechanical Design: The Fourth Generation of Transformation
06.25.2026 learn more