1:08
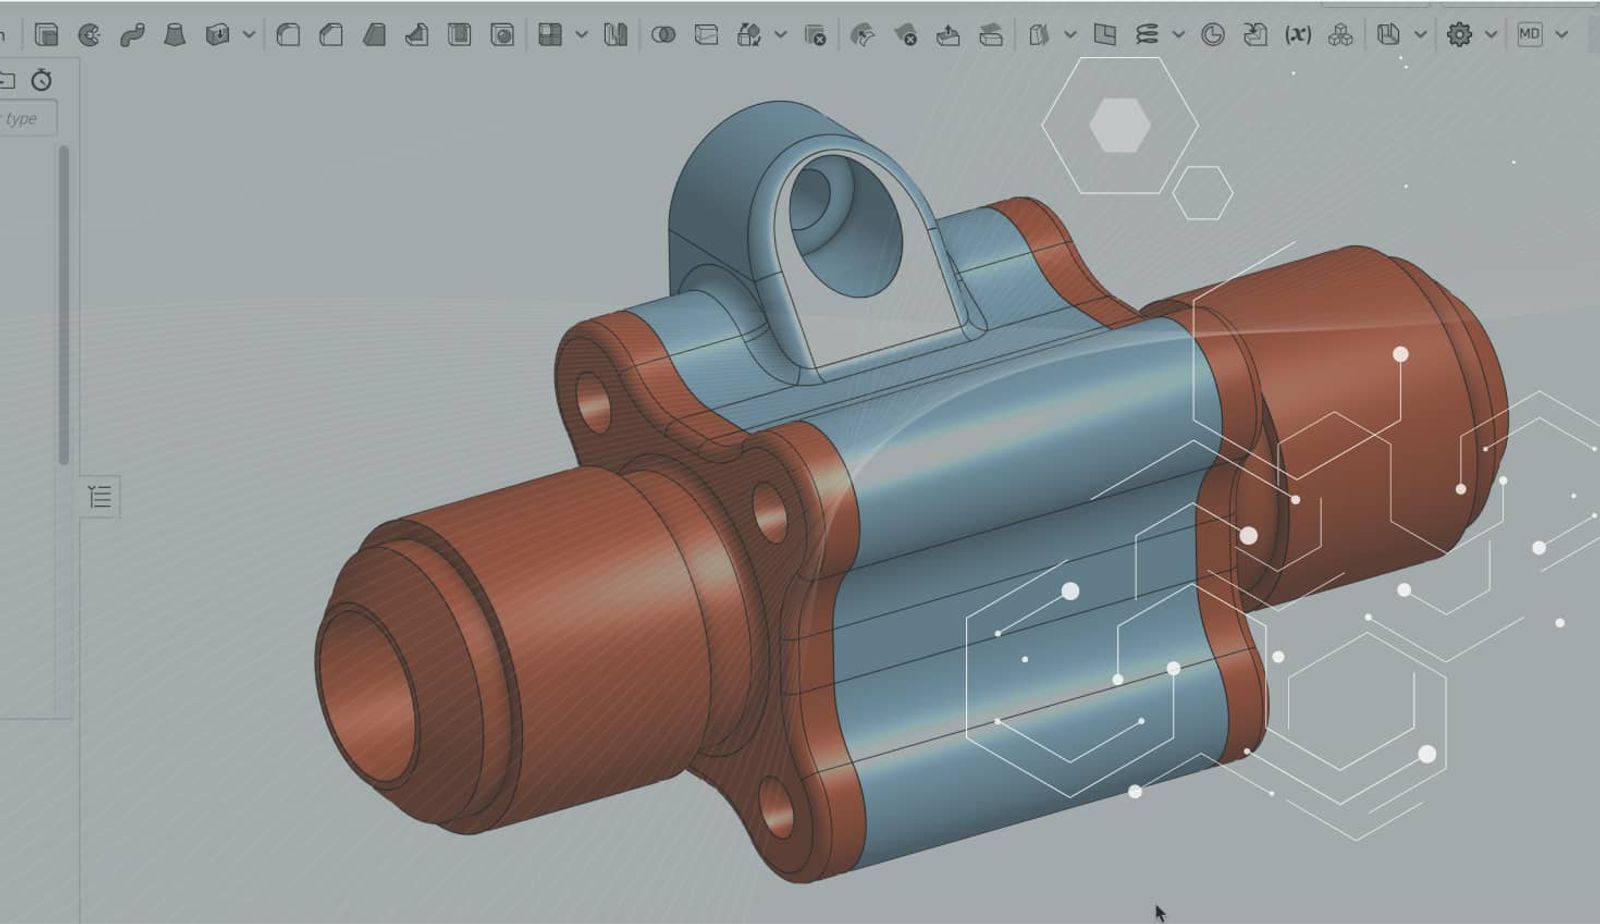
A somewhat overlooked power-user tool to add to your Onshape utility belt is Window Select. Although this seems like a standard selection method, there is actually some subtlety built into this modality of selection in Onshape. Depending on the direction in which you drag your mouse, the scope of entities that will be selected will change.
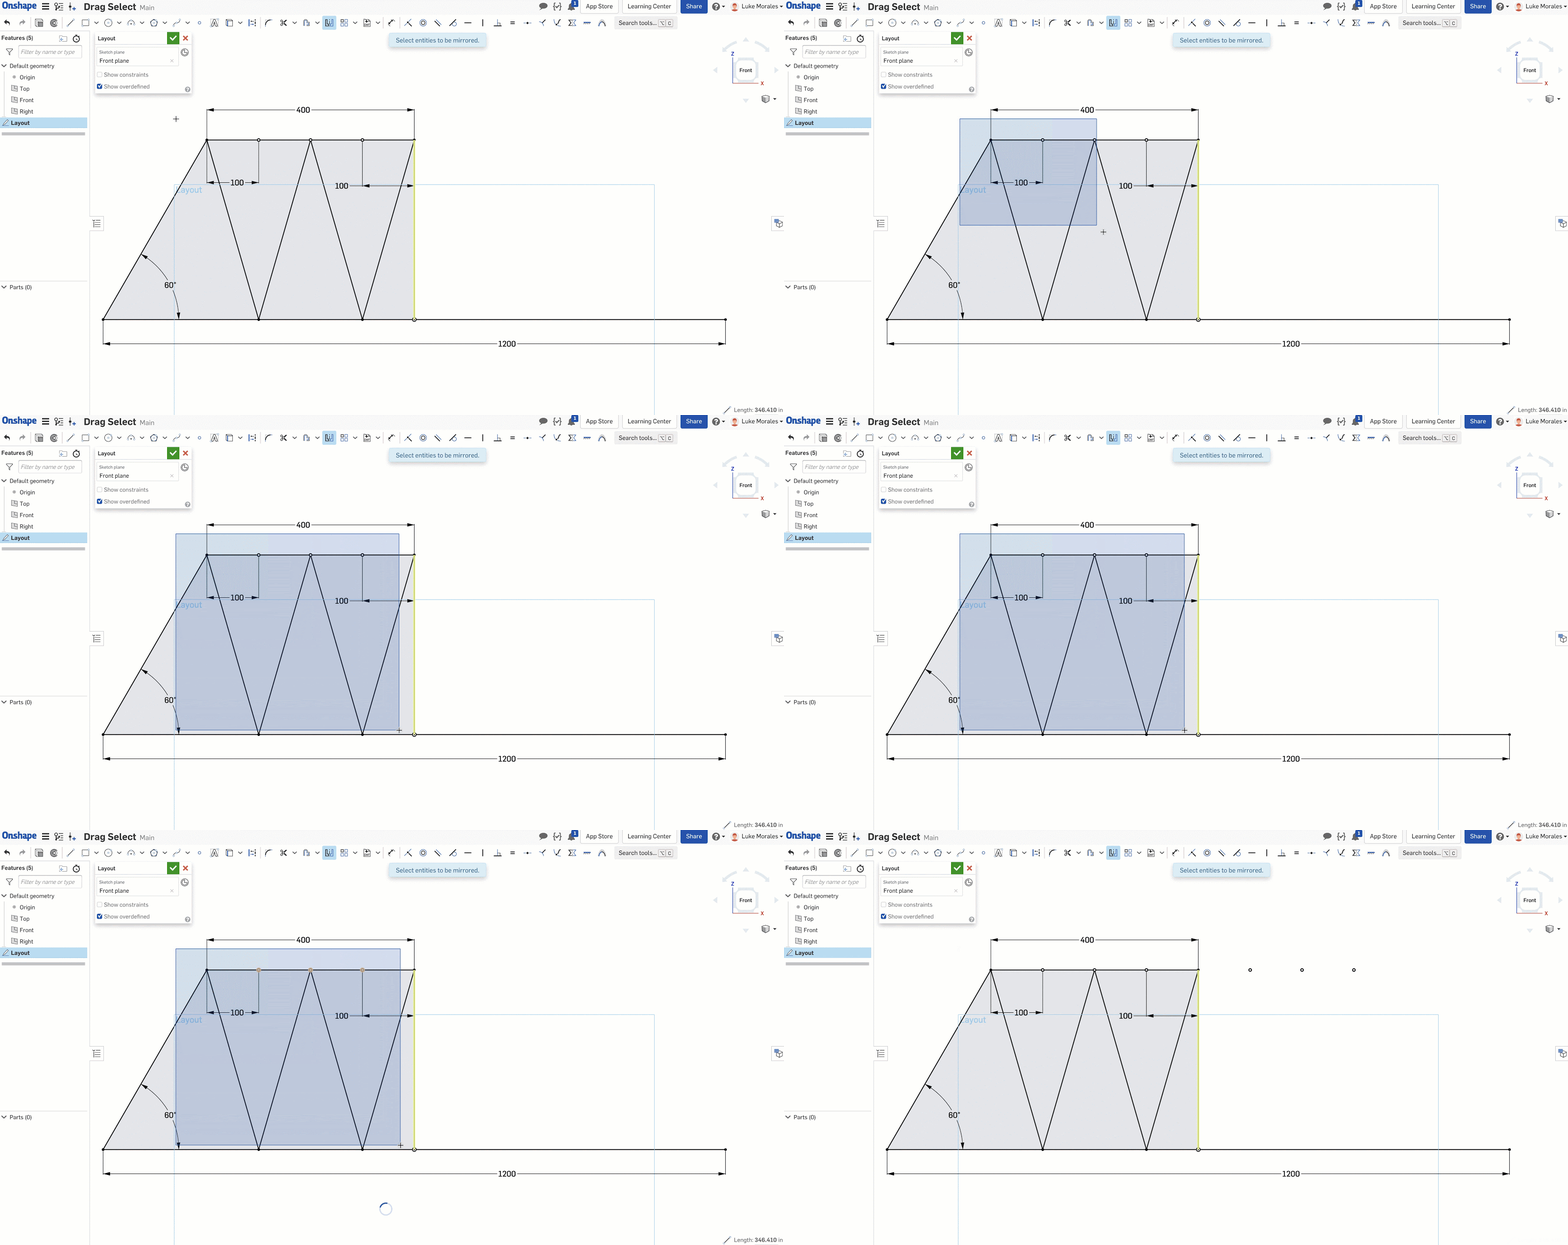
Let’s take the example of working in a sketch. In this example, I am creating the layout of a truss system. While creating the layout sketch, I want to mirror the layout I made from one side to the other. Of course, I could individually select each entity and take advantage of Onshape’s persistent selection. However, using Window Select in this case is more useful.
If I drag from left to right, the selection window will appear blue and will capture entities that are completely enclosed by the selection window.
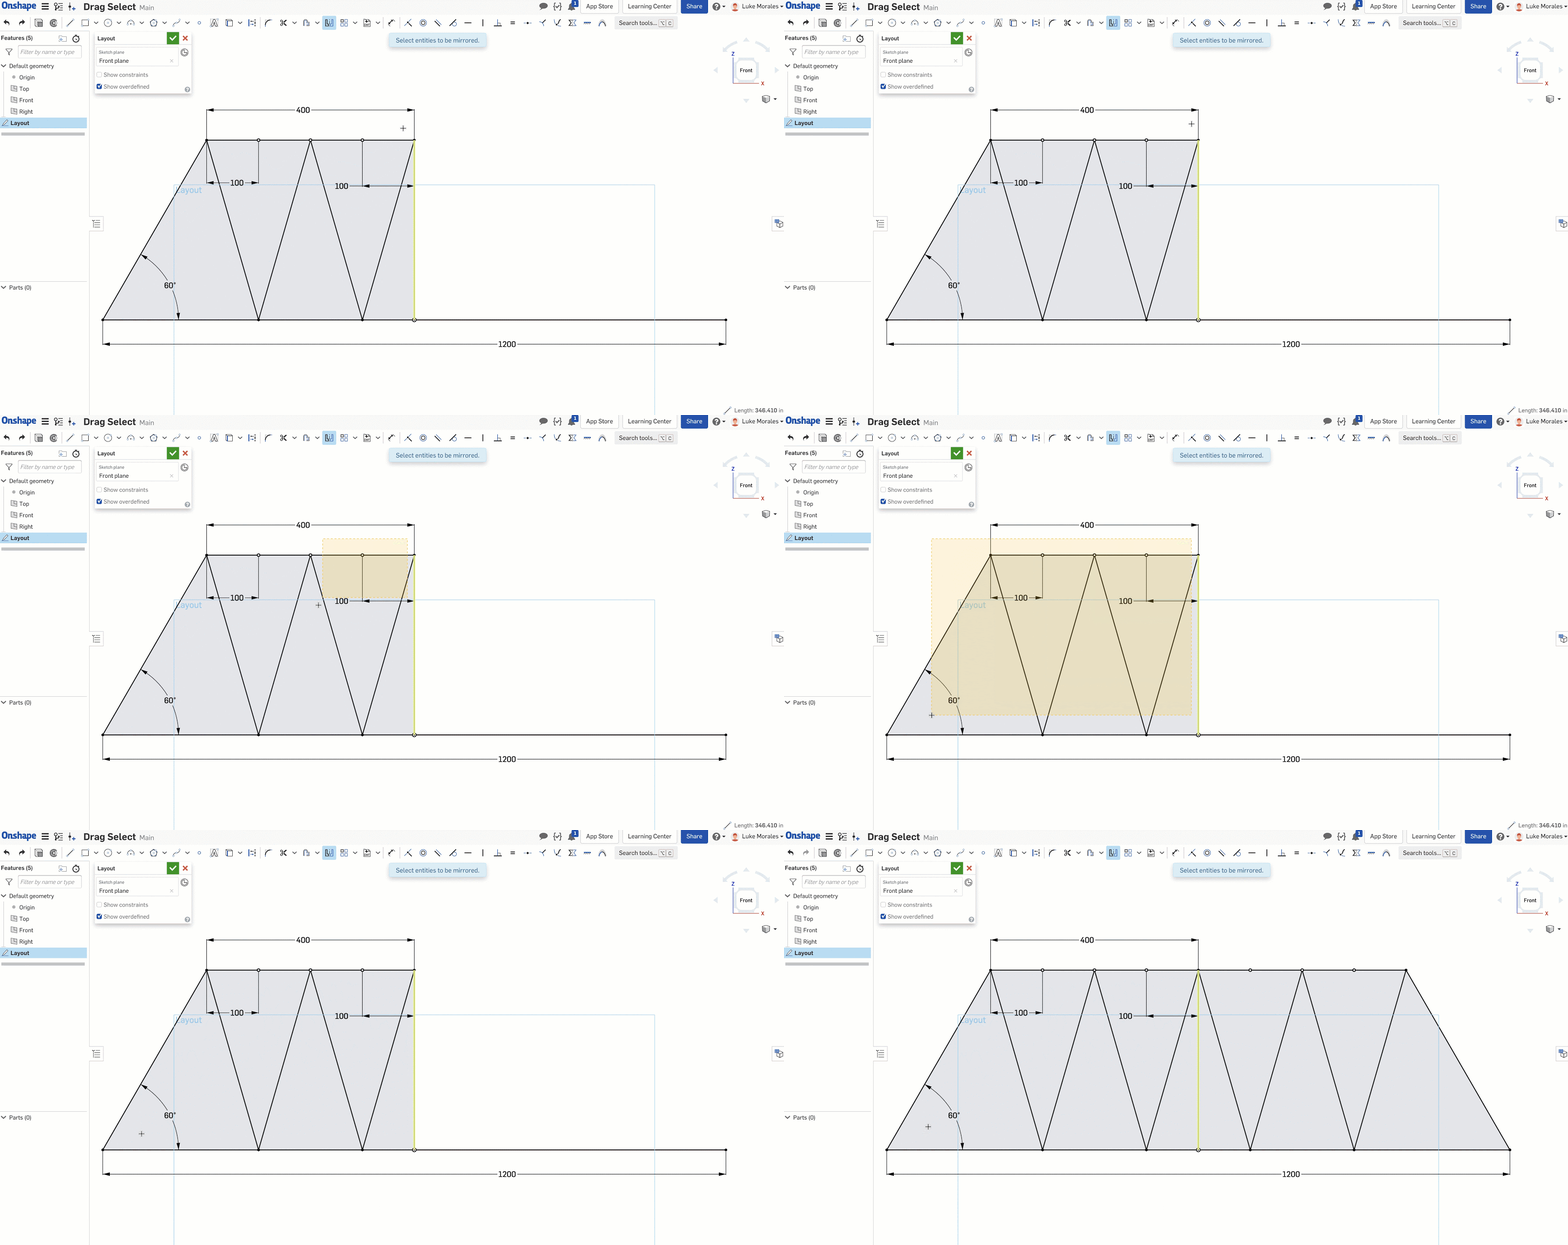
Conversely, if I drag from right to left, the selection window will appear yellow and will capture entities that have any overlap with the selection window.
Both of these selection styles have valuable use cases. Depending on the complexity of the design and quantity of entities surrounding a desired selection region, one of these window selection options may prove more efficient than the other.
For more Onshape Tech Tips, you can review the most recent technical blogs here.
Latest Content

- Blog
- Becoming an Expert
- Sheet Metal
Two Views, One Model: Faster Sheet Metal Design in Onshape
02.12.2026 learn more
- Blog
- Customers & Case Studies
- Collaboration
- Consumer Products
RigStrips Boosts Design Speed Using Onshape's Collaborative Tools
02.11.2026 learn more
- Blog
- Becoming an Expert
- Features
- Data Management
How Onshape's Repair Tool Fixes Broken References
01.29.2026 learn more


