3:51
Onshape users will sometimes need to have metadata or properties referenced in their drawings. Whether it is using a note callout, or creating a custom template, the ability to display properties in a drawing is invaluable. Today’s tech tip is focused on linking metadata/properties to Drawing Notes. To be more specific, we’re looking at the difference between drawing properties and reference properties. This tip can be used to either edit the sheets/drawings for a one-time-use or when creating a drawing template.
In either case, creating links between properties and notes can save time on the back end of editing drawings and provide a way to ensure you’re always displaying the most recent and accurate property values of your choosing.
To start creating a note in a drawing, select the icon in the toolbar. You can either create a freestanding note or anchor it to a reference by hovering in the graphics space until a red triangle appears (the latter will create a note with a leader attached to the chosen reference).

Now, the magic happens when you begin to interact with these two icons in the Note dialogue: Insert drawing property, and insert reference property .


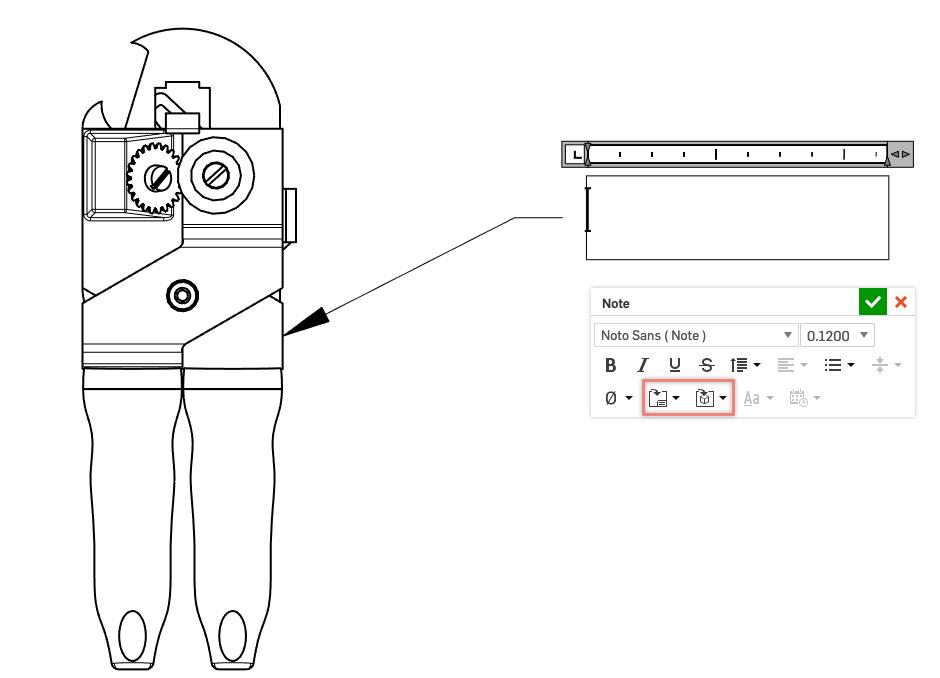
Drawing properties will link the note to properties specific to the drawing. These include properties related to user interactions with the drawing such as:
- Drawing drawn by
- Drawing date drawn
- Drawing last changed by
- Drawing last changed date
- Drawing approved by
- Drawing approved date
Or related to more drawing/sheet specific properties such as:
- Drawing state
- Drawing title 1, 2, & 3
- Sheet number
- Sheet size
- Drawing description
Drawing/Sheet Properties
To assign the properties to a drawing or sheet that is subsequently linked to a note, there are a few places to look. The first is the context menu of the drawing tab, which can be accessed by right-clicking on the drawing tab and selecting “Properties” from the context menu. These properties are on the drawing level. In this can opener drawing example, I am referencing the Assembly ASM-217. To match to that, I can open up the context menu, select properties, and assign this number to the drawing as shown in the video below:
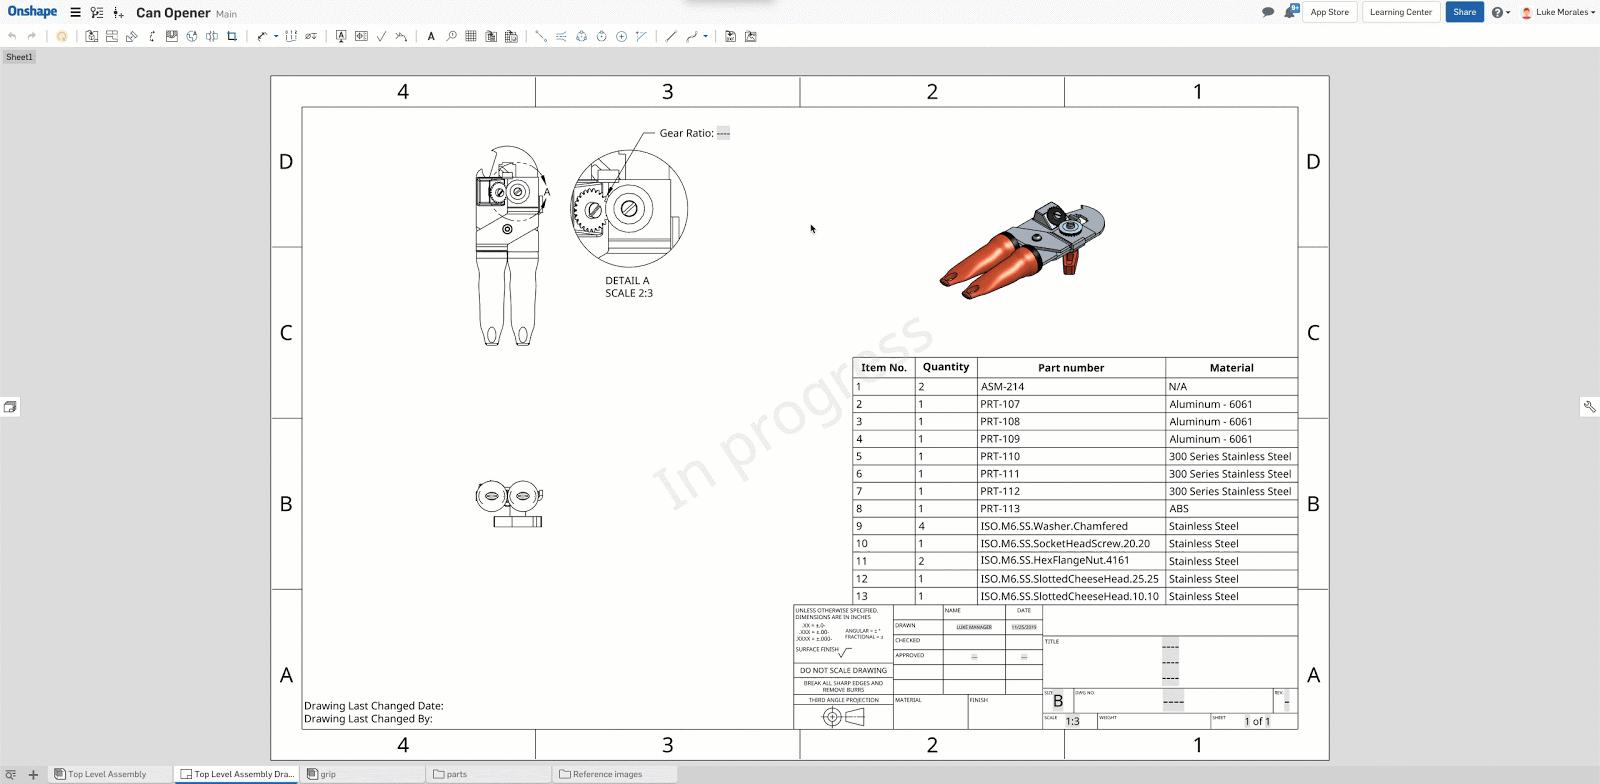
In the preset drawing template that Onshape provides, some drawing and reference properties are already linked. In this example, the drawing number automatically appeared in the title block. If you want to create your own custom template, you can find a detailed walkthrough of the best practices here.
If you want to access some sheet-specific options, a second place to make changes is in the sheets context menu. You can access these properties using one of the following options:
- Right-click in the graphics space
- Opening the sheets menu by interacting with the sheets icon
- Using the shortcut “Ctrl + S” while in a drawing and right-click on the desired sheet to then change properties.
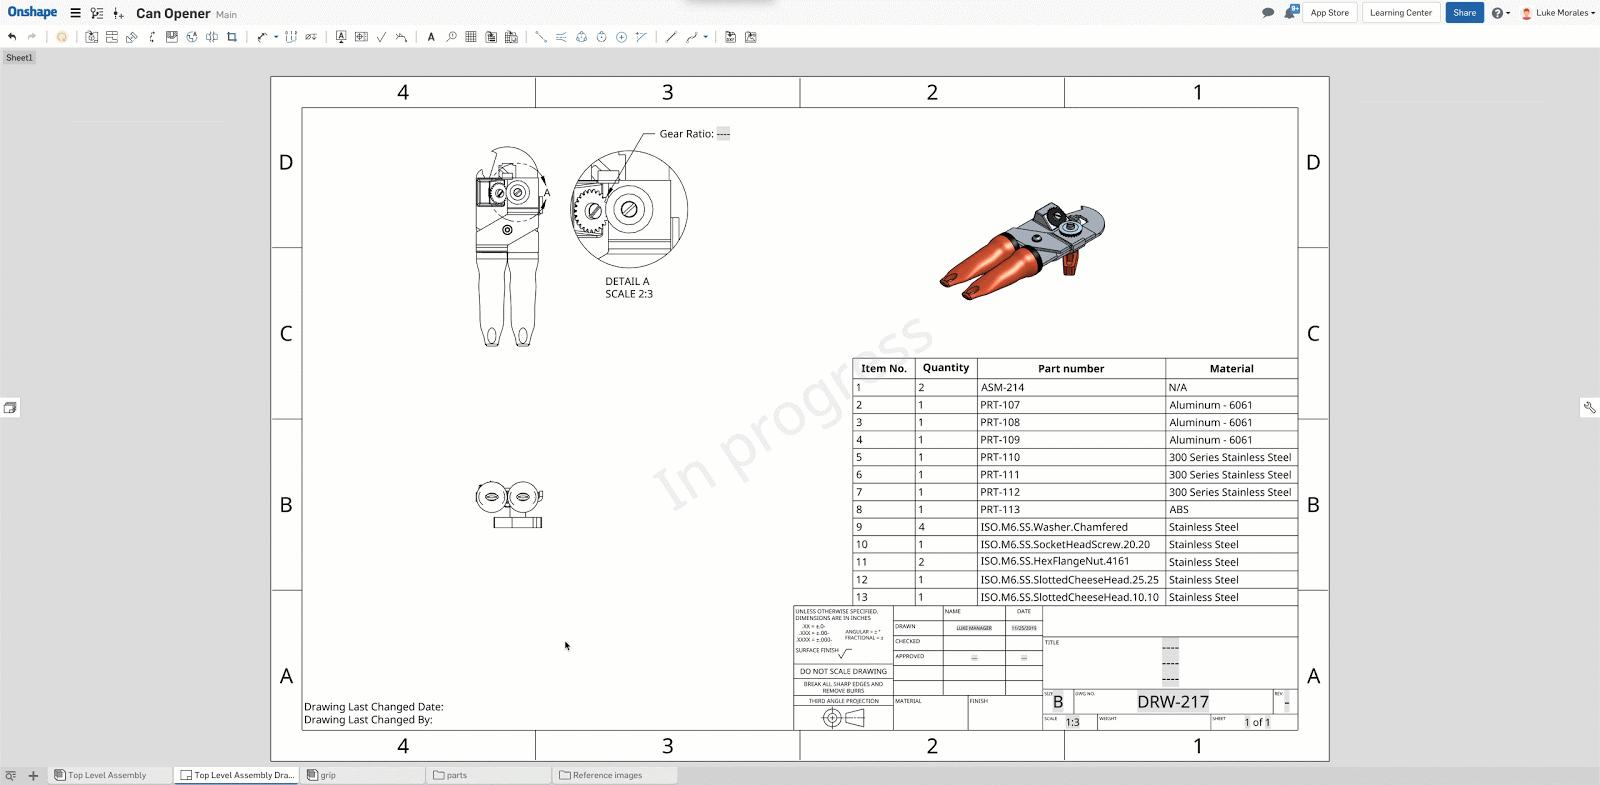
Sticking with the same example, let’s say I wanted to bring in some accountability to this project. An easy way to do this is to link notes to drawing properties associated with user interaction and edits, specifically: “Drawing last changed date,” and “Drawing last changed by.” These properties will help with visibility into drawing edits. I can add these properties to the drawing as shown in the following video:
Reference Properties
Conversely, reference properties will link to properties specific to the reference. For example, If you have metadata assigned to a revisoned assembly and create a drawing of that revision, linking a note to “Reference properties” will link to the metadata associated with the assembly at that revision state.
Let’s continue with this can opener example. The “Title 1” property and a custom “Gear Ratio” property are both blank. Once I fill in these properties in my assembly, it will be referenced automatically in the drawing as long as the notes are linked to that reference property.
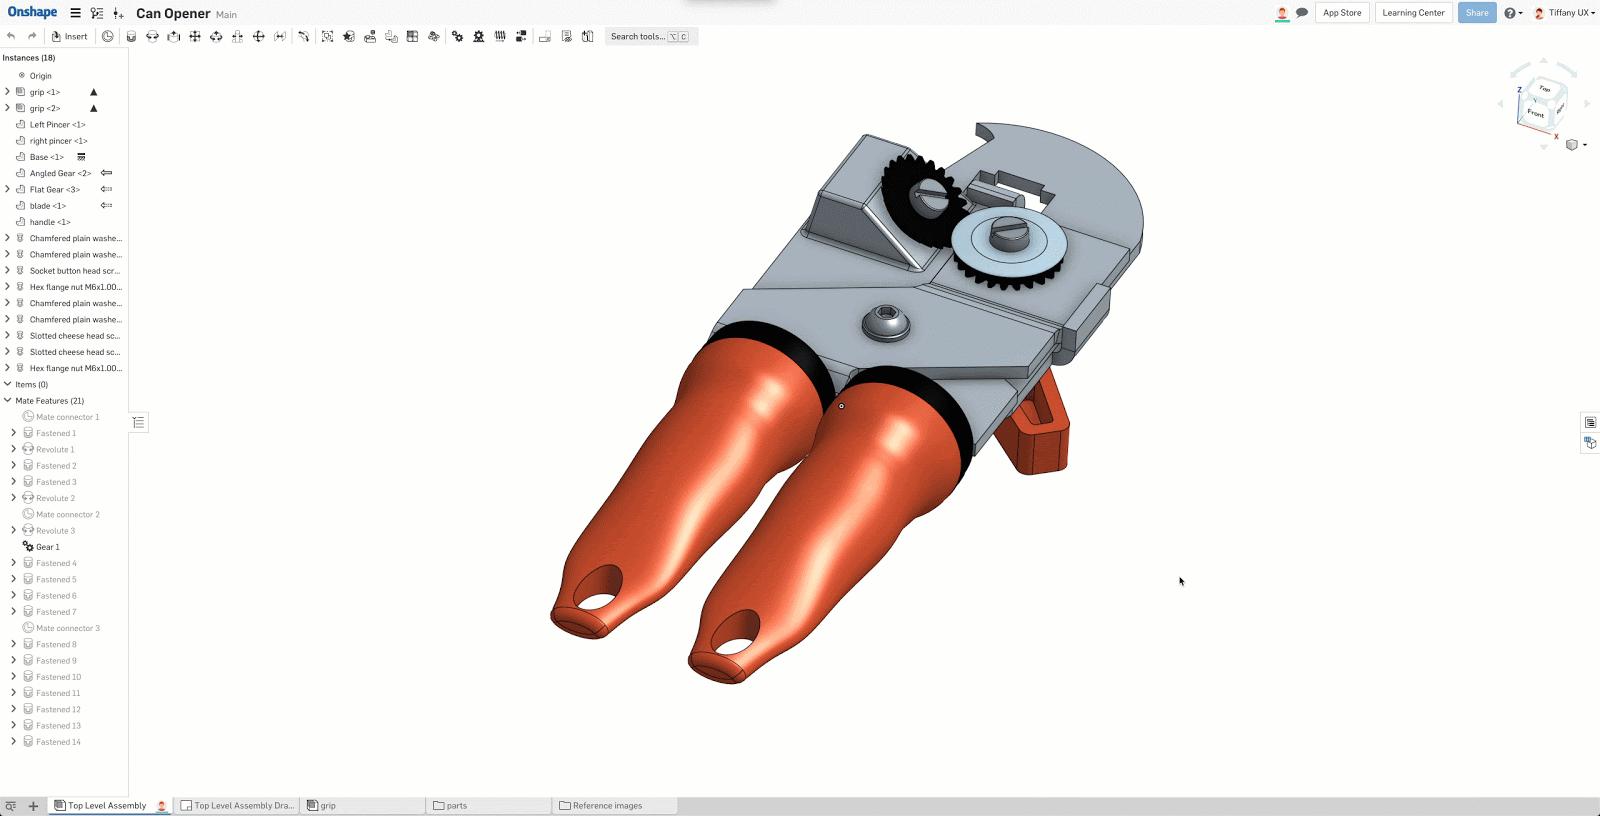
In the above video, a second user, “Tiffany UX,” edited the document. She added the properties to the assembly and then switched to the drawing tab. The Title block automatically updated because of the predefined link to “Title 1.” Tiffany then linked the gear ratio property to the gear ratio note in the broken-out section view. This video shows the linking of a custom property to a drawing note.
Finally, after refreshing the browser, you can see that the note that originally displayed my name – associated with the “Last changed by” property – was updated to reflect the most recent user interaction.
Interested in learning more Onshape Tech Tips? You can review the most recent technical blogs here.
Latest Content
- Blog
- Becoming an Expert
- Assemblies
- Simulation
Mastering Kinematics: A Deeper Dive into Onshape Assemblies, Mates, and Simulation
12.11.2025 learn more
- Blog
- Evaluating Onshape
- Learning Center
AI in CAD: How Onshape Makes Intelligence Part of Your Daily Workflow
12.10.2025 learn more
- Blog
- Evaluating Onshape
- Assemblies
- Drawings
- Features
- Parts
- Sketches
- Branching & Merging
- Release Management
- Documents
- Collaboration
Onshape Explained: 17 Features That Define Cloud-Native CAD
12.05.2025 learn more


