1:02
Today’s tech tip is a little known productivity tip that can make a big difference if you spend a lot of time constraining sketches. Let’s take a look.
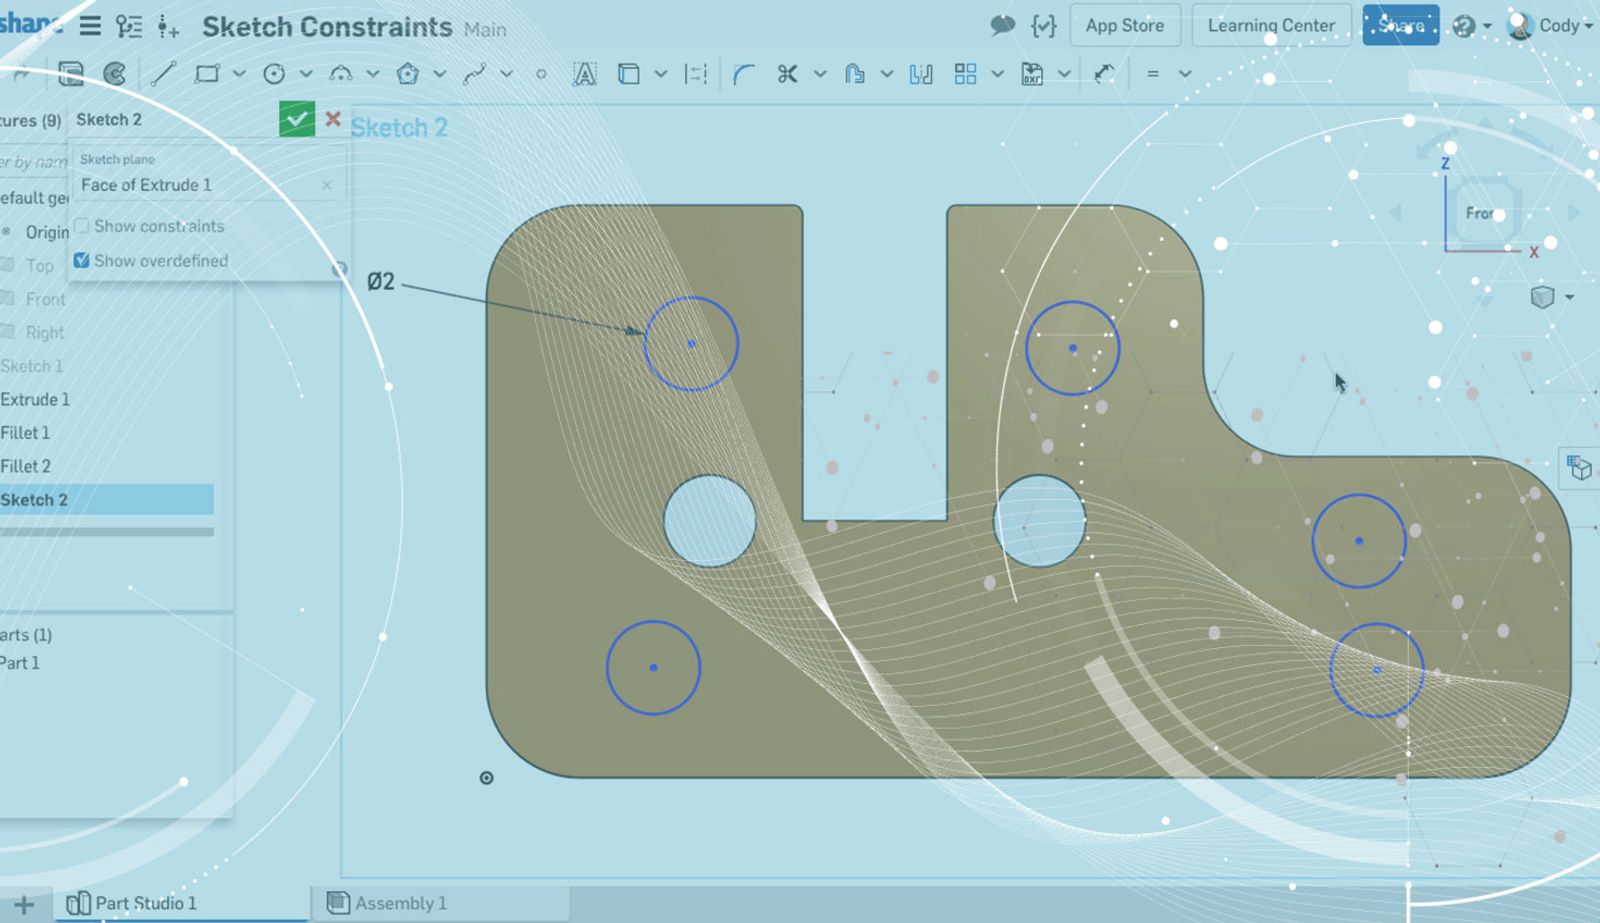
The most common workflow for applying constraints in a sketch is to select the geometry you want to constrain, then select the constraint from the toolbar. Take a look at the example below:
You can see in this example that we have five holes to constrain Concentric, and using the typical method of selecting geometry first and then selecting the constraint means that I have to click the Concentric button in the toolbar five times.
How can we speed up this process? The answer is simple. Select the constraint from the toolbar first, then select the geometry you want to constrain. Let’s take a look at another example.
In this example, we are selecting the constraint from the toolbar first, then selecting the geometry we want to constraint. This small change to the workflow means we only have to select the Concentric constraint from the toolbar once and it will remain active until it is de-selected.
That’s it! If you find yourself adding the same constraint several times in a row, this tip can save you a lot of clicks.
Latest Content

- Blog
- Becoming an Expert
- Sheet Metal
Two Views, One Model: Faster Sheet Metal Design in Onshape
02.12.2026 learn more
- Blog
- Customers & Case Studies
- Collaboration
- Consumer Products
RigStrips Boosts Design Speed Using Onshape's Collaborative Tools
02.11.2026 learn more
- Blog
- Becoming an Expert
- Features
- Data Management
How Onshape's Repair Tool Fixes Broken References
01.29.2026 learn more


