1:24
In a previous tech tip, we discussed how to manage custom properties in Onshape. This can be beneficial for a company when setting up their business workflows or taking full advantage of Onshape’s advanced search. Now that you know how to set up properties and use them, let’s review how to reset properties.
Within Onshape, properties can be controlled manually or programmatically. Manually, there are many ways to access part properties from various points within Onshape. Otherwise, configurations or FeatureScript can be used to drive properties.
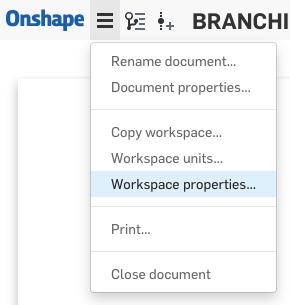
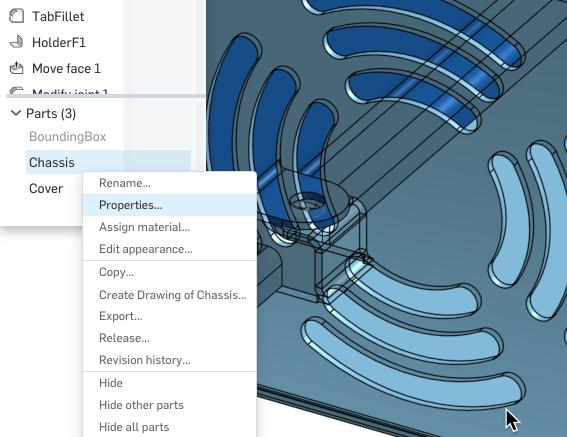
When looking to view or modify part properties within a Document, there are four main places to look to access this information. You can:
- View part properties from the Document menu in the top left of the window.
- Right-click on the Part Studio tab of interest and expand the options to reveal the parts.
- Right-click on a part in the parts list.
- Access the properties from the release or version dialog.

To reset all of the properties of a part, navigate to the one that you’d like to reset in the properties dialog and hit “Reset All.”
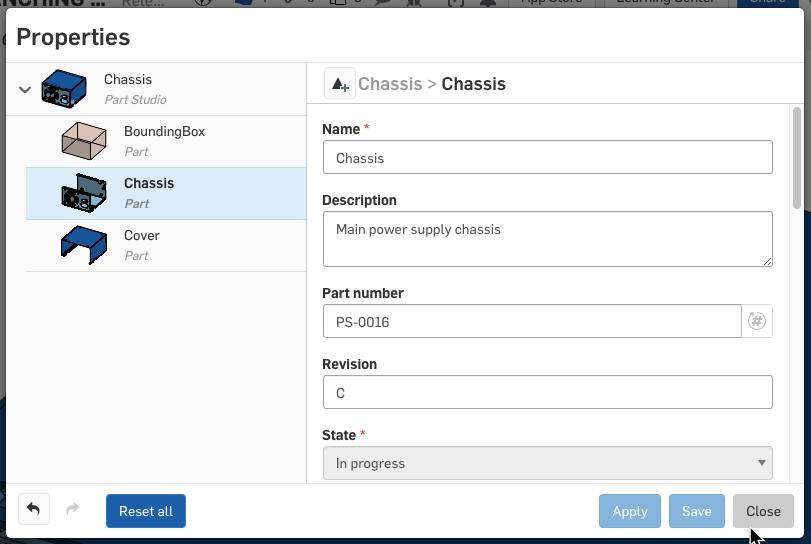

This action does more than it appears at first. As the tooltip indicates, “Reset All” will also reset some properties you can't see in the dialog (appearance, material, tessellation quality), and unlike just clearing out the fields manually, it fully clears all manual applications. This allows values calculated by custom features – which are normally overridden by those manual applications – to take effect.
Note that this action will not be available if you have configured part properties.
Interested in learning more Onshape Tech Tips? You can review the most recent technical blogs here.
Latest Content
- Blog
- Becoming an Expert
- Assemblies
- Simulation
Mastering Kinematics: A Deeper Dive into Onshape Assemblies, Mates, and Simulation
12.11.2025 learn more
- Blog
- Evaluating Onshape
- Learning Center
AI in CAD: How Onshape Makes Intelligence Part of Your Daily Workflow
12.10.2025 learn more
- Blog
- Evaluating Onshape
- Assemblies
- Drawings
- Features
- Parts
- Sketches
- Branching & Merging
- Release Management
- Documents
- Collaboration
Onshape Explained: 17 Features That Define Cloud-Native CAD
12.05.2025 learn more


