1:16
The Loft feature in Onshape is a powerful tool that allows you to create many different shapes. It has options that let you match vertices between your selections, control the loft with Guides and Start/End Conditions, and much more. Let’s take a look at one of the more useful Loft feature options: the ability to control a loft with a path.
When creating a loft, the first step is always to select the profiles. In the example below, we are building a bike frame and we need to construct a loft for the top tube.

Notice that after selecting our two profiles we have a straight loft between them, but what we want is a loft that follows the path of the spline. To accomplish this, check the “Path” checkbox and select your path from the graphics.

Notice the loft now follows the path very much like a centerline guide.
Keep in mind that your path must be “attached” to the start and end loft profiles. Coincident or Pierce constraints between the two are the most common approaches to constraining your path sketch to your loft profiles.
One final comment about the Path option in the Loft feature: When using a path, you also have an option to define “Section count.” This is meant to “fine-tune” the loft, so the higher the section count, the more precisely the loft follows the path.
So that’s it! If you use the Loft feature often but have neglected using a path, try this out.
Latest Content

- Blog
- Collaboration
- Education
- Enterprise
- Customers & Case Studies
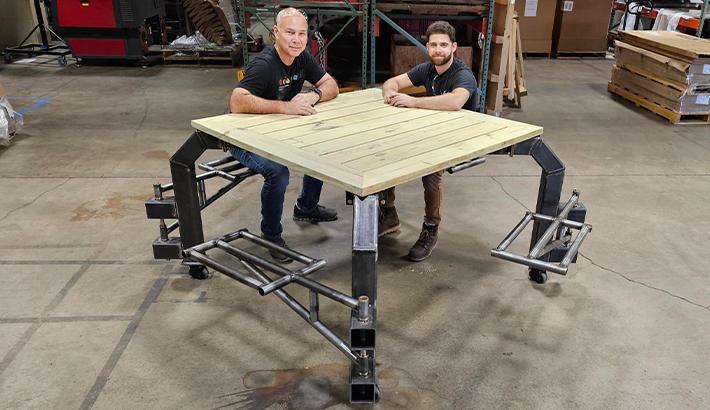
From Concept to Real-Life Impact: Building a First-of-Its-Kind Inclusive Picnic Table
01.09.2026 learn more

- Blog
- News from Onshape @ PTC
Onshape at CES 2026: Where Innovation Meets the Show Floor
01.05.2026 learn more


