1:31
Today's Tech Tip focuses on the Fill Surface feature and how guides can be used to control the surface geometry.
A Fill feature creates a surface patch over a closed boundary while matching position, tangency or curvature to surrounding geometry. Unlike the Loft feature, the fill surface can have as many boundary segments needed to construct a surface.
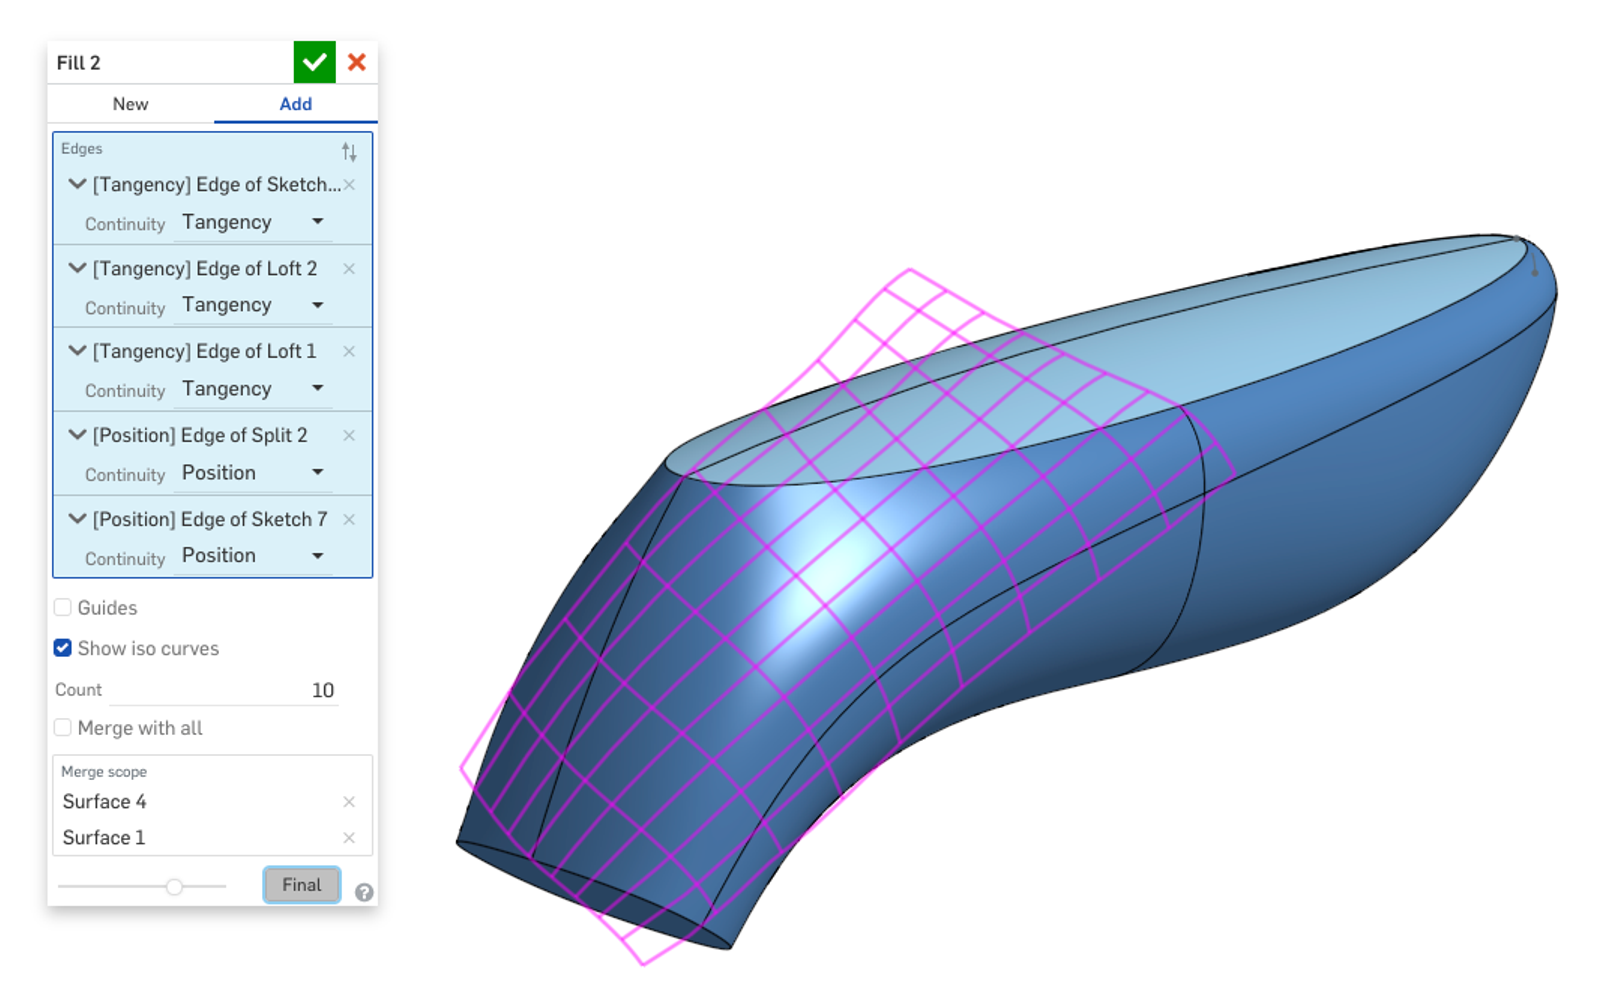
In most situations, matching position, tangency or curvature is enough to produce the desired end result. However, in some situations, additional constraints are required for more complex surface geometry. When these situations arise, a guide can be applied to act as a secondary level of control for the fill surface. Let’s take a look at how a guide can be used when creating a fill surface.
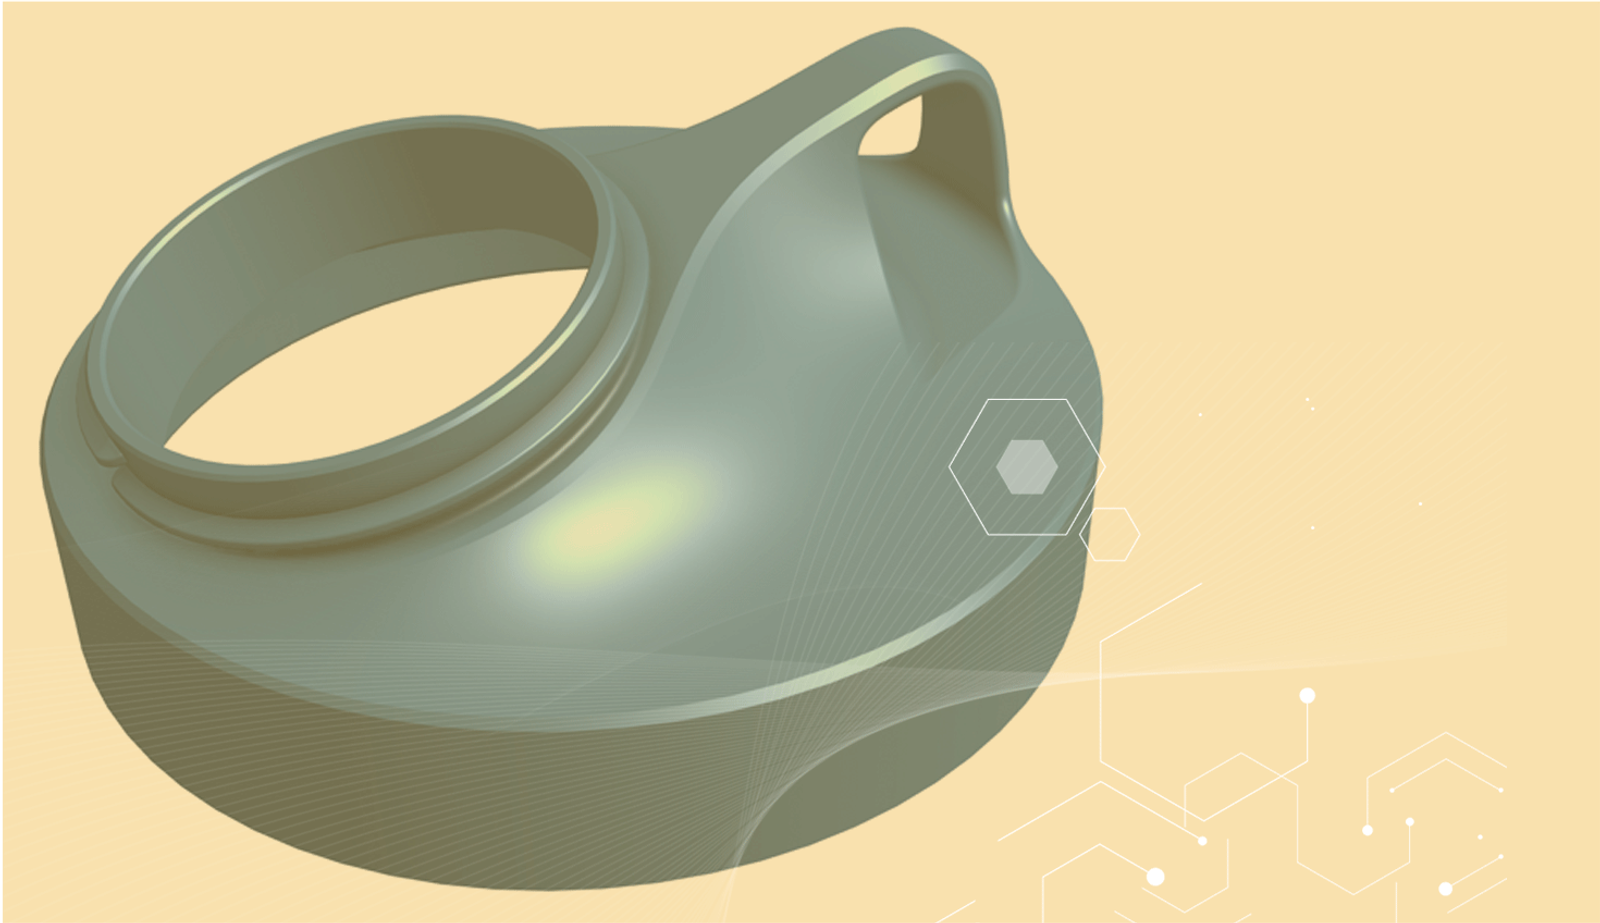
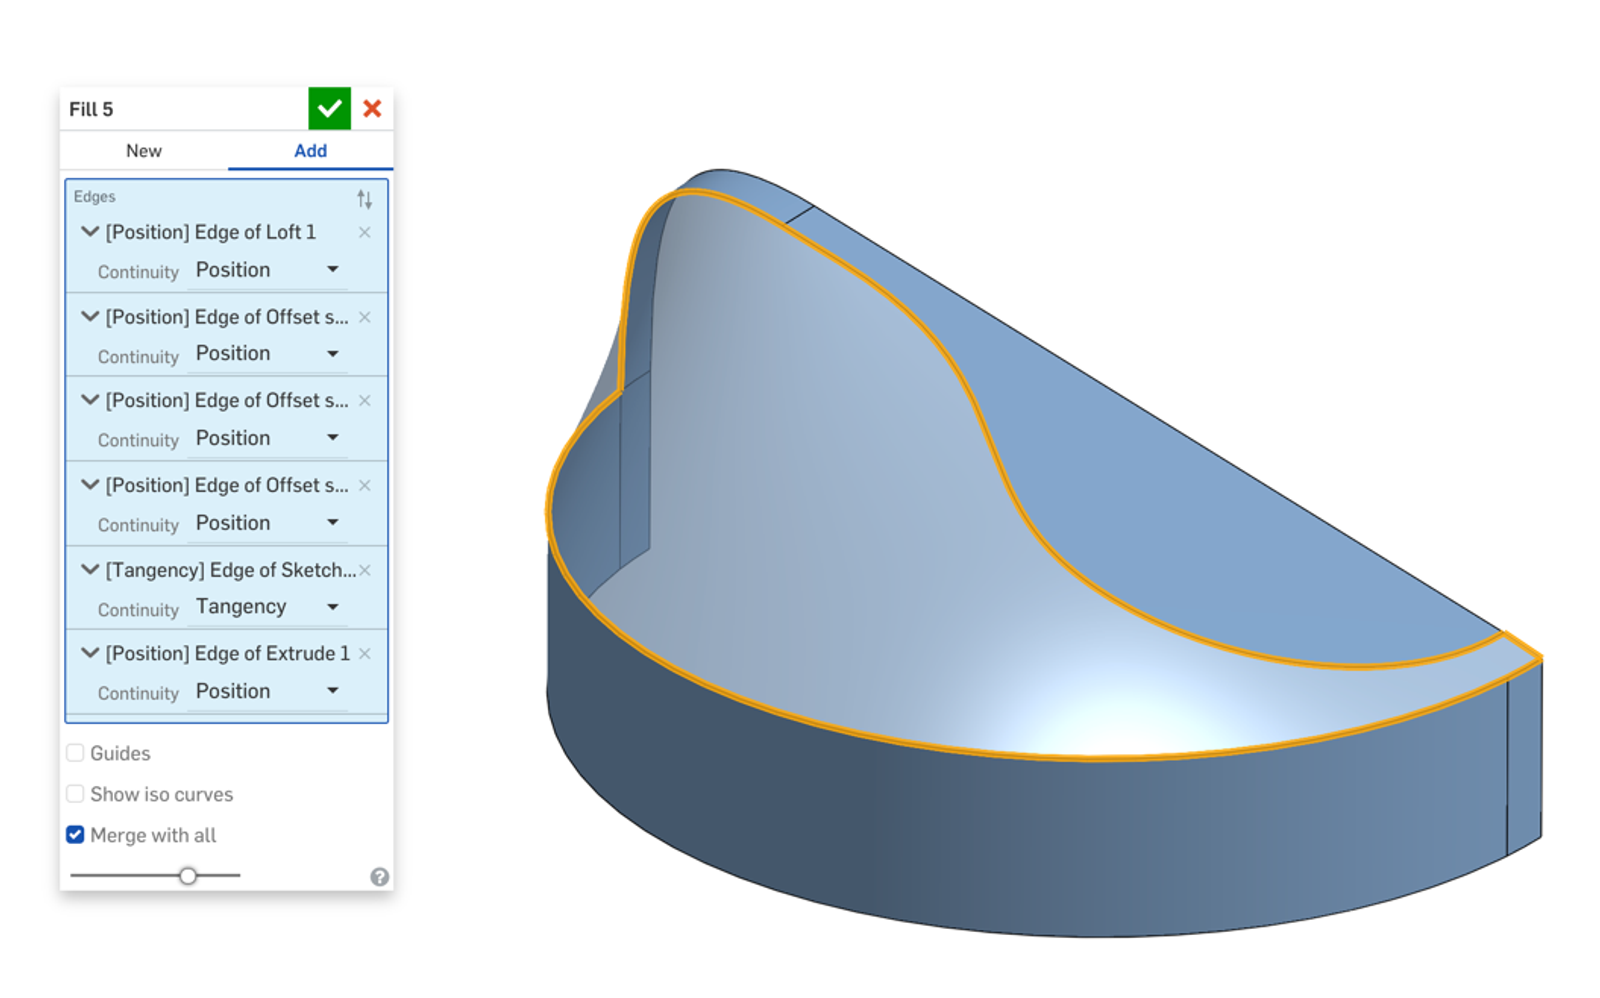
The example below is a water bottle cap that needs the open area filled:
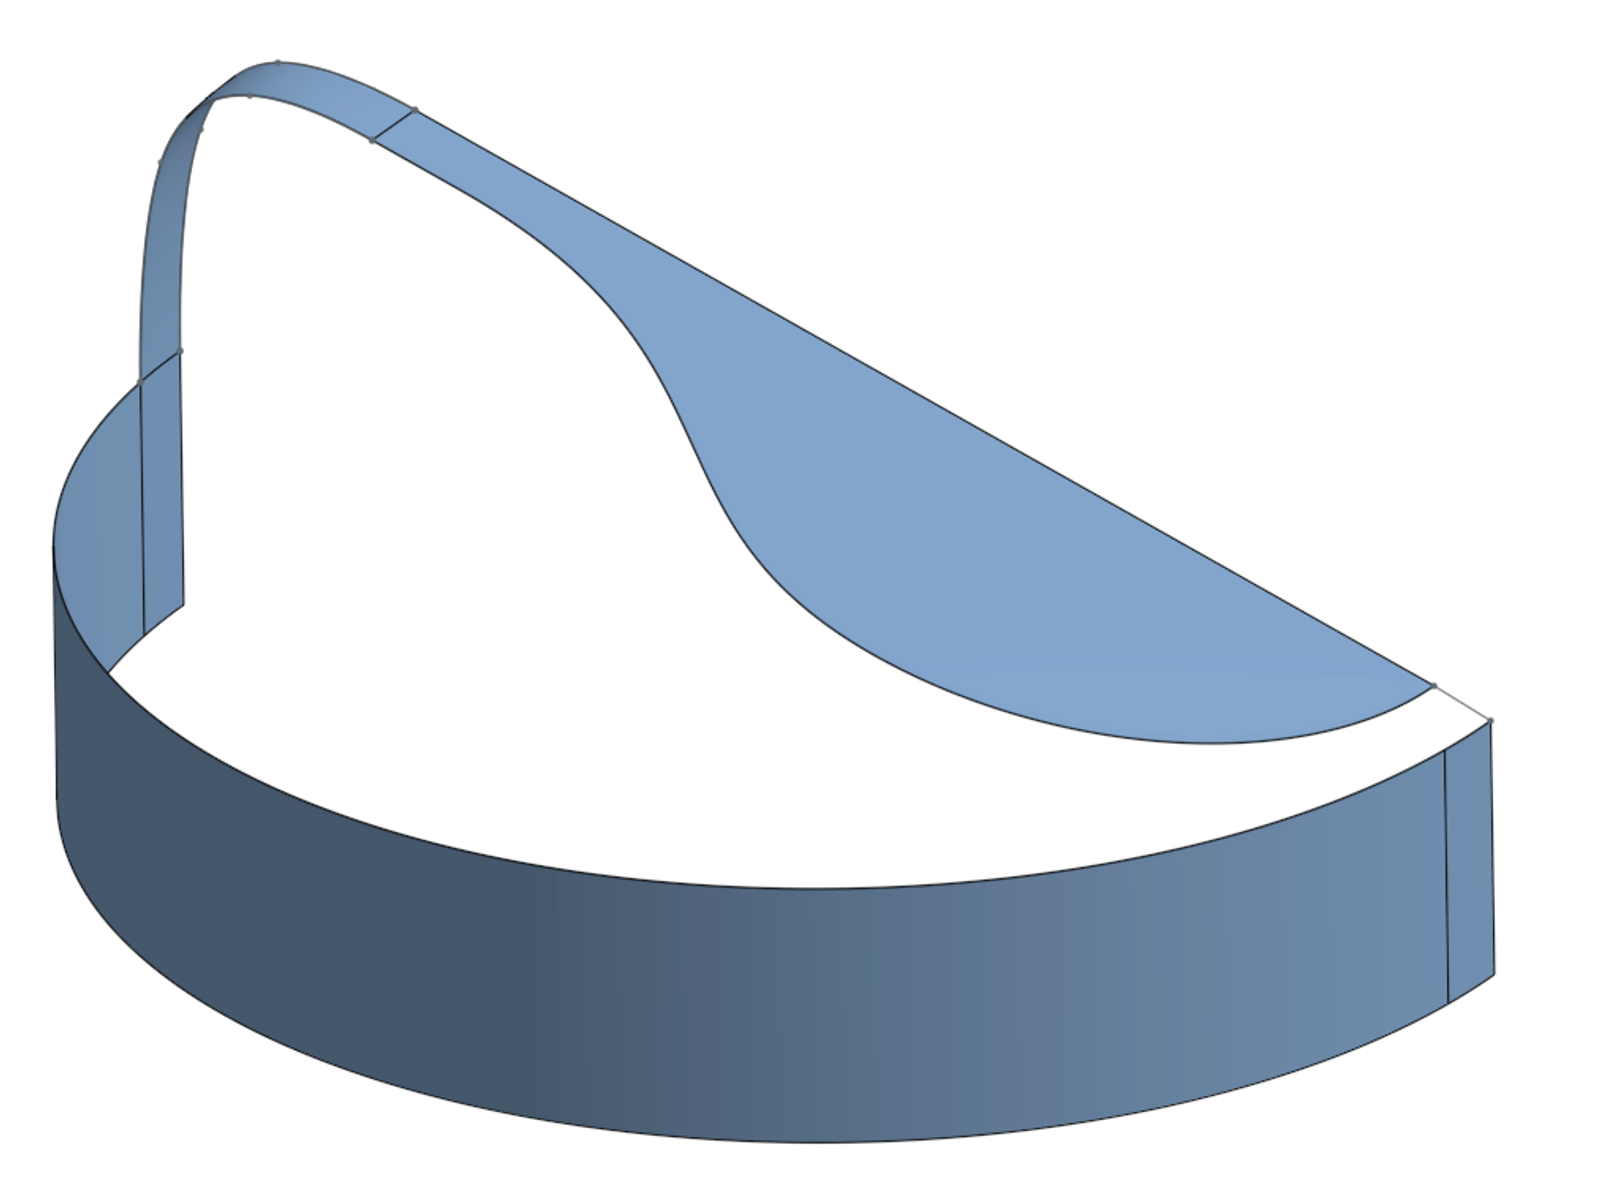
The first step to creating a fill surface, is to select all boundary edges where the surface fill will be applied. Position, tangency or curvature can be applied where continuity is required.
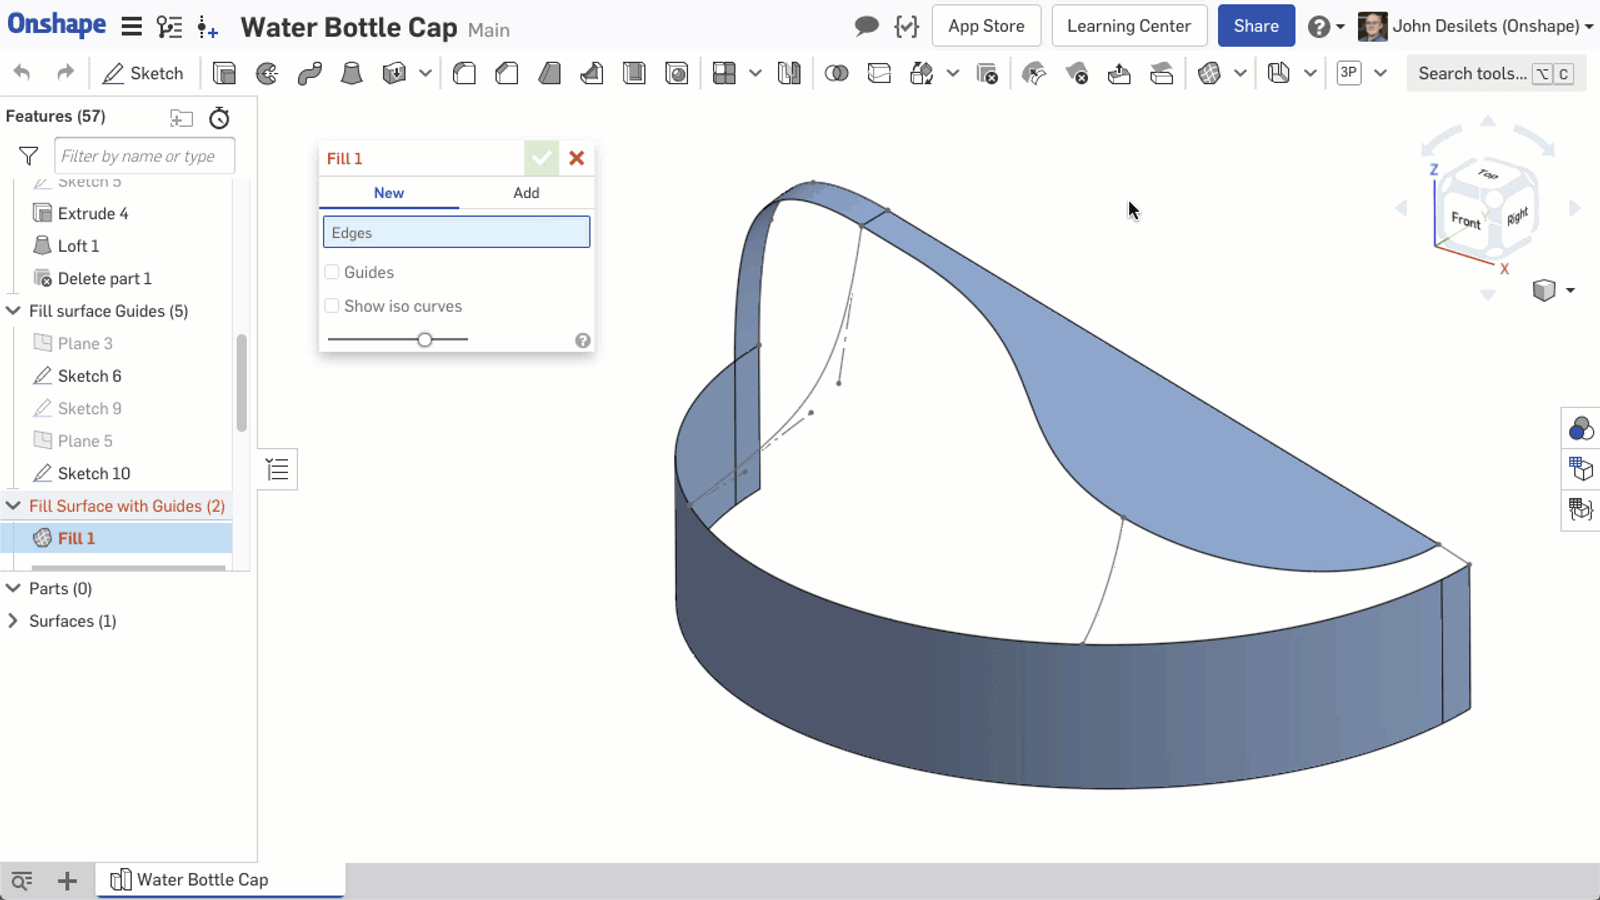
Once all boundary edges are selected, the fill surface is created. But notice how the surface is more convex than concave? How can we add more control?
Select the “Guides” checkbox and select any guides from the graphics area or feature list. Two sketched curves have been selected as the guides in this example.
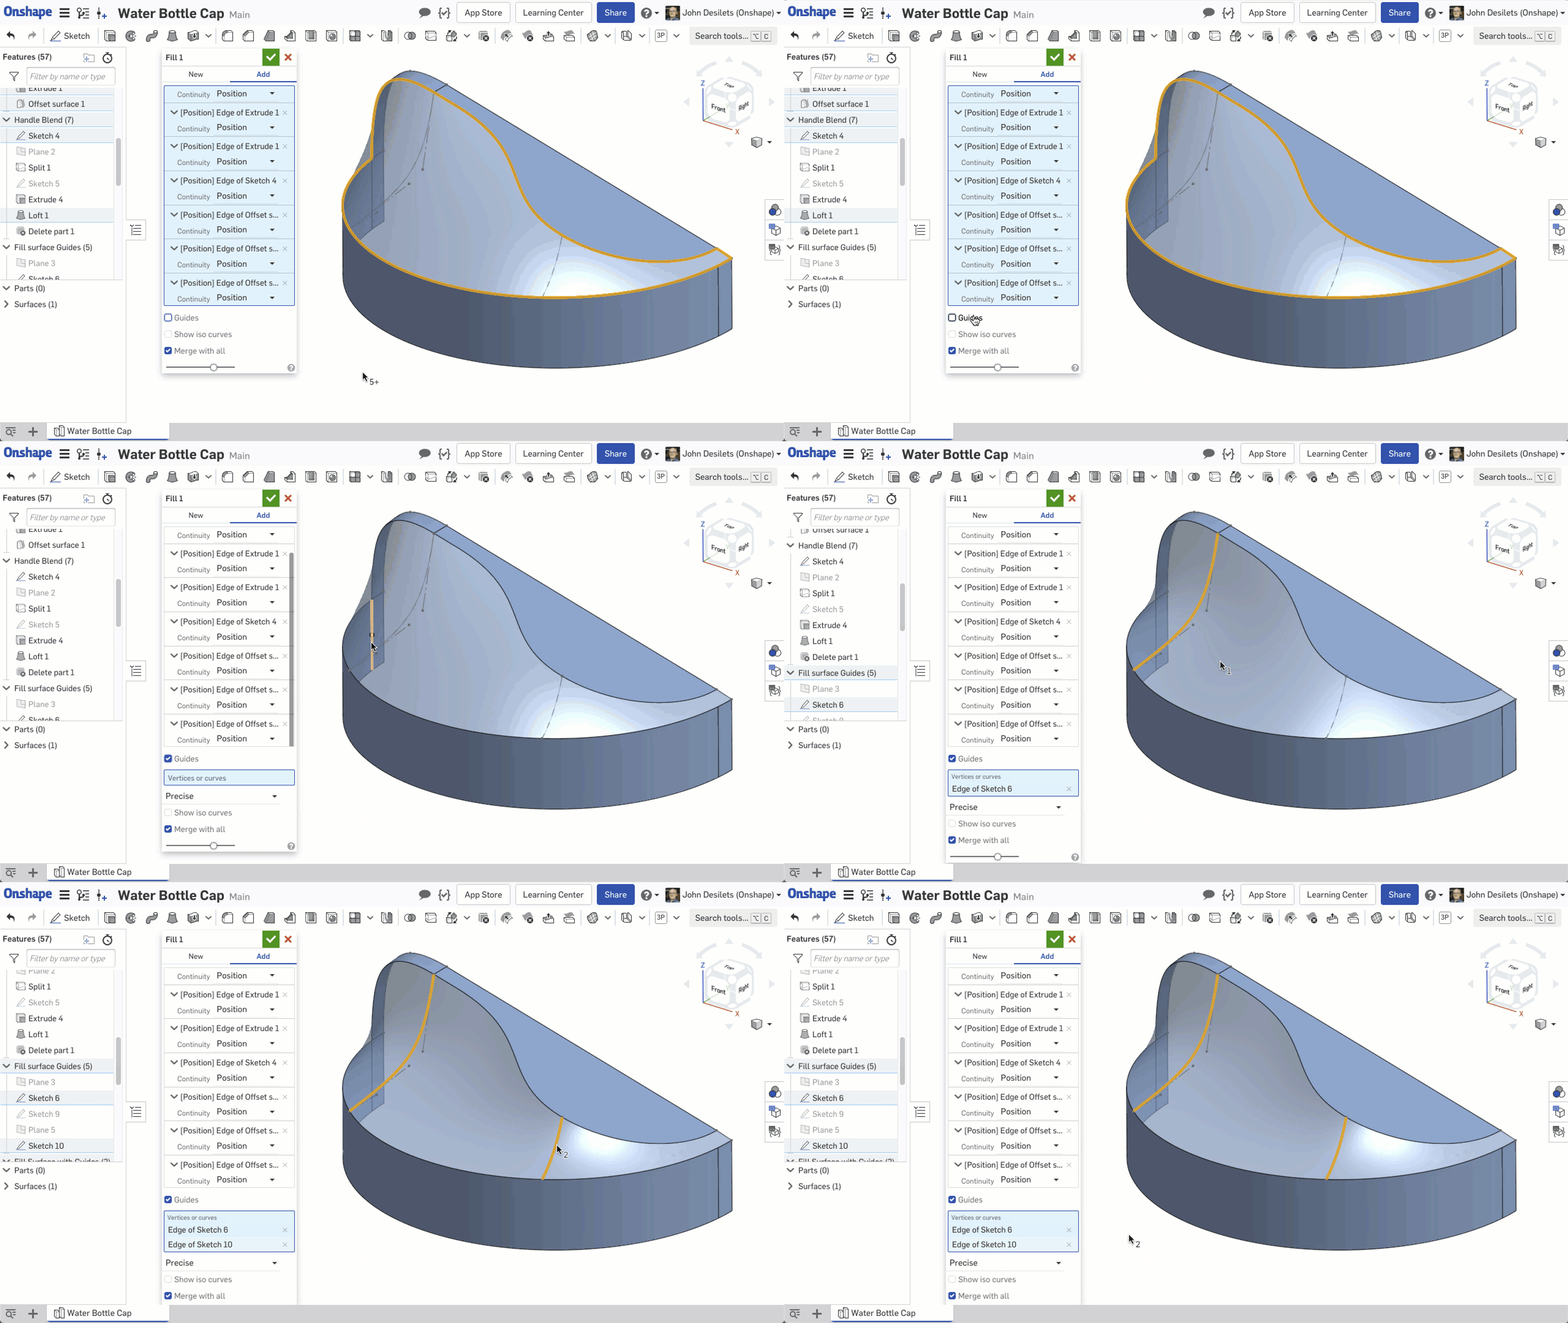
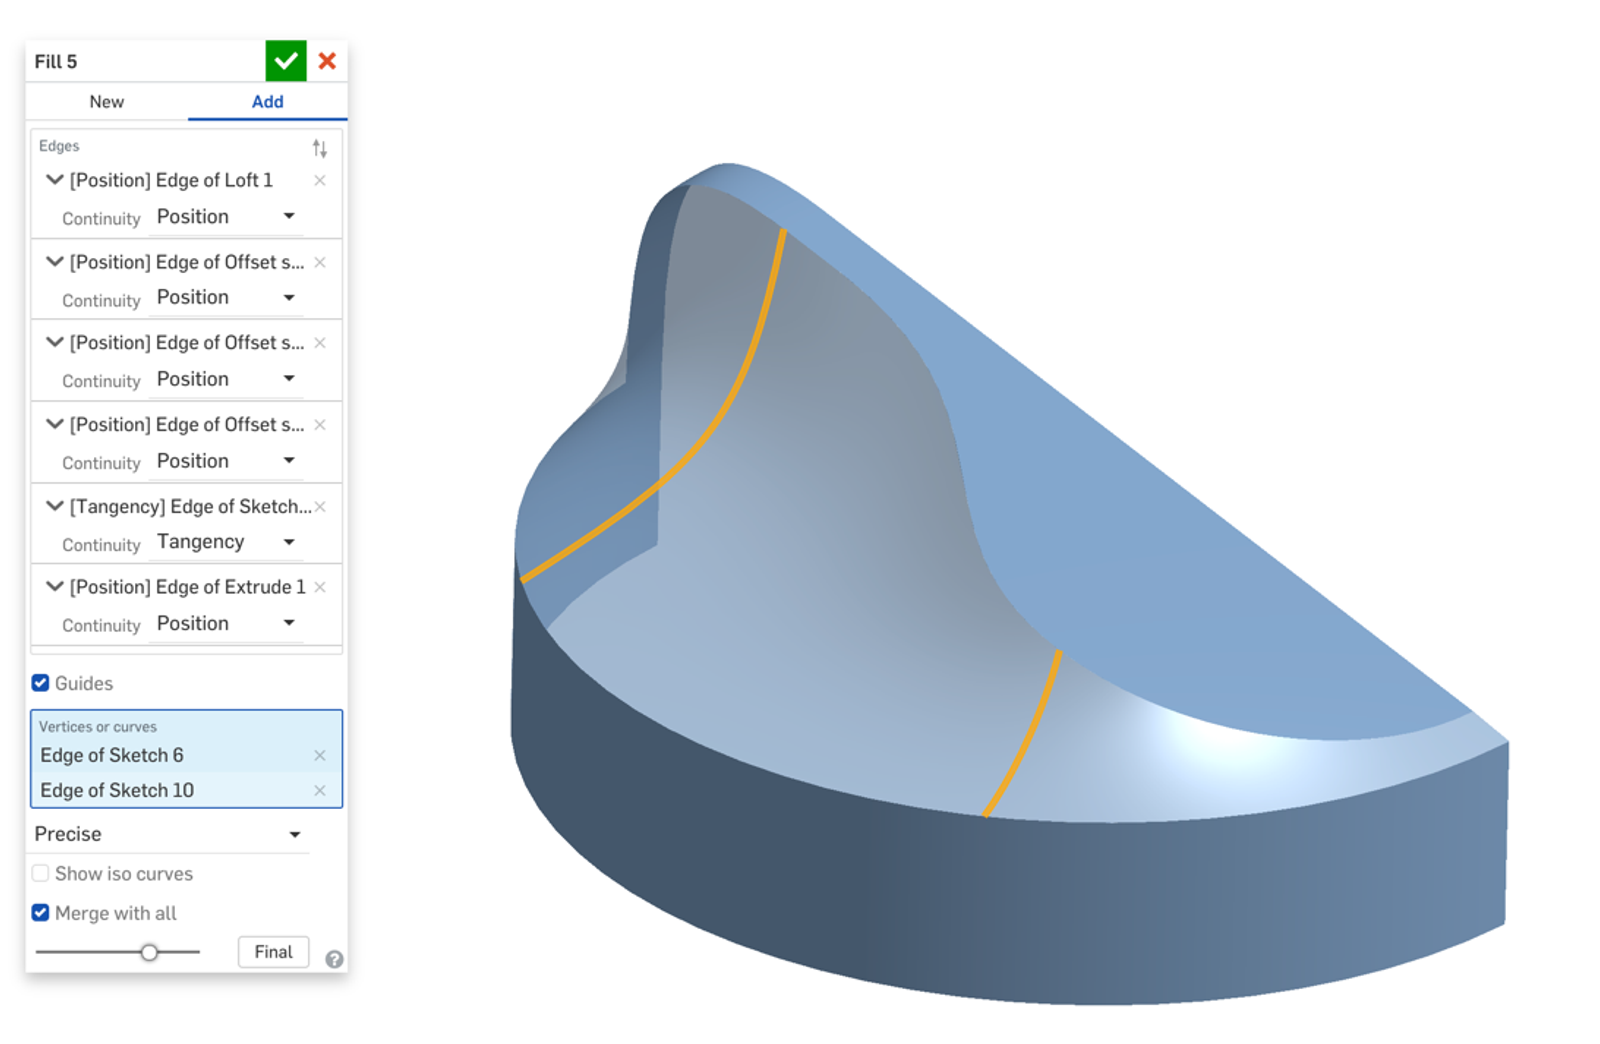
The end result is a precisely controlled surface that fits the design intent.
Another quick tip: Vertices can also be used as guides when creating a filled surface. The surface passes through the vertex while maintaining any boundary conditions.
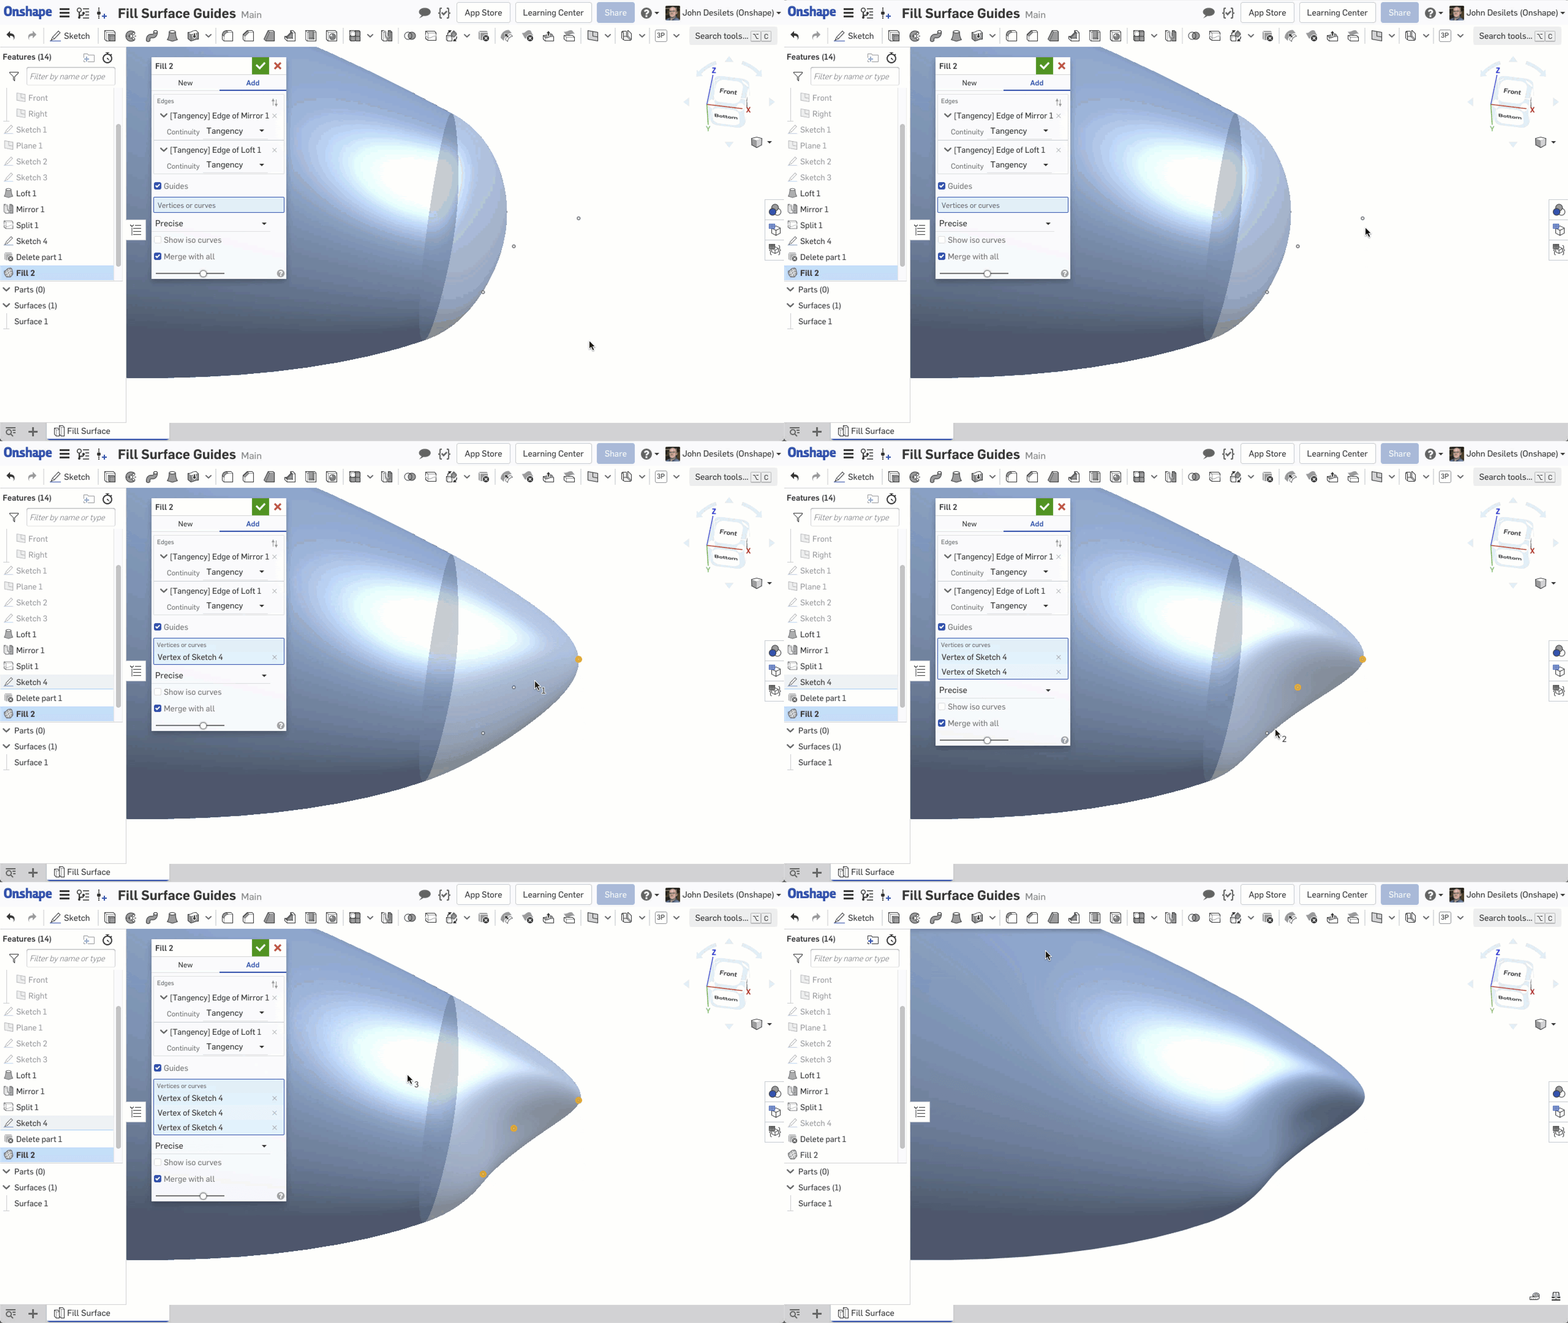
Try it for yourself! These simple steps are all you need to produce organic shapes and features within Onshape.
Interested in learning more Onshape Tech Tips? You can review the most recent technical blogs here.
Latest Content
- Blog
- Evaluating Onshape
- Simulation
- Rendering
- Surfacing
- Consumer Products
Earlier Validation, Better Outcomes: Onshape’s Approach to Surface Design
02.20.2026 learn more
- Blog
- News from Onshape @ PTC
- Publications
- Configurations
- Data Management
Onshape MBD: Single Source of Truth from Design to Manufacturing and QA
02.23.2026 learn more
- Blog
- Becoming an Expert
- Sheet Metal
Two Views, One Model: Faster Sheet Metal Design in Onshape
02.12.2026 learn more

