
3:15
When making the transition to Onshape, there will be a lot of data to bring over with your projects. At times this will include common components that are utilized across multiple projects. With any CAD database setup, we want to have these common components tied to a common source within Onshape. When importing project assemblies (the easiest way to move data to Onshape), these components can become duplicated, which is undesirable.
In this extended Tech Tip blog, we will walk through importing a project into Onshape and properly organizing a commonly used component into your company's Onshape data management environment.
From a top-level view, this process involves isolating the common component to its own Document and then referencing it back into all the locations it is used via Linked Documents. This can be a tedious and manual process, but with our recent release of the Replace Part action, you can achieve a more streamlined workflow. (Please note: This workflow has been confirmed with individual parts only and not with multibody components or sub-assemblies.)
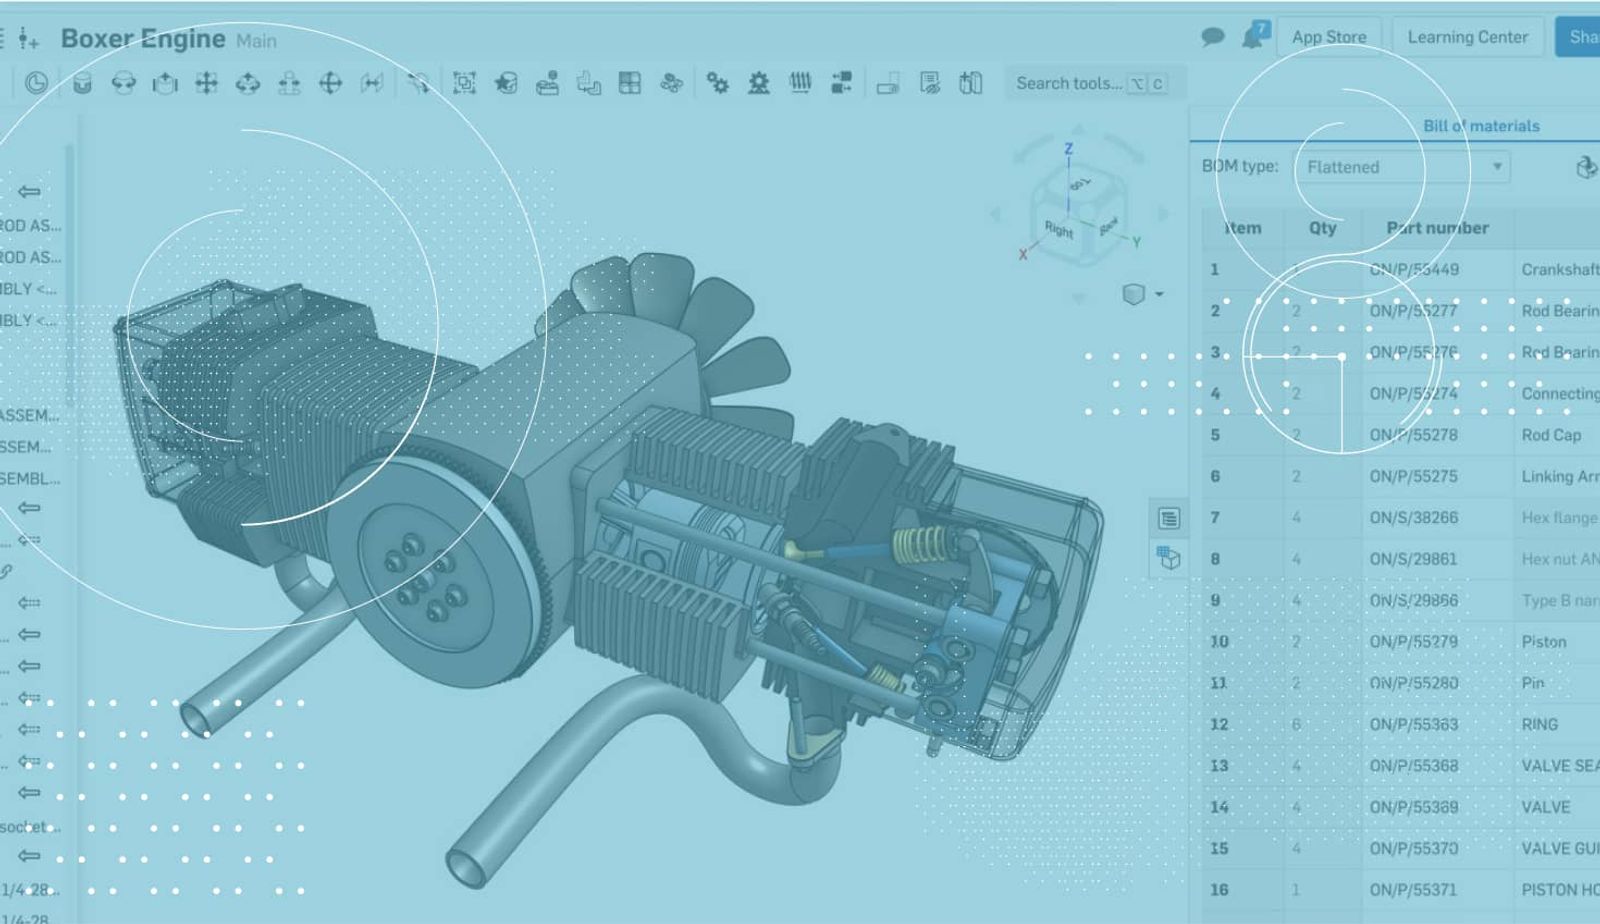
In this example, we are importing the top-level assembly of a company's product line into Onshape. The data is imported to maintain the assembly structure which creates a single Part Studio with all of the unique parts used.
Looking at the top-level assembly, it is evident that there are numerous parts that are reused across all of the company’s product lines (whether its supplier parts or internally manufactured ones). For this exercise, we are going to focus on this M5 screw:
From the top-level assembly, right-click on the component and export it out as a Parasolid file (this is just a file type preference).
Now immediately open the Onshape homepage in a new browser tab, navigate to your company’s standard components section, and re-import the file that was just exported from the top level choosing the first option to import as a single document. You can choose a folder location such as “Company Standard Components” at this point.
While the data is importing, let’s return to the top-level assembly, right-click on the part and use “Switch to … parts” to follow the part down to the source Part Studio.
When doing this, the part selected will remain highlighted in the Part Studio tab. This allows it to quickly become isolated by selecting “Hide Others” from the right-click options if needed.
Once at the Part Studio level, remove the part from this Document as this will be replaced with the new source part that was re-imported.
Looking at the assembly tab (this can be found by using the browser’s back button or selecting it in the tab manager), there are red part names in the instance list. This is occurring because we have deleted the reference source for these parts in the assembly. This is the key source of this workflow working.
In the assembly tab where this part was initially inserted, use “Replace Part” for every instance of that part. You can select all of them at once.
In the Replace Part dialog, navigate to your “Created by Me” Document section, select the source Document for the common component, and watch as it appears in each location as expected. Keep in mind, you could also use Onshape’s Standard content instead.
Migrating CAD data can be cumbersome, especially when you end up with multiple copies of the same common components from your projects. Onshape’s database-driven architecture along with the use of Replace Part provides an efficient method to reference common components to a single database instance for better part management.
Latest Content
- Blog
- Evaluating Onshape
- Arena PLM Connection
The Cloud-Native CAD-PDM-PLM Workflow That Finds Problems Before They Cost You
06.11.2026 learn more- Blog
- News from Onshape @ PTC
- Artificial Intelligence
- Robotics
How Multi-Agent Orchestration Between Onshape and NVIDIA Improves CAD-to-Simulation Workflows
06.01.2026 learn more- Blog
- Evaluating Onshape
- Robotics
- Aviation, Aerospace & Defense
- Collaboration
- Integrations
- Arena PLM Connection
- Data Management
Why the Best Hardware Teams Have Started Talking Like Software Engineers
05.28.2026 learn more