3:19
Materialise is a global provider of software and services for 3D printing. With Materialise’s 3DPrintCloud Print Preparation App, now available in the Onshape App Store, you are well on your way to successfully printing your Onshape designs.
Based on our more than 25 years of experience in the industry, let’s explore the Top 5 Do’s and Don’ts for Successful 3D Printing:
1. Make Sure Your Models Are Watertight
You’ve converted your 3D model to a 3D printing format, like STL, that describes your design with triangles. A common mistake that 3D designers make is creating a design that’s not watertight. This means that if you filled your 3D design with water, the water shouldn’t leak through any hidden cracks between the walls. All the triangles need to be connected and form a seamless blanket to make sure the geometry can be 3D printed.

Materialise 3DPrintCloud has all the tools you need to ensure you have a solid, watertight model. You can flip inverted normals (we will explain what a normal is later), fill holes, stitch bad edges, trim intersecting triangles, unify shells, and more.
2. Keep Your Outer Side on the Outside
Computers see one side of your model as the outside and the other as the inside.
Consequently, each triangle has an inner side and an outer side. The latter is called the “normal.”
If a part of the outside of your model is on the inside, and part of the inside is on the outside, your computer will get confused and won’t be able to print it correctly. For instance, it will print the whole build volume since everything can be considered “outside.” Therefore, all normals should face outward. If a normal is inverted, you need to flip the triangle to get the right side outside.
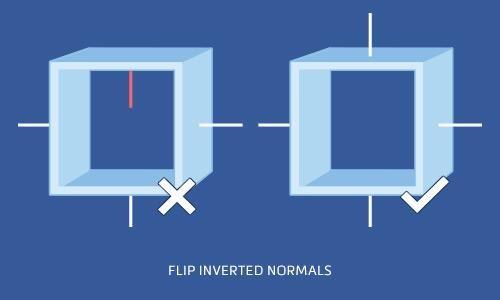
The 3DPrintCloud Print Preparation App detects inverted normals and flips inverted triangles automatically.
3. Watch Your Walls
It’s very important that every surface of your 3D model is assigned a wall thickness. When using 3D modeling software, it is possible to design a surface without assigning a wall thickness. However, the printers need the information about how thick you intend the wall of your object to be.
Wall thickness is important for many reasons. If your walls are too thick, you will have higher material costs and more internal stress. If they are too small, your part could break during the build process, support removal, shipment or while the printed object is in use.
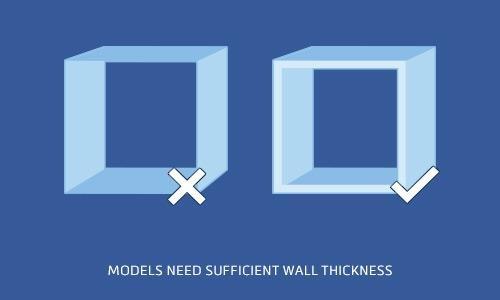
With the 3DPrintCloud Wall Thickness Analyzer, you can check if your walls are too thick or too thin to be printed successfully.
4. Do Not Share These Edges
Your CAD objects shouldn’t share edges, otherwise the printer will get confused when making calculations. The solution is to create a gap between the two objects or unify them.
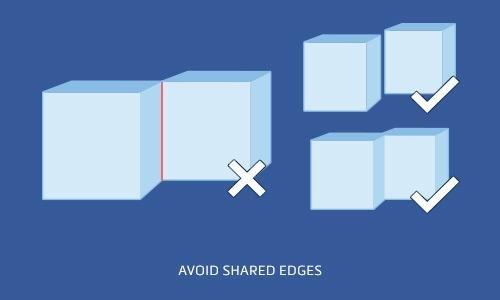
The Model Repair tool in the 3DPrintCloud Print Preparation App detects triangle errors and repairs 3D models. No more shared edges!
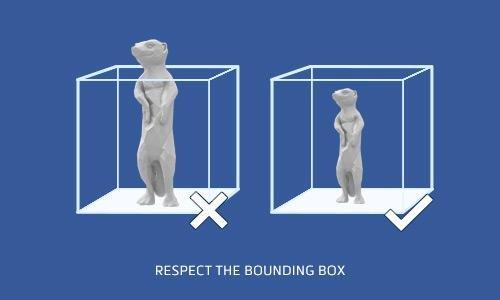
5. Think Out of the Box, Print Inside the Box
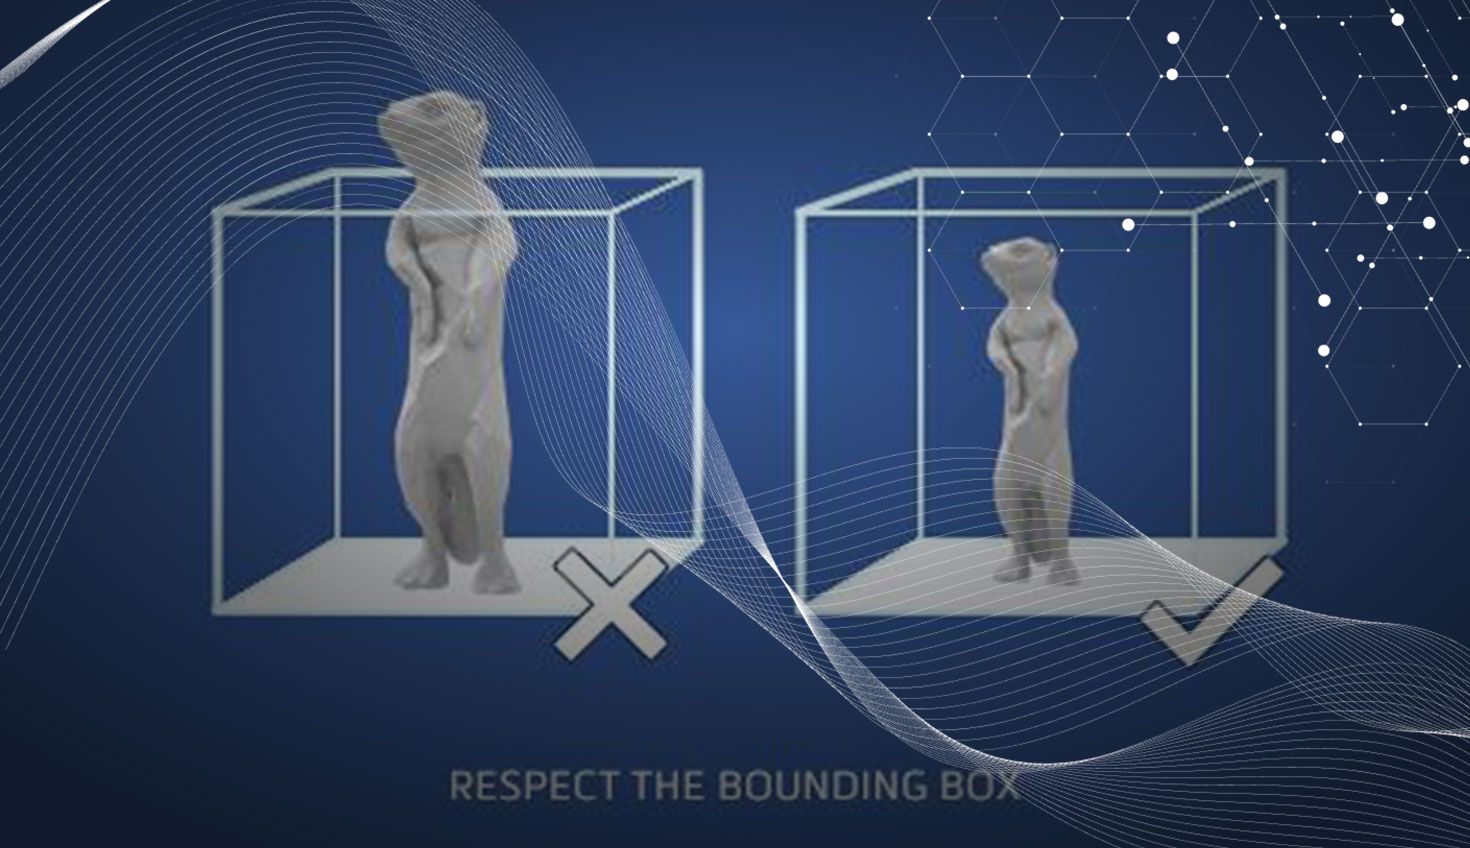
It is useless to design a large object if it doesn’t fit the “bounding box” of your 3D printer. The bounding box is an imaginary box that contains your full 3D model. Scale your model down to the right size in Onshape. Not to mention that a smaller model will also be cheaper to print.
You could manually flip each and every inverted normal, search for holes and check the wall thickness yourself, but now no there’s no need. The 3DPrintCloud app will do all those things for you. Think about all the hours you spend on manually repairing designs and imagine how this app can automatically fix your most common 3D printing errors.
The 3DPrintCloud Print Preparation app contains four convenient tools:
- Model Analyzer
- Model Repair
- Wall Thickness Analyzer
- Parameter Extraction
Watch this video to discover how easy it is to use the 3DPrintCloud Print Preparation app:
Ready to get started? Try the 3DPrintCloud Print Preparation app today!
Latest Content
- Blog
- Becoming an Expert
- Features
- Data Management
How Onshape's Repair Tool Fixes Broken References
01.29.2026 learn more
- Blog
- Startup
How Hardware Startups Can Cut Costs, Find Funding, and Scale in 2026
01.28.2026 learn more
- Blog
- Customers & Case Studies
Future Joinery Systems: Bridging the Gap Between Architecture and Manufacturing with PTC’s Onshape
01.23.2026 learn more


