
1:43
Today's Tech Tip focuses on matching continuity to adjacent faces using the Composite Curve feature.
The Composite Curve feature allows users to combine edges of parts, surfaces, sketch curves or 3D curves into a single curve. This saves time by reducing the number of picks and clicks for downstream features.
But did you know, Composite Curves made from edges of surfaces can be used for matching continuity? Let's take a look.
Composite Curves & Matching Continuity
In this example, a surface needs to be created to patch the open area.
Area to be patched.
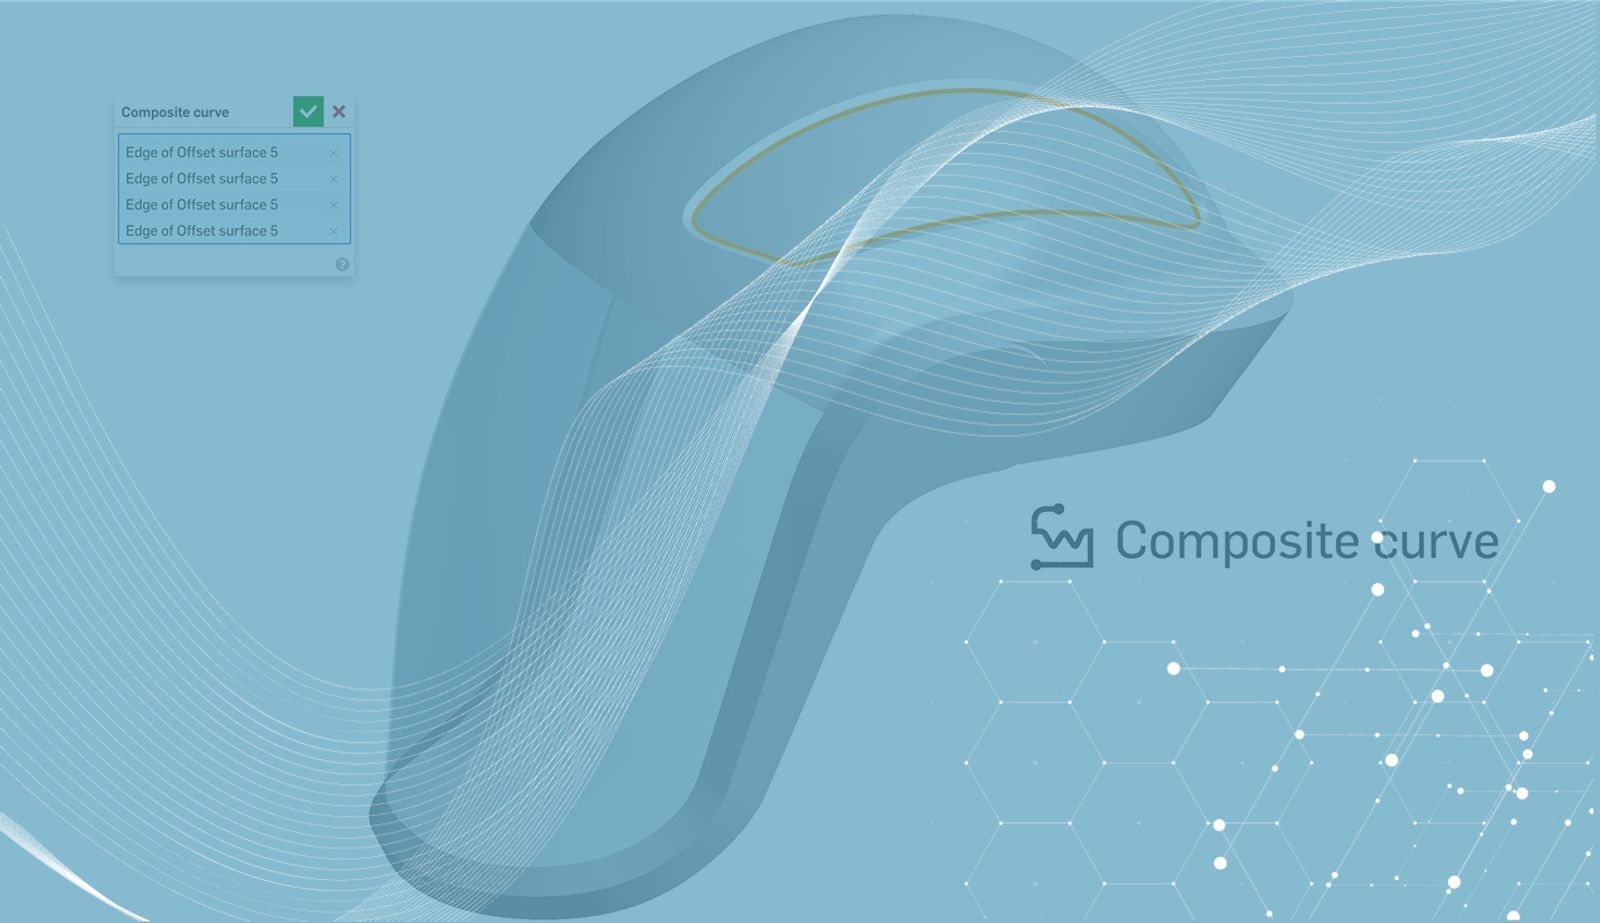
First, a Composite Curve is used to capture the edges to be filled. The curve retains the edge information allowing for continuity matching in the next operation.
Composite Curve made from boundary.
Next, the Fill Surface feature is applied to the Composite Curve while matching tangency. A single selection is needed for the patch since a Composite Curve from all edges was created in the previous operation.
Fill Surface using Composite Curve.
In situations where the boundary needs several continuity constraints, a combination of Composite Curves and individual edge selections can be made.
In this example, the surface needs to have position and tangency constraints. A Composite Curve is first created using the edges to match tangency to.
Composite Curve on three edges.
In the fill surface dialog, the Composite Curve is selected while matching tangency.
Composite Curve selected for fill surface.
The remaining edges are individually selected while matching position. This completes the surface while satisfying all the boundary conditions.
Finished surface.
Using Composite Curves is especially useful when a selection needs to be made for multiple features. A network of Composite Curves can be used instead of selecting several edges for each new operation.
Find out more by watching the video below:
To learn more about the Composite Curve feature, check out the Advanced Part and Surface Design Learning Pathway in the Onshape Learning Center.
Interested in learning more Onshape Tech Tips? You can review the most recent technical blogs here.
Latest Content
- Blog
- Becoming an Expert
- Assemblies
Built to Scale: Why Large Assemblies Don’t Slow Down in Onshape
07.16.2026 learn more- Blog
- News from Onshape @ PTC
- Artificial Intelligence
Onshape Labs: AI in CAD Guided by Designers, Driven by Innovation
07.15.2026 learn more- Blog
- Evaluating Onshape
- Data Management
- Collaboration
- Artificial Intelligence
How the Most Underrated CAD Feature Improves Design Workflows
07.09.2026 learn more