
1:49
Often when creating “pick and place” features like fillets and chamfers, or when selecting geometry for direct editing on imported parts, the selection process can be tedious, sometimes requiring many mouse clicks and part rotations.
This Tech Tip will show you some quick ways to select geometry in these situations.
The Create Selection tool is just a right mouse button (RMB) click away!
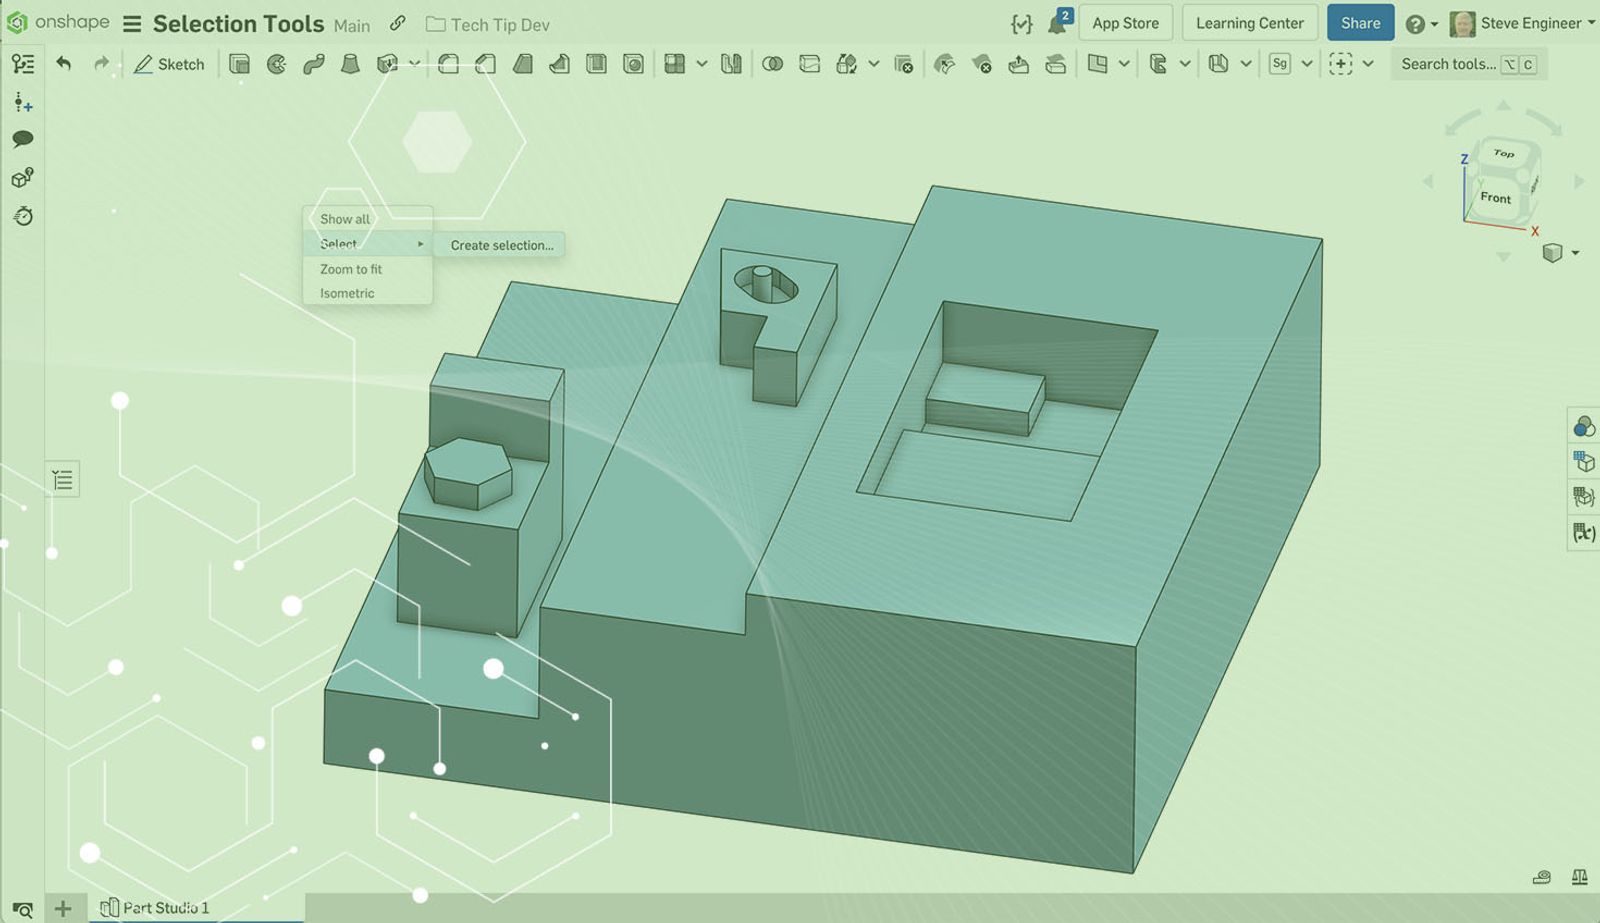
In the image below, the Create Selection tool is accessed by pressing the right mouse button:
This opens a dialog box where you can configure rules for selecting geometry. The main categories are faces and edges:
Expanding either option exposes the various rules that can be applied for automatic geometry selection.
As you can see, there are many options available. This Tech Tip will focus on the Bounded Faces option in the Faces panel. For more information on the other options, see the Onshape help system here.
The Bounded Faces option is a powerful selection tool that enables selection of a large number of faces with only a few mouse clicks. The required inputs are a “seed” face and one or more “boundary” faces.
The image below shows an example where nine faces are selected with only two mouse clicks. The small orange face is the seed face and the large orange face is the boundary:
Clicking the Add Selection button finishes the selection process. The image below shows the resulting selection, which consists of all faces between the seed and boundary, including the seed face:
At this point, the dialog box can be closed using the red “X” in the upper-right corner, and the selection will be preserved for the next modeling operation (i.e. deletion, draft, etc.).
Use the Powerful Create Selection Tool!
This tool provides a rule-based way to select multiple faces or edges while performing various modeling tasks. It is particularly useful for direct editing tasks.
This Tech Tip helped you learn about the Create Selection tool in Onshape. For more details on the use of this tool, check out this course in the Onshape Learning Center.
Interested in learning more Onshape Tech Tips? You can review the most recent technical blogs here.
Latest Content
- Blog
- Becoming an Expert
- Assemblies
Built to Scale: Why Large Assemblies Don’t Slow Down in Onshape
07.16.2026 learn more- Blog
- News from Onshape @ PTC
- Artificial Intelligence
Onshape Labs: AI in CAD Guided by Designers, Driven by Innovation
07.15.2026 learn more- Blog
- Evaluating Onshape
- Data Management
- Collaboration
- Artificial Intelligence
How the Most Underrated CAD Feature Improves Design Workflows
07.09.2026 learn more