
6:30
Today, educators must prepare their students for Industry 4.0's impact on the engineering and manufacturing industries. By bringing in digital fabrication practices into the classroom, students will get real-world lessons in the product design process.
Simply put, digital fabrication means using your digital design data directly to drive manufacturing equipment like laser cutters, 3D printers, and CNC machines to produce parts. Using CAD models that your class has created to quickly prototype and test designs helps students iterate during the engineering design process and learn by failing fast.
The PTC Education team is made up of former educators, mechanical engineers, tinkerers, and makers who love turning CAD models into physical objects with digital fabrication machines. Along the way, we have found some convenient tools and interesting ways to bring Onshape into the design process to make your models easier to manufacture.
In the webinar, Designing for Digital Fabrication in Education, I discussed a lot of these resources along with tips and tricks from PTC Education Manager of Education Innovation Matthew Mueller.
Many of these resources are Custom Features created with FeatureScript, the coding language Onshape uses for creating modeling tools like Extrude and Revolve. Unlike other CAD tools, Onshape users can use FeatureScript to create their own tools to fill needs and then share these tools publicly with anyone.
Now, with digital fabrication in mind, let’s take a look at how to best use cloud-native CAD when using laser cutters, 3D printers, and CNC Machines.
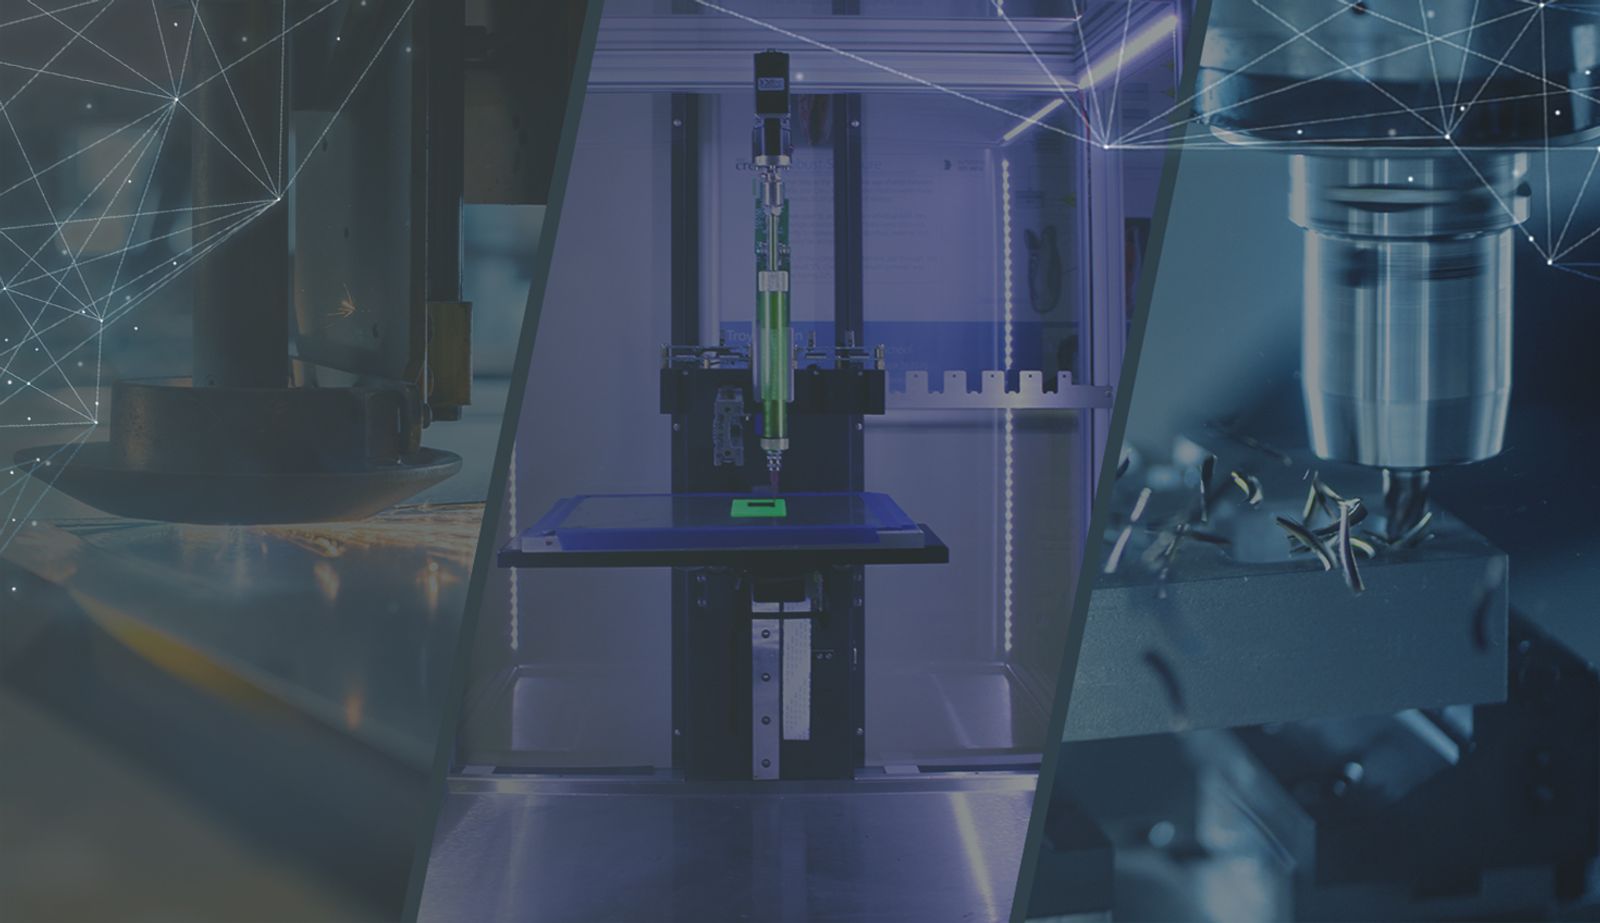
Digital Fabrication Using 3D Printing
3D printing is one of the most common manufacturing methods in education. Without too much effort, students can export their model from Onshape, import it into whatever 3D printing software you want, and then hit “print” on your printer. You can also check out Kiri:Moto, a 3D printing app that integrates right into your Onshape document.
However, there are a few things you’ll need to help students consider as they design their parts for 3D printing.
The largest consideration is the layer orientation of the part while it is being printed. There are many different types of printers with different acronyms, FDM, SLA, DLP, SLS, etc., which indicate how the printer works and the way the layers are created.
Fused Deposition Modeling (FDM), where material is melted through an extruder, is one of the most common in the education space. But for each, material is built up layer by layer. Students need to think about those layers. Material can’t just be placed unsupported in space. It will sag, parts won’t connect, or the printer can break.
Another important consideration for FDM, is the nozzle diameter, which is usually 0.4 mm. Printing software will try to divide the part into slices with the thickness of the layer height. Then, for each slice, the program will figure out a path for the nozzle to follow taking into account the nozzle diameter. This means that the slicer may have to round up or down for the height and width of features. If your parts need to fit together, make sure to consider the specification of your printer.
A great way to implement this in your CAD model is with Variables in Onshape. Variables can be used in dimensions with equations. So you can set a variable for the layer height and nozzle diameter. Then, you can set relevant dimensions to multiples of these variables. This way, your slicing software won’t have to round to the closest number and you will get the correct dimensions on your printed part.
You’ll also want to check out these two handy Custom Features.
- Captive Nut: Makes it really easy to add nuts into your 3D print without having to spend the time modeling and measuring a spot.
- 3D Printed Hole: Turns a hole into a teardrop shape so the hole will be the proper diameter when printed horizontally.
Digital Fabrication Using Laser Cutting
Laser cutting is a little less common in the education space, but is no less powerful. Laser cutting is often much faster than 3D printing and if you have enough material, students can quickly iterate on projects.
Since laser cutters cut 2D shapes out of sheets of material, we generally recommend having a couple of different materials for students, all of the same thickness. This makes it easier so you don’t have to refocus the laser between runs. It also helps students not worry about keeping track of more than one thickness.
Material thickness is a key consideration when designing your parts. Similarly to 3D printing, you can use Variables in Onshape to make sure your project will work. Create a variable for the material thickness and use this variable anytime you extrude a part that will be cut with a laser.
Another consideration is kerf. Kerf is the material burned away by the laser, usually 0.15 mm-0.2 mm wide. If the laser follows the edge of the part you designed, the exterior dimensions will end up being smaller by the amount of kerf. Often you can offset the laser path by the kerf in your laser cutting software. But sometimes you will need to consider it in your design. Especially if you have parts that are supposed to fit together precisely. Sounds like the perfect use case of Variables again! Then you can set dimensions and add/subtract the kerf in an equation.
Make sure to look at these two Custom Features, too:
- Laser Joint: Create joints between overlapping parts automatically.
- Auto Layout: Automatically lay out all of your pieces so that they can fit on a sheet.
Digital Fabrication Using CNC Machining
Computer Numerical Controlled (CNC) machining is a common manufacturing process for relatively small batch production. Although this method is usually more expensive than 3D printing or laser cutting machines, there are a number of smaller machines meant for the education market and makerspaces.
CNC machines expose students to tools used in industry. They also offer students the opportunity to work with different materials such as metals, like aluminum, instead of just plastic and wood. But designing for a CNC machine does require different thinking when it comes to CAD modeling.
First, you will need to think about the tools that are available. Usually (with 3-axis machines and end mills) your parts can’t have pockets with perfectly square corners. You can use variables to help with this when setting the radius of pocket corners. Or if you are using ball end mills, the radius of fillets.
Another consideration is how your work piece will be held. Consider adding an area around the edge of a part or holes in the middle of the piece so that it can be held down to the machine bed. Alternatively, leave straight edges so that it can be clamped in a vice. Sometimes though it may be necessary to design vice jaws or specific work-holding pieces.
These two Custom Features can help you or your students design for CNC manufacturing
- Sensor: Measures and compares geometric values. Make sure your tools will fit into corners.
- Lighten: Removes material quickly from parts and can account for tool radius.
Get Fabricating
By using cloud-native CAD and thinking about your manufacturing processes, students can create projects quicker and successfully see their ideas come to life.
All engineers have to think about how their products and inventions will be made. Prepare your students by talking about these processes and remember to share what you and your class are doing with us on Twitter.
Make sure to check out the webinar on Designing for Digital Fabrication in Education to see some more advanced ways that Matthew Mueller can directly control his machines by using Onshape!
Get you and your students up and running by signing up for an Onshape Education account.
Onshape for Education
Get started with Onshape and join millions of students and educators worldwide.
Latest Content
- Case Study
- Industrial Equipment & Machine Design
Faster Iteration, Lower Costs: How Cloud-Native Onshape Saves Blocks €170,000 Annually While Increasing Engineering Efficiency by 30–40%
05.20.2026 learn more- Blog
- Evaluating Onshape
- Collaboration
With Cloud CAD and PDM, Flexible Design for a Summer Coolcation
07.02.2026 learn more- Blog
- Artificial Intelligence
AI in Mechanical Design: The Fourth Generation of Transformation
06.25.2026 learn more