4:08
Go ahead: Ask a room full of students about digital files that need to be “saved.” You will likely be met with blank stares or groans.
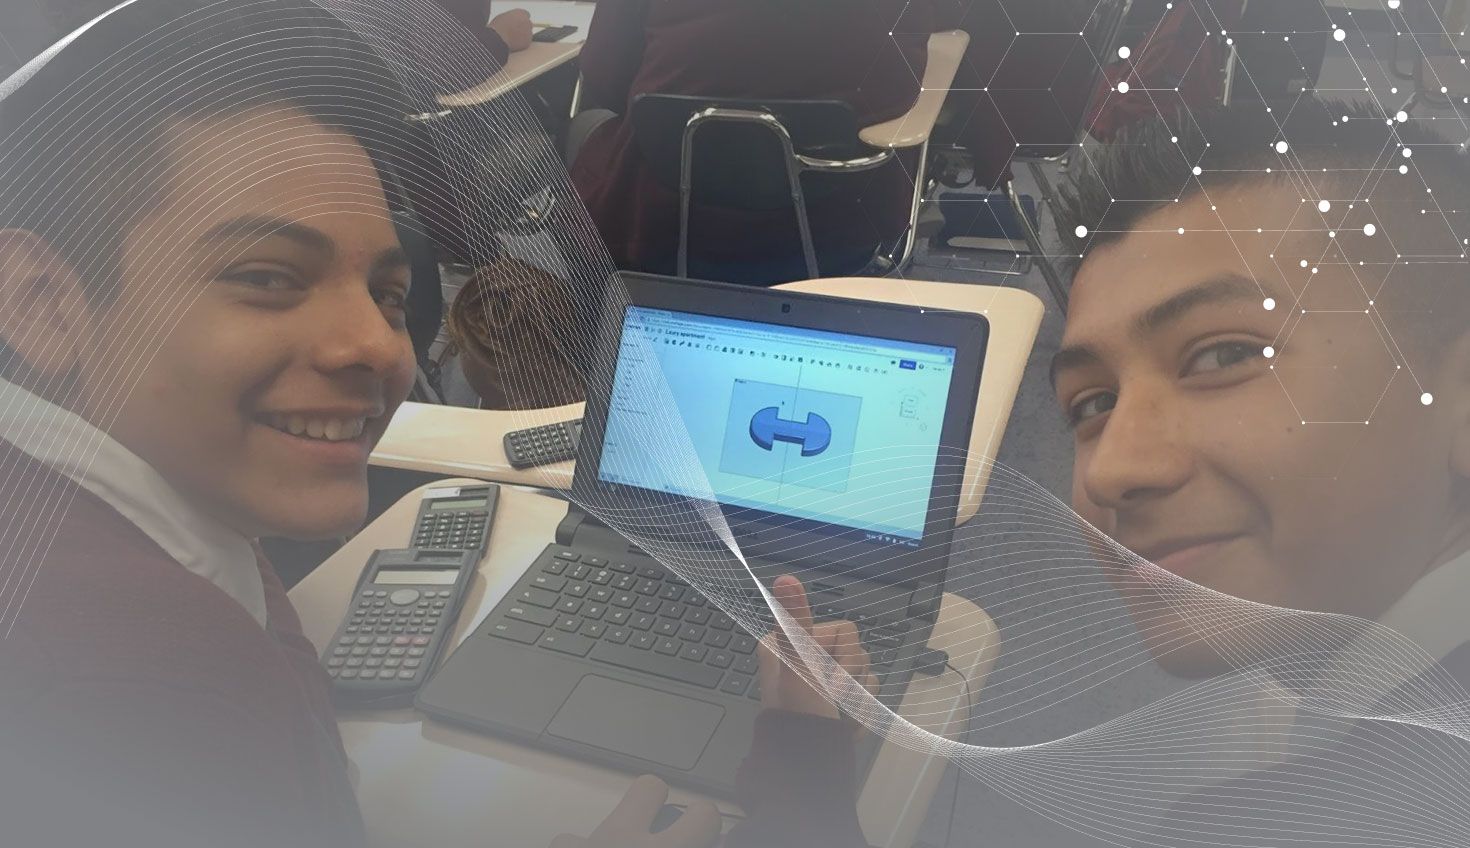
In the age of cloud-based software, being able to simultaneously work on documents and having an auto-save function is the new normal. So it’s no surprise why tens of thousands of schools have embraced Onshape as their 3D CAD platform of choice. Onshape was built from scratch as a collaboration platform, so it’s the perfect professional-grade tool for students to brainstorm and execute their design ideas together in real time.
Onshape requires zero software installation, can be deployed to an entire class in minutes, and can be accessed from any device, anywhere, anytime. Your school can save thousands on high-performance hardware as Onshape’s cloud CAD runs smoothly even on inexpensive Chromebooks. It also runs on tablets and phones, using the latest versions of iOS or Android.
How to Get Started
Once you’ve signed up for the free Education Plan, check with your IT department to make sure your students can accept emails from Onshape. Rest assured, your students will never be sent marketing content and they do not need to provide their phone numbers. Onshape does send them confirmation of their account, as well as updates on shares and comments from peers in their project document.
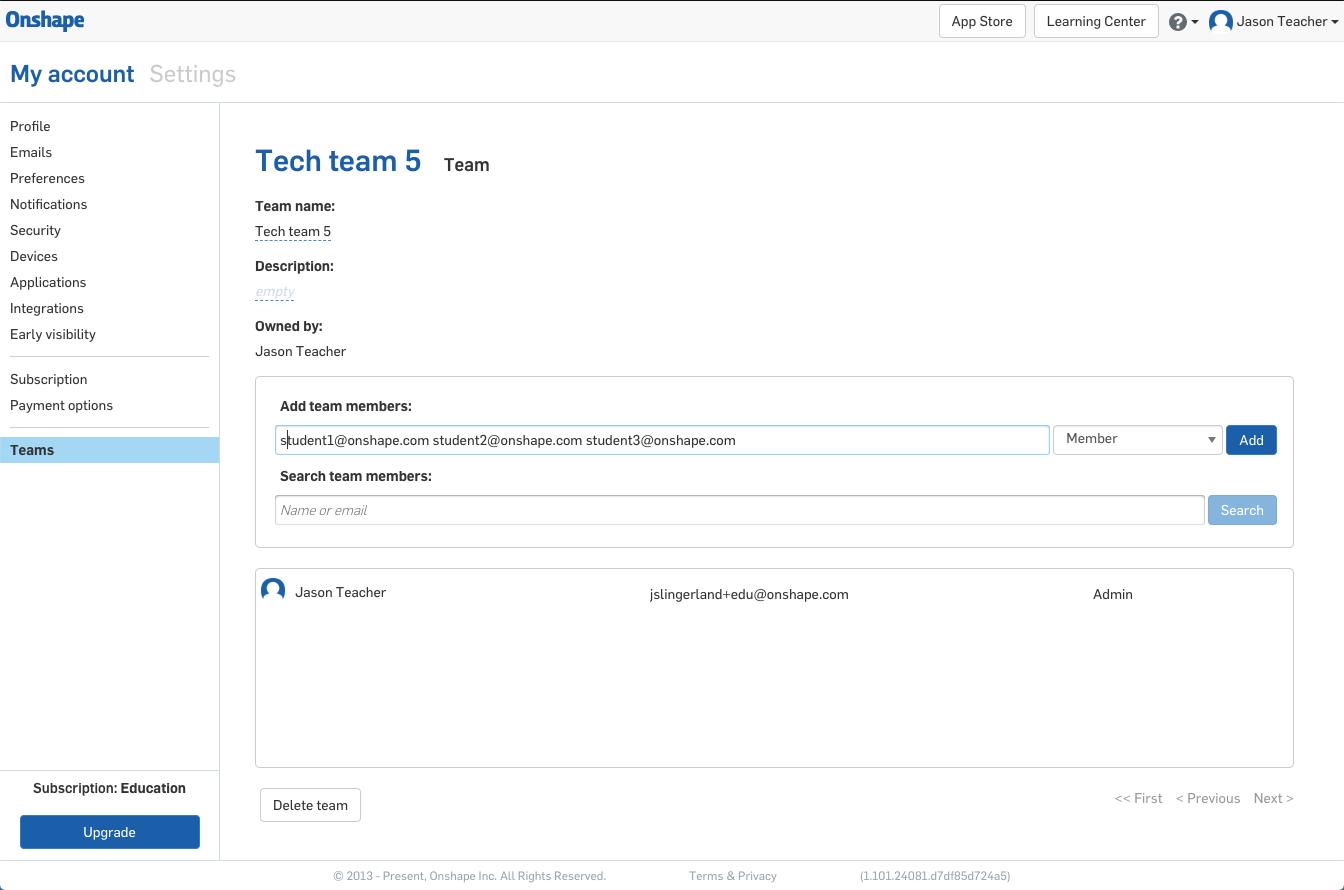
Next, you’ll need to add your students into Onshape by creating a “team.”
- Have students create their own accounts using this link.
- After the students have education accounts, go to your account preferences and select “teams” to add them to a team.
- If you have a spreadsheet of emails, you can copy and paste in a column of emails from your favorite sheets editor.
- Students added to a team will receive an email confirming they have been added to a team.
Pro Tip: Name your team after your classroom or your session. This will help you differentiate between different groups of students.

Adding new students to your Onshape classroom team is easy.
Assignment Scenario 1: Group Project
In a group project, multiple people can simultaneously work on Onshape Documents together. For example, if the task is to build a drone, different people in the group can build different components, drawings and assemblies all within one Onshape Document.
To set this up, the instructor should create a new folder and share it with the team. The creator of the folder will be designated the owner of that folder (and all the documents inside) by default. We recommend the instructor own the documents to ensure the transfer of knowledge and data through the years.
Pro Tip: Standard parts that will be used over and over again (motors, fittings and other off-the-shelf components that aren’t changing) should be in their own document and inserted into assemblies. If multiple groups are using the same standard parts, be sure to share them with all the teams who need them. For more on this, see “Best Practices for Managing Custom Libraries.”
Assignment Scenario 2: Individual Project
When an instructor needs to privately grade individual work, it is recommended that the instructor create a document and share it only with that student (removing the Share and Export permissions). This will allow the student to complete the assignment, and their work can only be viewed by the instructor. Once the project is due, the instructor also can edit the student’s access to view-only, so that modeling work cannot be continued past the deadline.
Pro Tip: It is advised that a strong naming convention be used when creating these documents. For example: Lesson 1, Last Name, First Name.
Onshape Documents Can Help Prevent Cheating
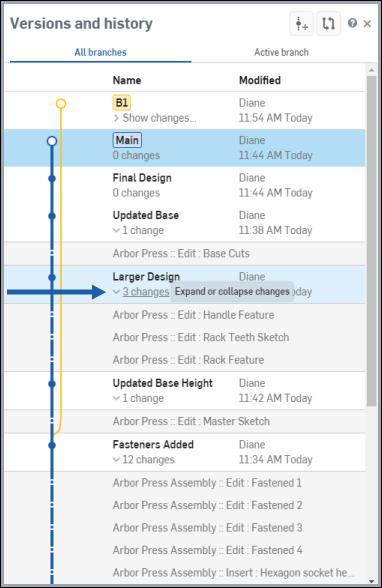
Hopefully, you won’t have students trying to take short cuts. But if cheating does become an issue, Onshape has made it much tougher to claim someone else’s work as your own. For an individual assignment, for example, a student cannot simply cut and paste someone else’s CAD model into their document. Onshape’s comprehensive Edit History records every design change and who made them (or more accurately, from whose account).
For a team assignment, teachers can easily track which students contributed and which ones may have slacked off or stood on the sidelines. We don’t claim to have 100% eradicated cheating from the world of academia, but Onshape’s Edit History has made it much easier to just be honest.

Onshape’s comprehensive edit history enables instructors to monitor student contributions on group projects.
Additional Classroom Resources
If you have any additional questions about how to best set up your classroom, head over to the Onshape Instructor Forum. If you are looking to onboard your FIRST or VEX robotics team, this resource is for you. For resources about best practices and technical content, visit the Onshape Learning Center.
On a final note, If you’d like to explore deploying Onshape to your entire school district, please reach out to us directly.
Latest Content

- Case Study
- Robotics
Saga Robotics: Powering the Future of Sustainable Farming with Cloud-Native Onshape
01.05.2026 learn more

- Blog
- News from Onshape @ PTC
Onshape at CES 2026: Where Innovation Meets the Show Floor
01.05.2026 learn more
- Blog
- News from Onshape @ PTC
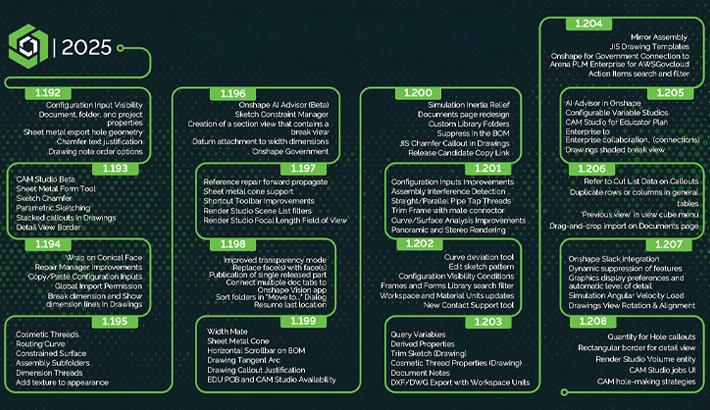
Onshape’s Top 10 Best and Newest CAD Design Software Features of 2025
12.23.2025 learn more


