Get Started with Onshape Vision for Apple Vision Pro
Onshape Vision comes with a collection of pre-loaded models to help introduce you to the app. Once familiarized with its operation, you may wish to try your own content designed in Onshape. Here is how you go about it.
Things you need before getting started
- A functional Apple iPad or iPhone (iOS 17 or newer) with the Onshape app. If you do not yet have an Onshape account, you can sign up for a free trial for up to 6 months through the Onshape Discovery Program .
- Apple Vision Pro. Throughout this document, this spatial computing product is referenced as “the device”.
- Onshape Vision. This app is available for download on Apple Vision Pro through the App Store.
Pairing your Onshape iOS Mobile App with Onshape Vision
To experience Onshape through Apple Vision Pro, you must first securely pair the device with your iOS device that is running Onshape. For this guide we’ll use an iPad (you can follow similar instructions on an iPhone).
1. While wearing Apple Vision Pro sign into the device as normal.
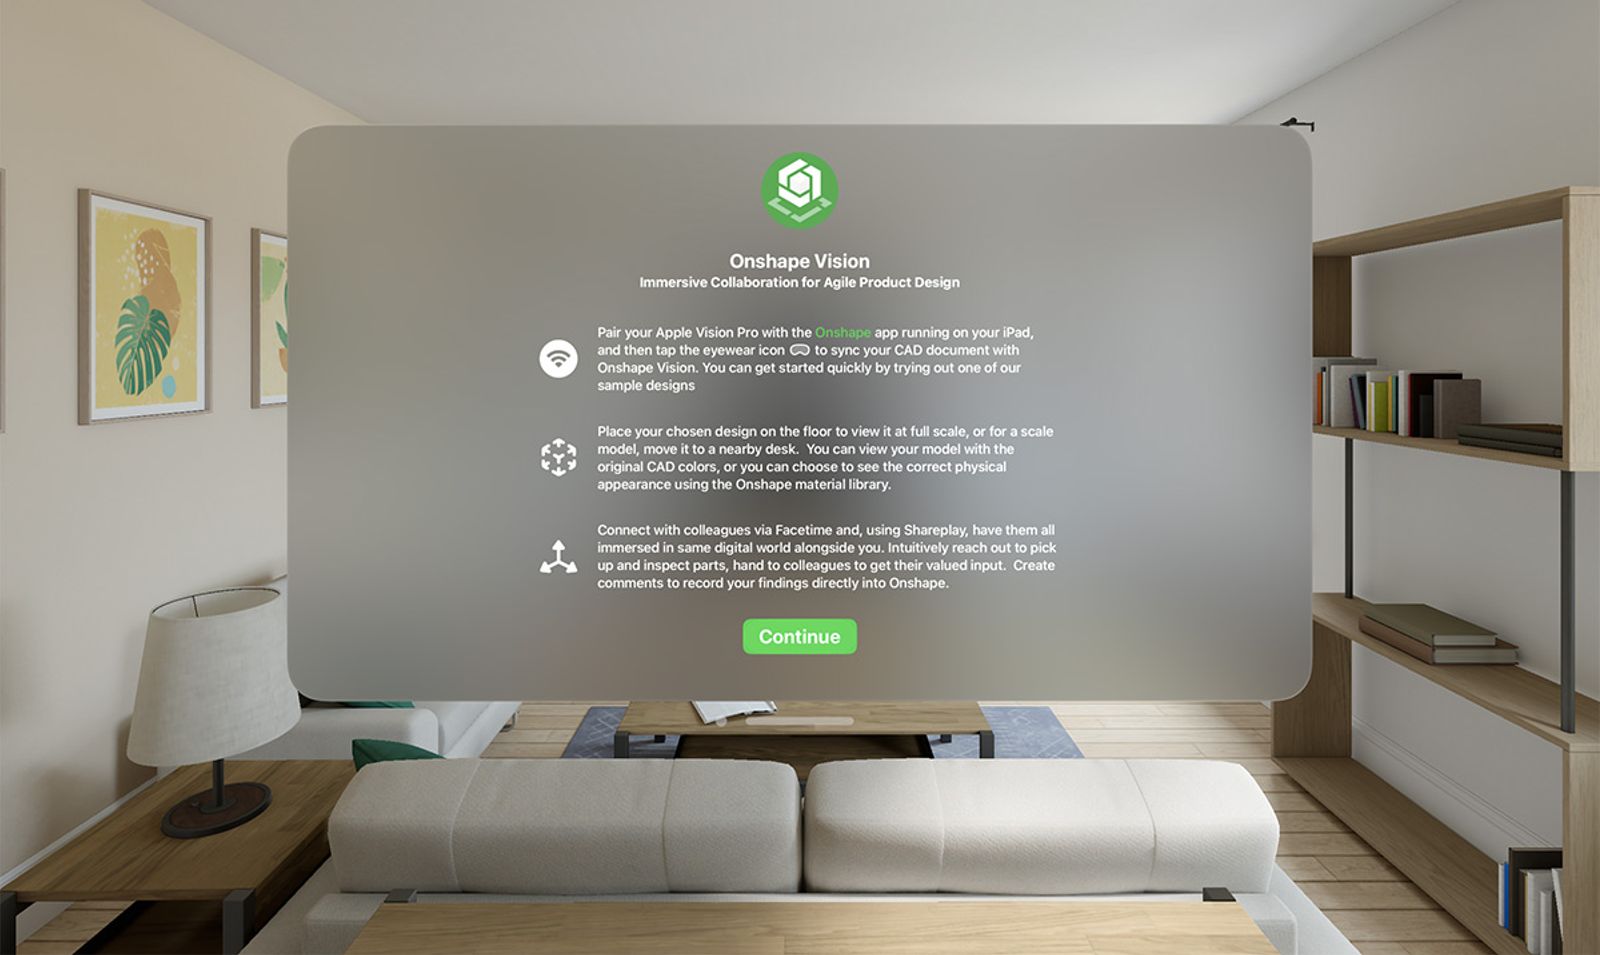
2. Start the Onshape Vision app on the device. If this is the first time you are running Onshape Vision, you will see the following onboarding screen. Click continue. With the Onshape Vision UI visible, open the Onshape app on your iPad.
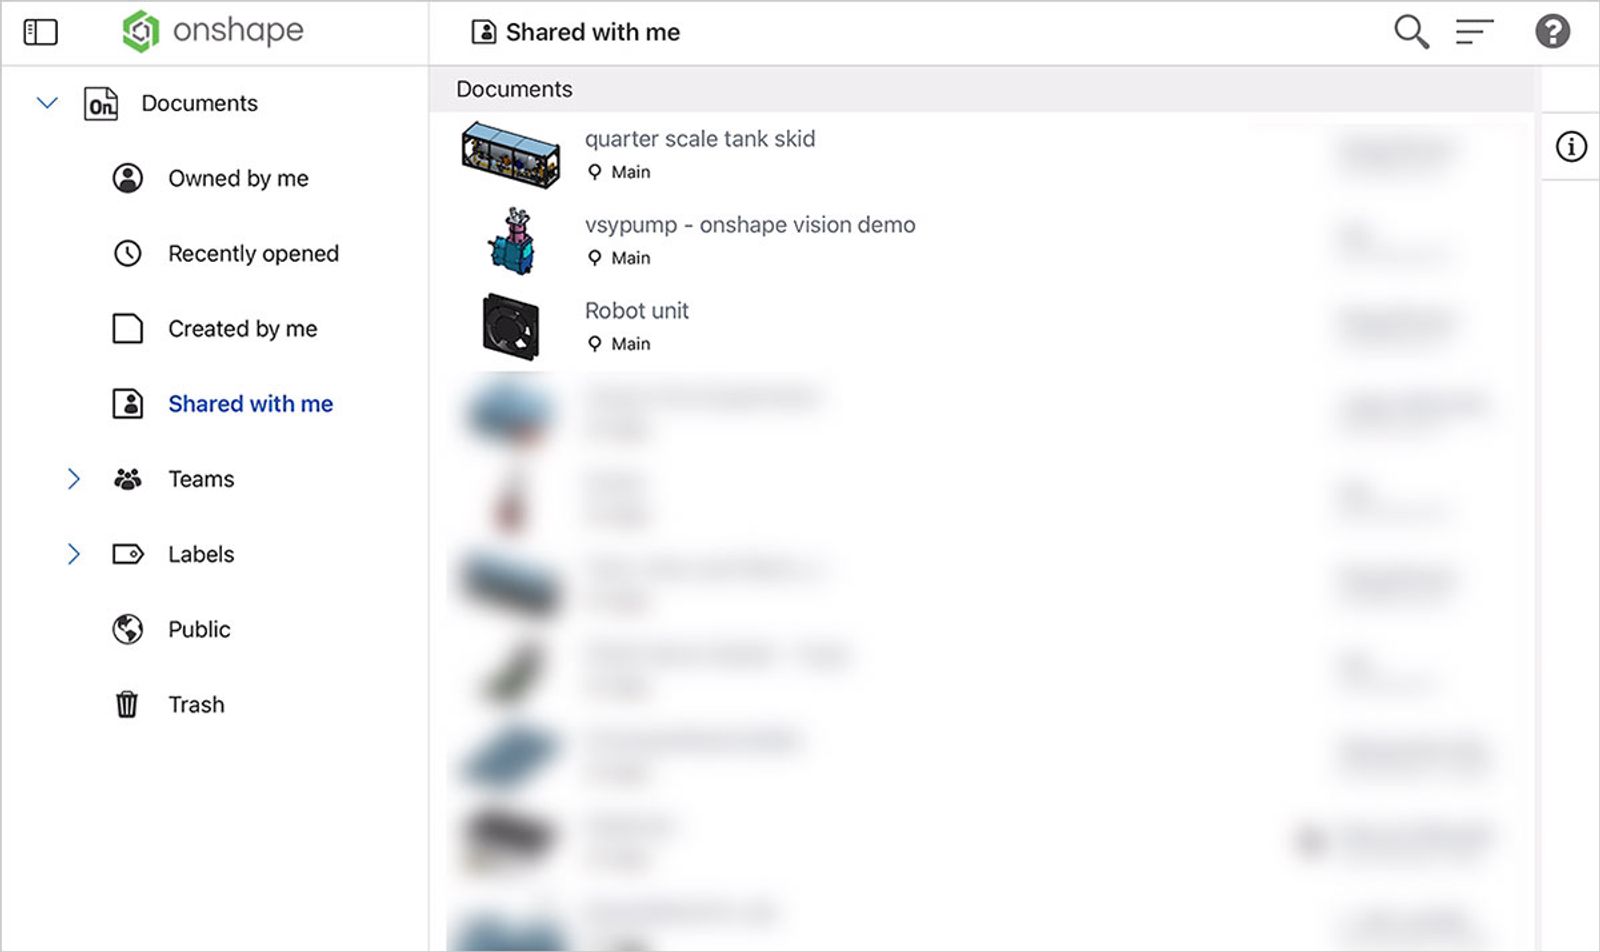
3. On the iPad running Onshape, select and open the document model you wish to interact with.
4. With the document open on the iPad and Onshape Vision running on a nearby device, you will see a new icon 
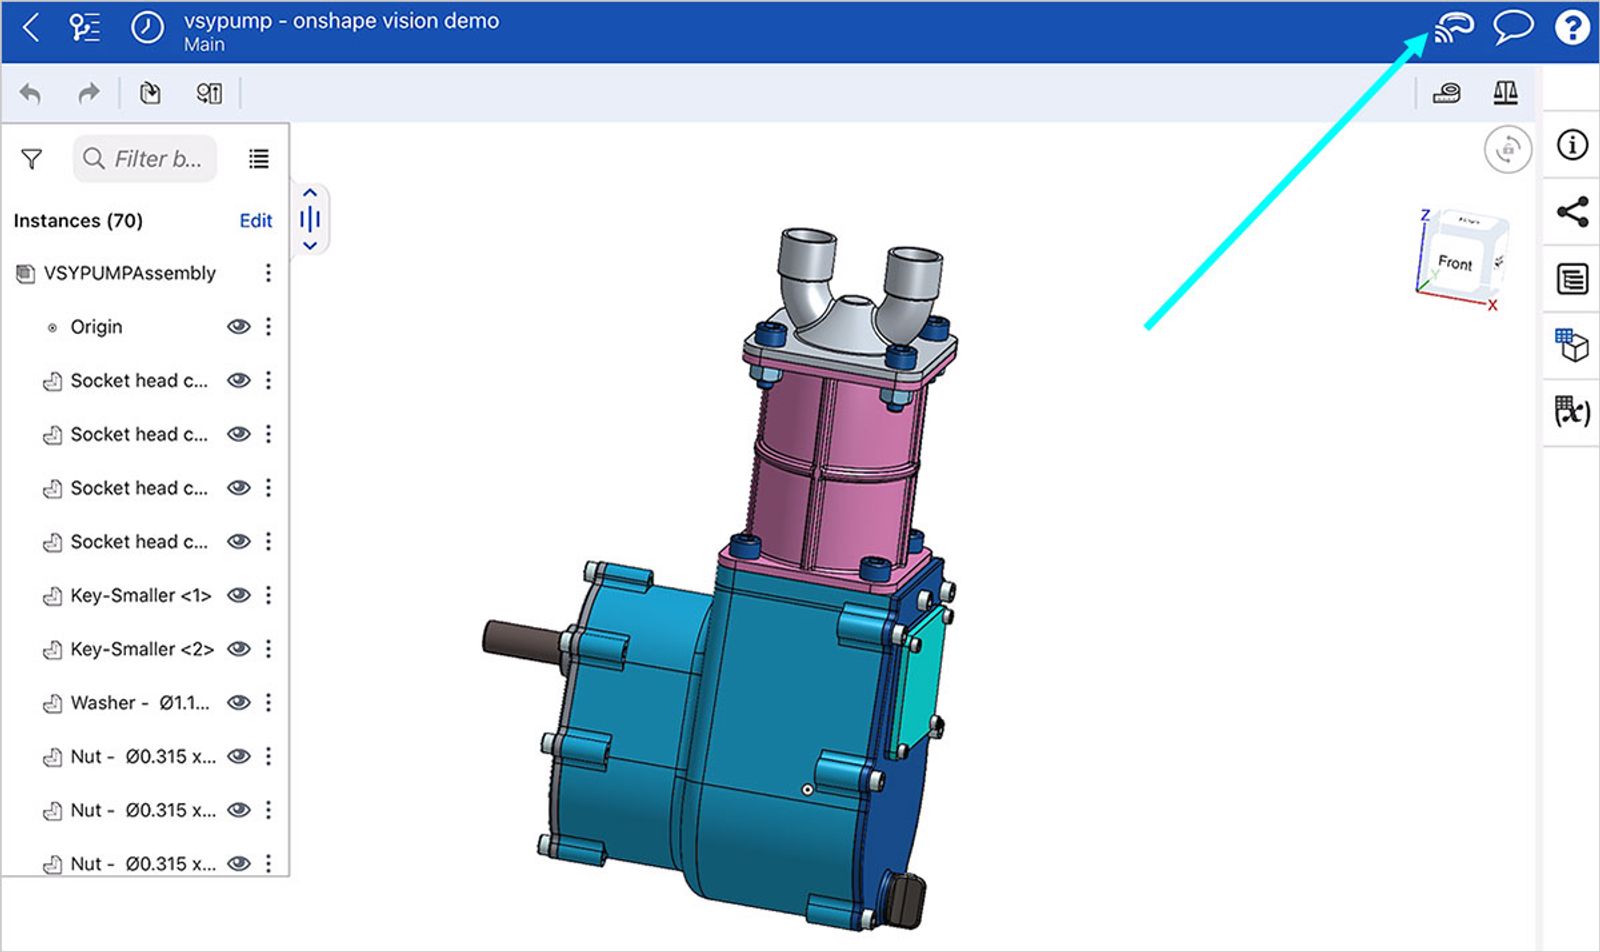
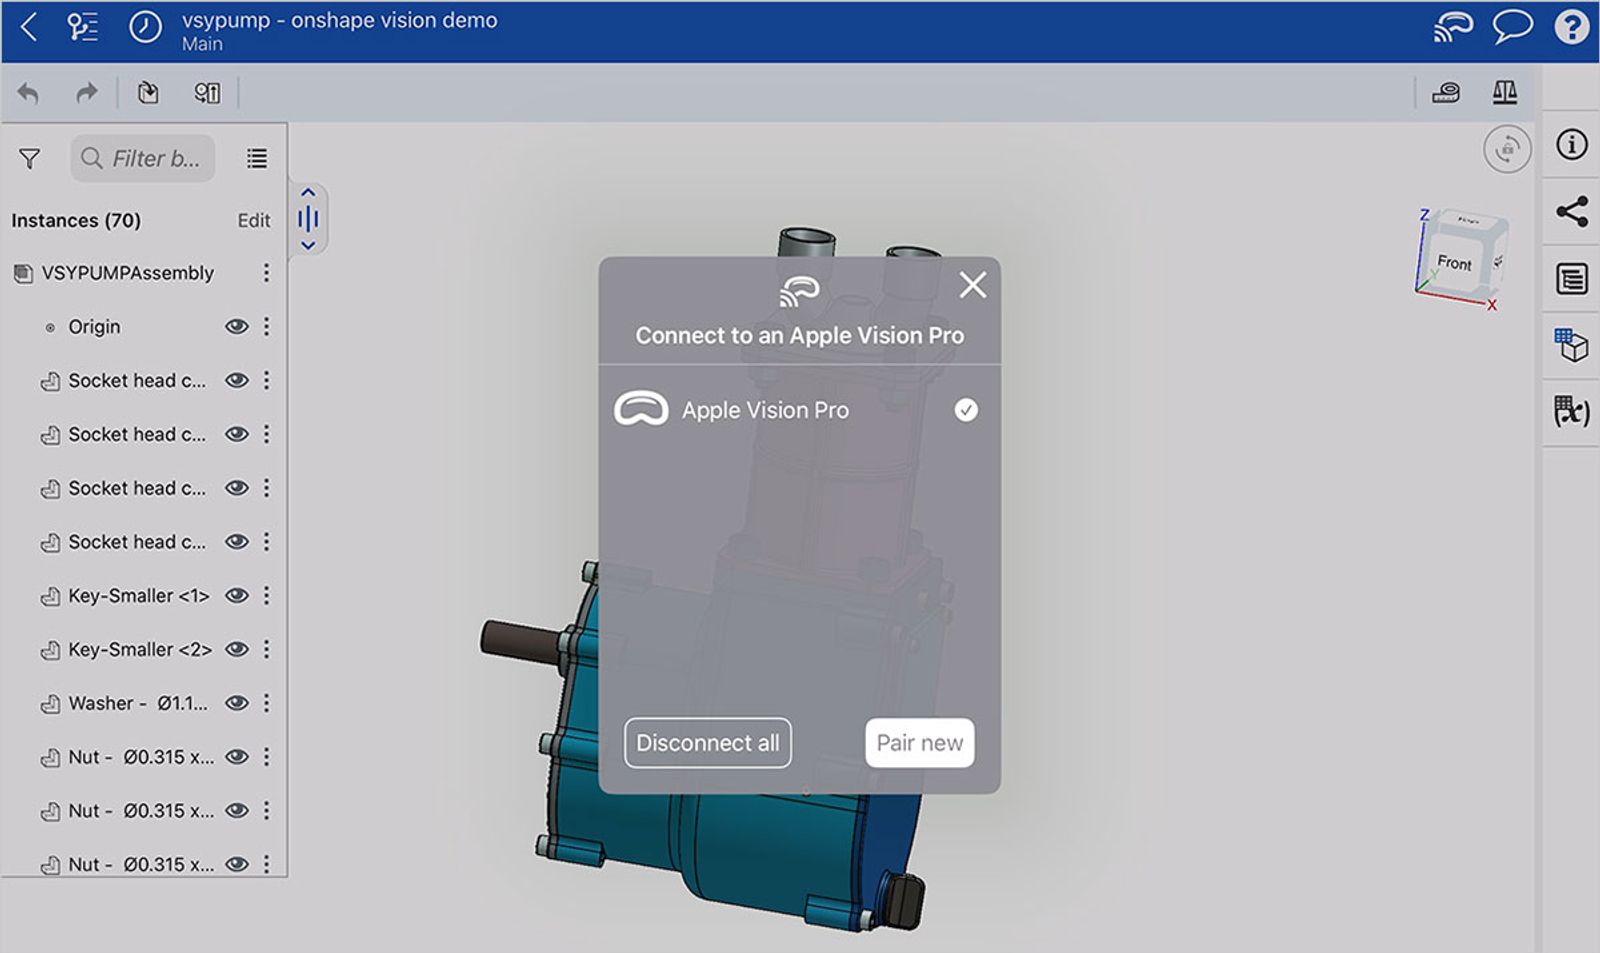
5. Tap this icon to start the connecting process. You will be presented with the following dialog asking to connect with a paired device. If no devices have been paired, then click Pair new.
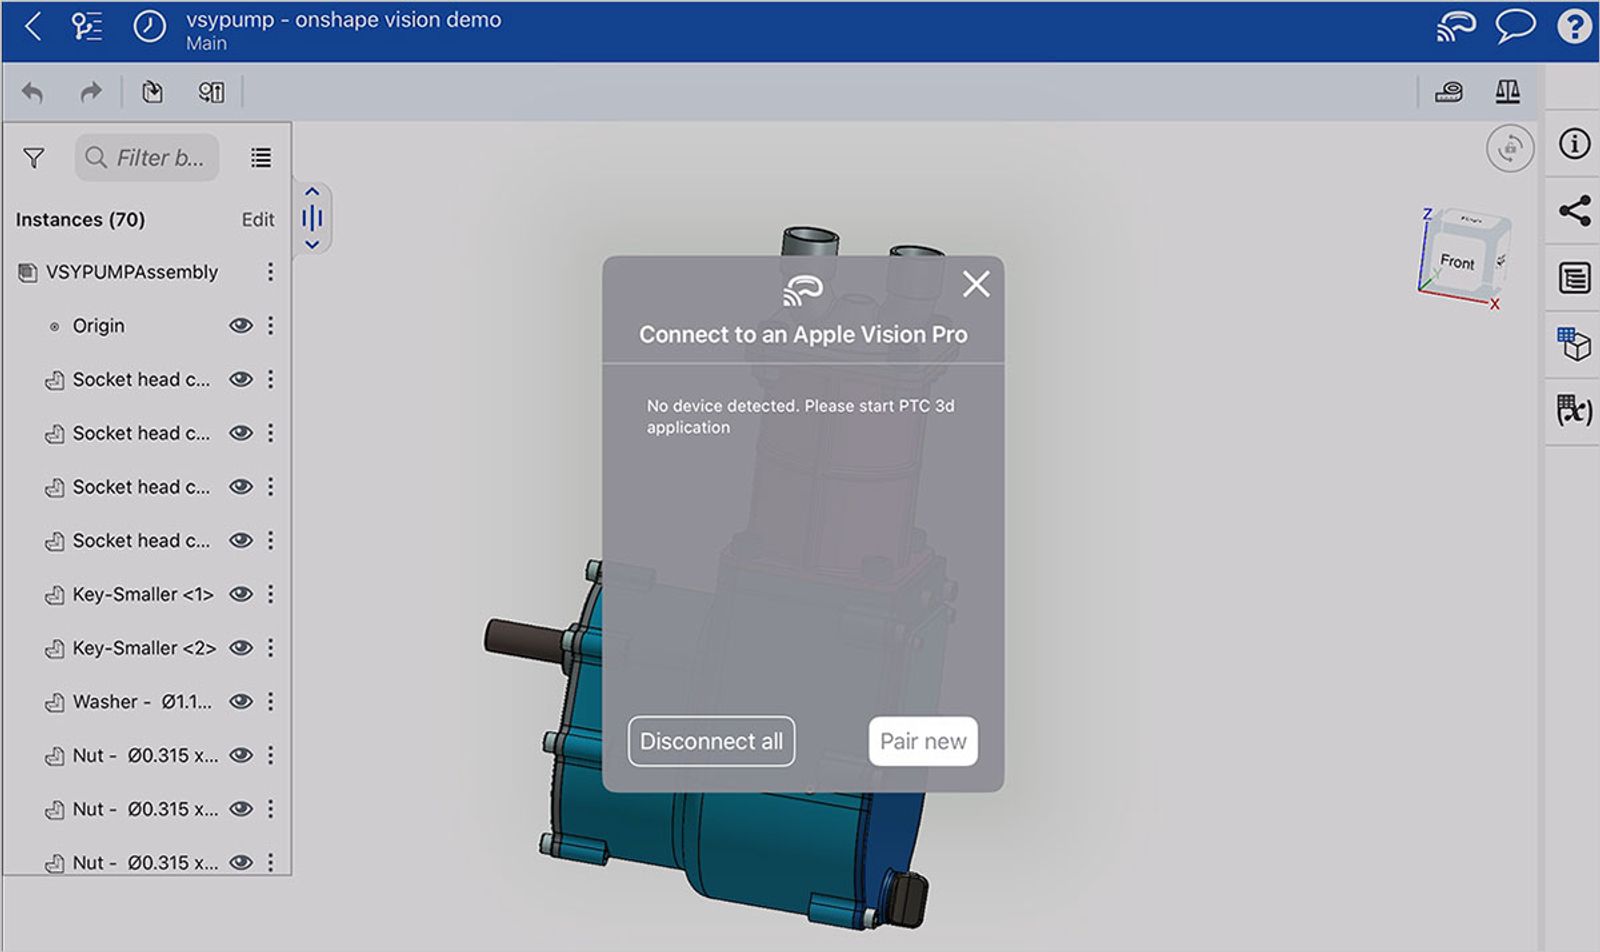
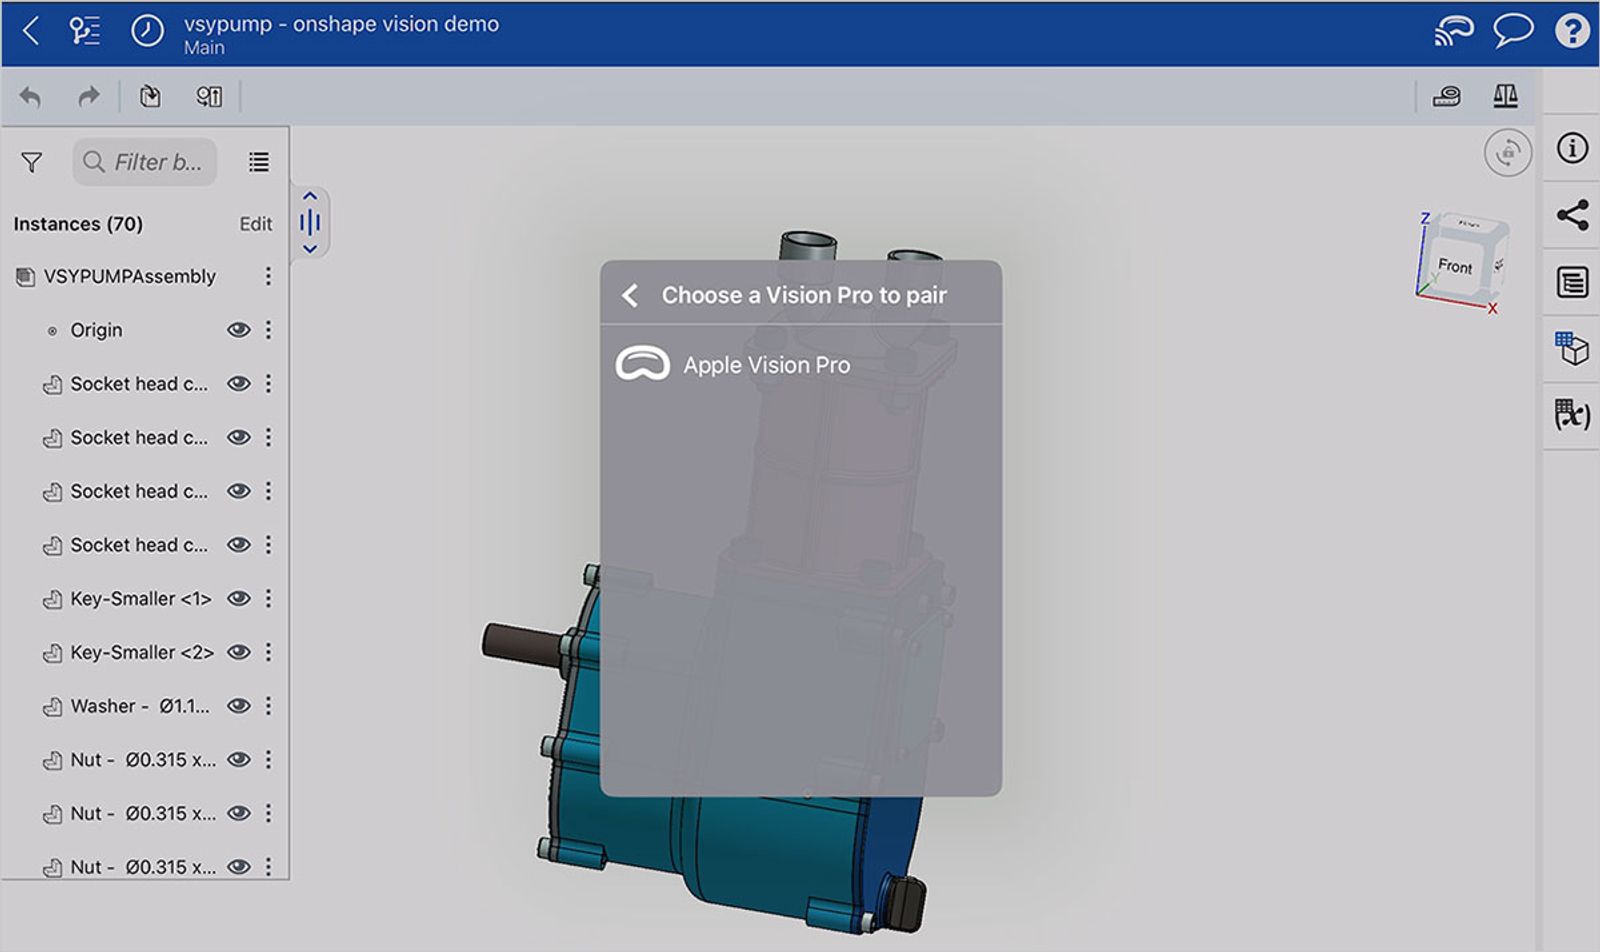
6. With Onshape Vision running nearby, you should see the following, as Onshape (on the iPad) detects Apple Vision Pro. To begin pairing tap the appropriate device in the list.
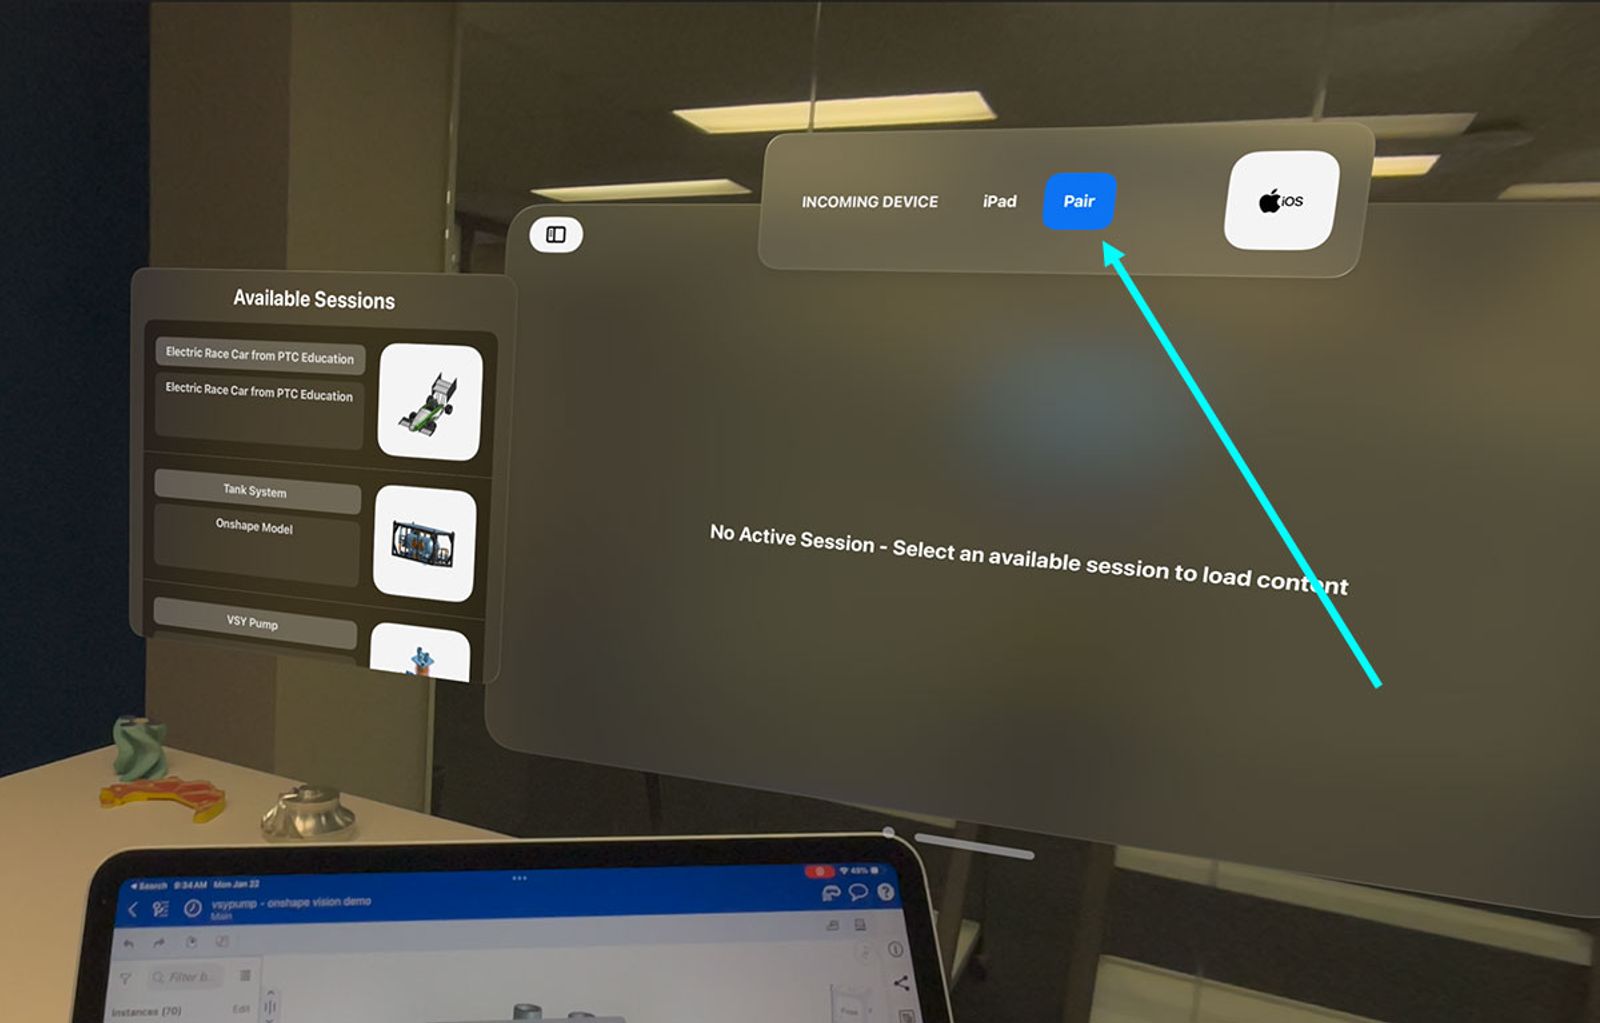
7. in Apple Vision Pro you will see a prompt appear on the top toolbar in Onshape Vision. Tap pair to initiate the pairing sequence.
8. The iPad UI provides a unique code you must enter within Apple Vision Pro to securely pair Onshape with the device. Enter the numbers shown on the iPad screen into the corresponding numeric entry form in Onshape Vision (a virtual numeric keypad appears to help you enter the numbers). Click the Submit button when complete.
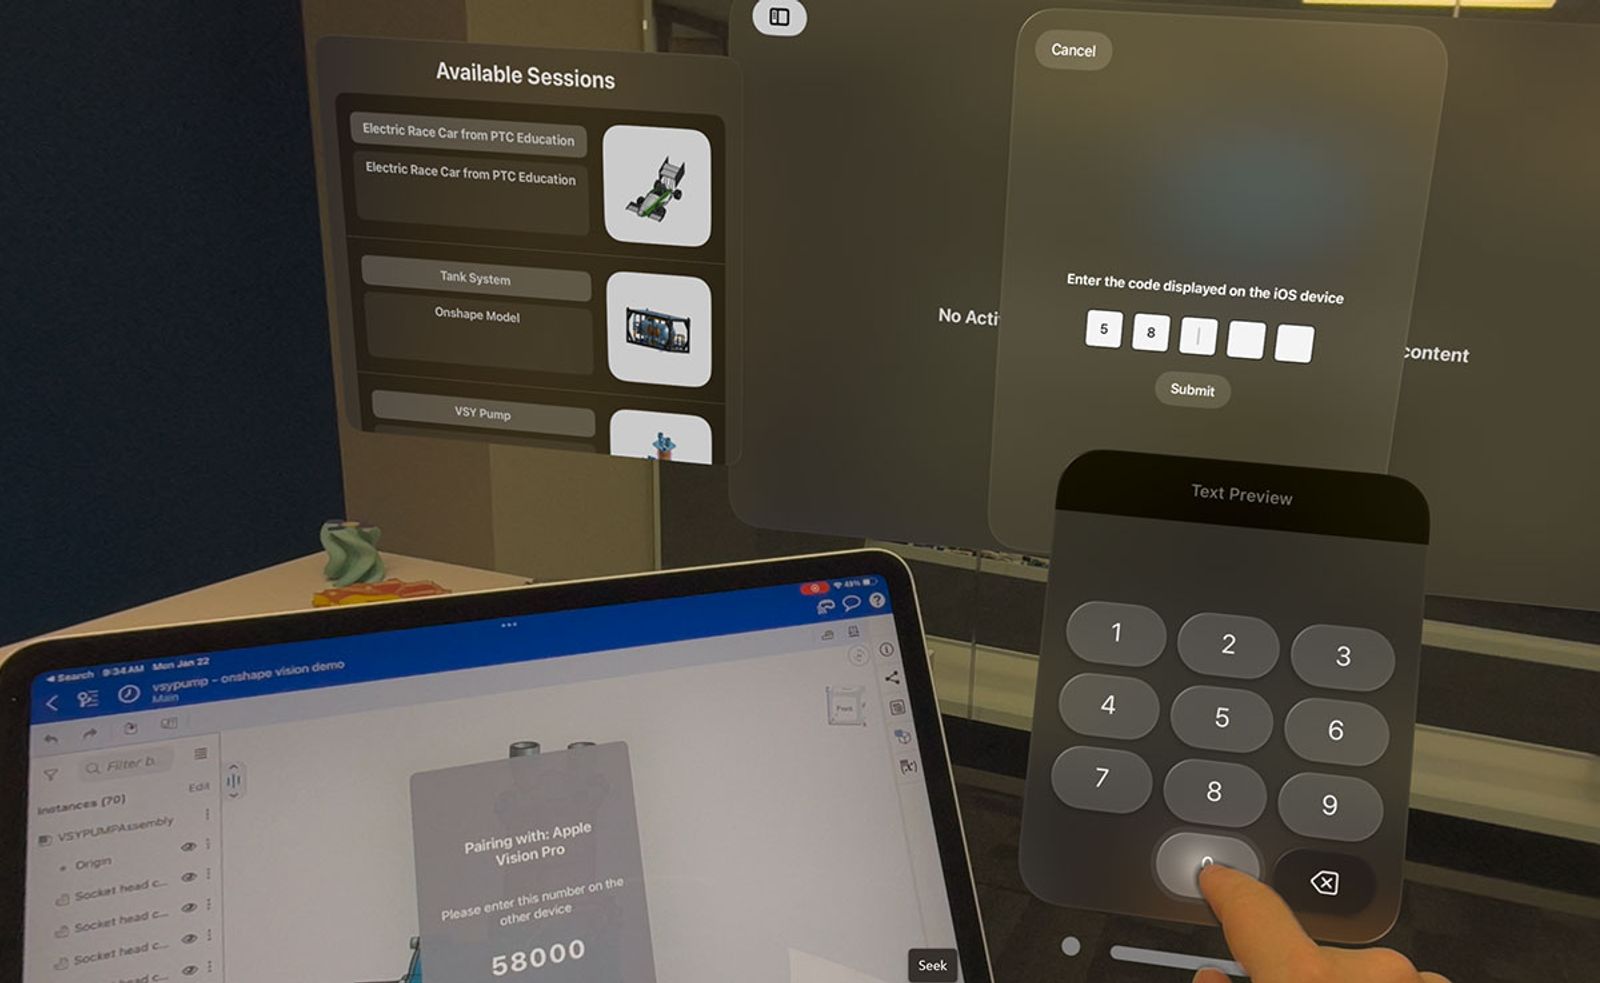
9. Once the 5 digits are entered and verified, you will see confirmation the pairing was a success.
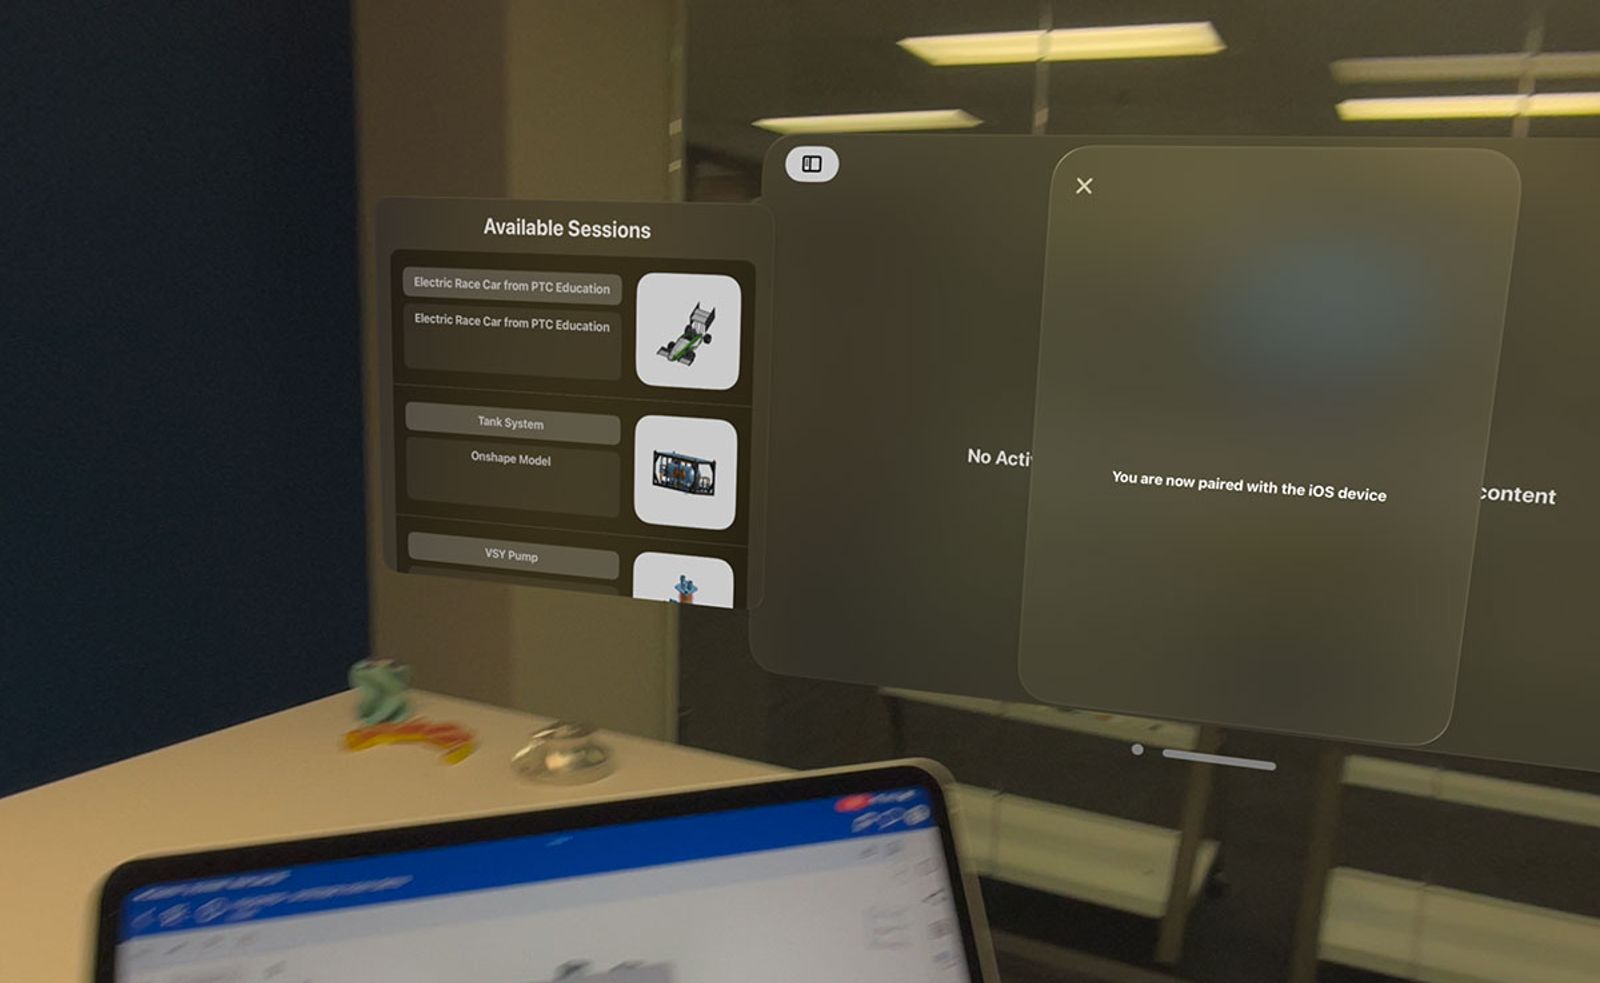
10. On the iPad, click OK to return to the device list. Select the newly added device from the list. The Apple Vision Pro must be running the Onshape Vision app.
Opening models with Onshape Vision
Once a device is paired, you can click on the icon to initiate casting your current design document to Apple Vision Pro.
Once a device is paired, you can click on the icon 
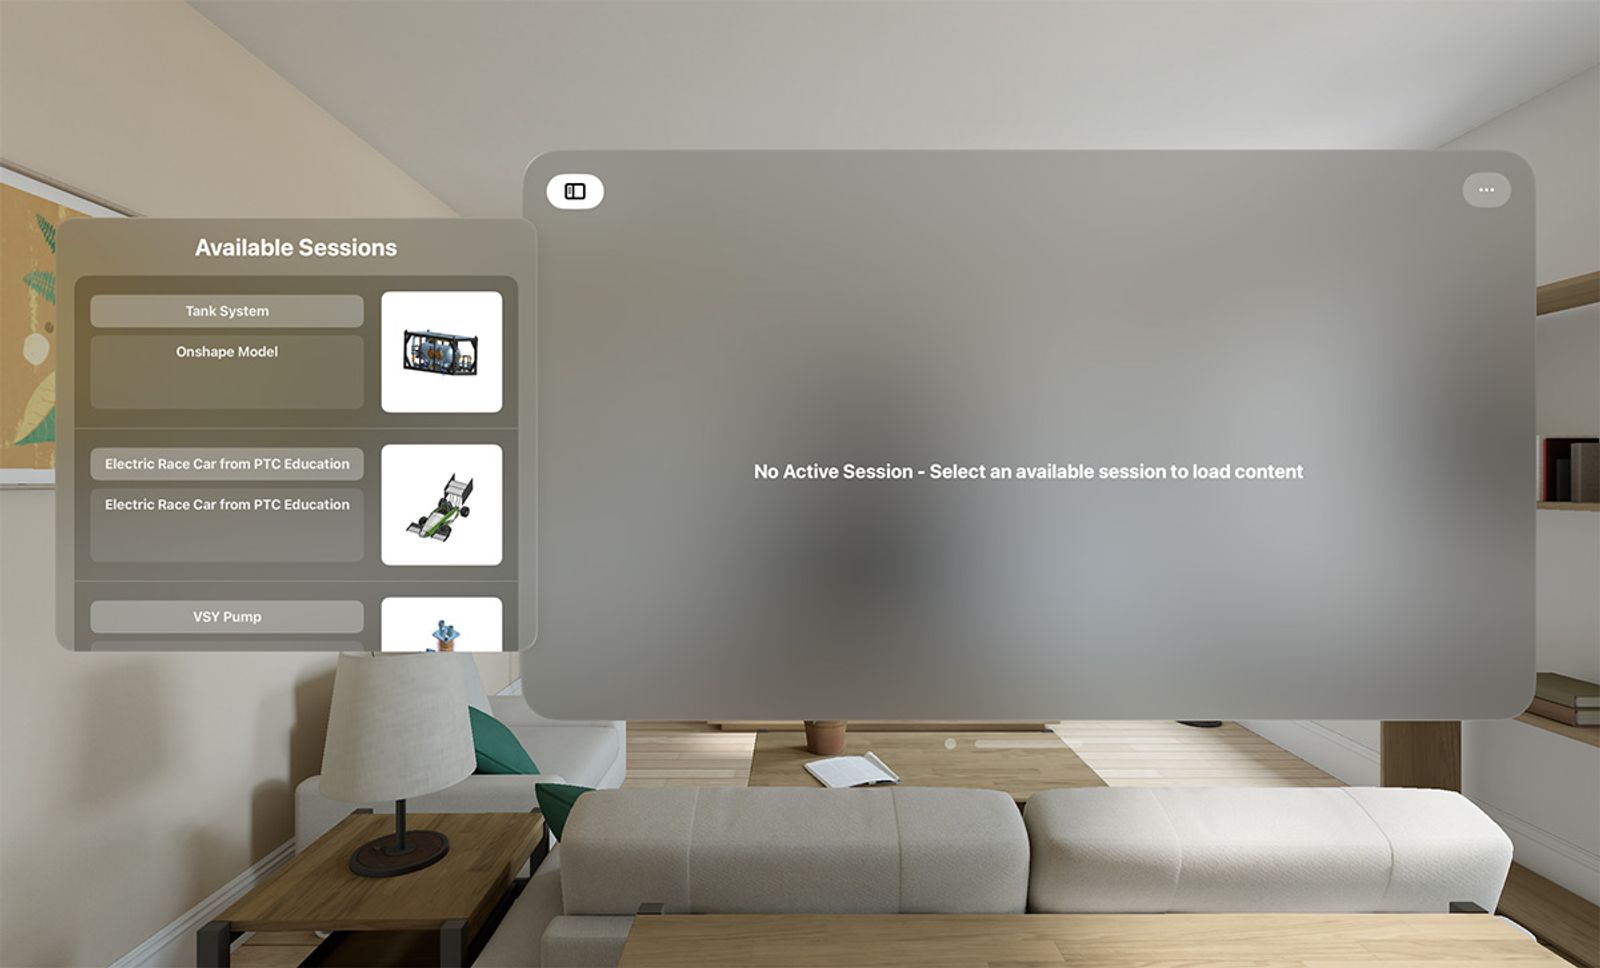
1. In the Onshape Vision App you will see a list of available sessions in the left-hand panel. This will include your new session entry along with a thumbnail image that represents the document’s Part Studio or Assembly tab that is open on the iPad.
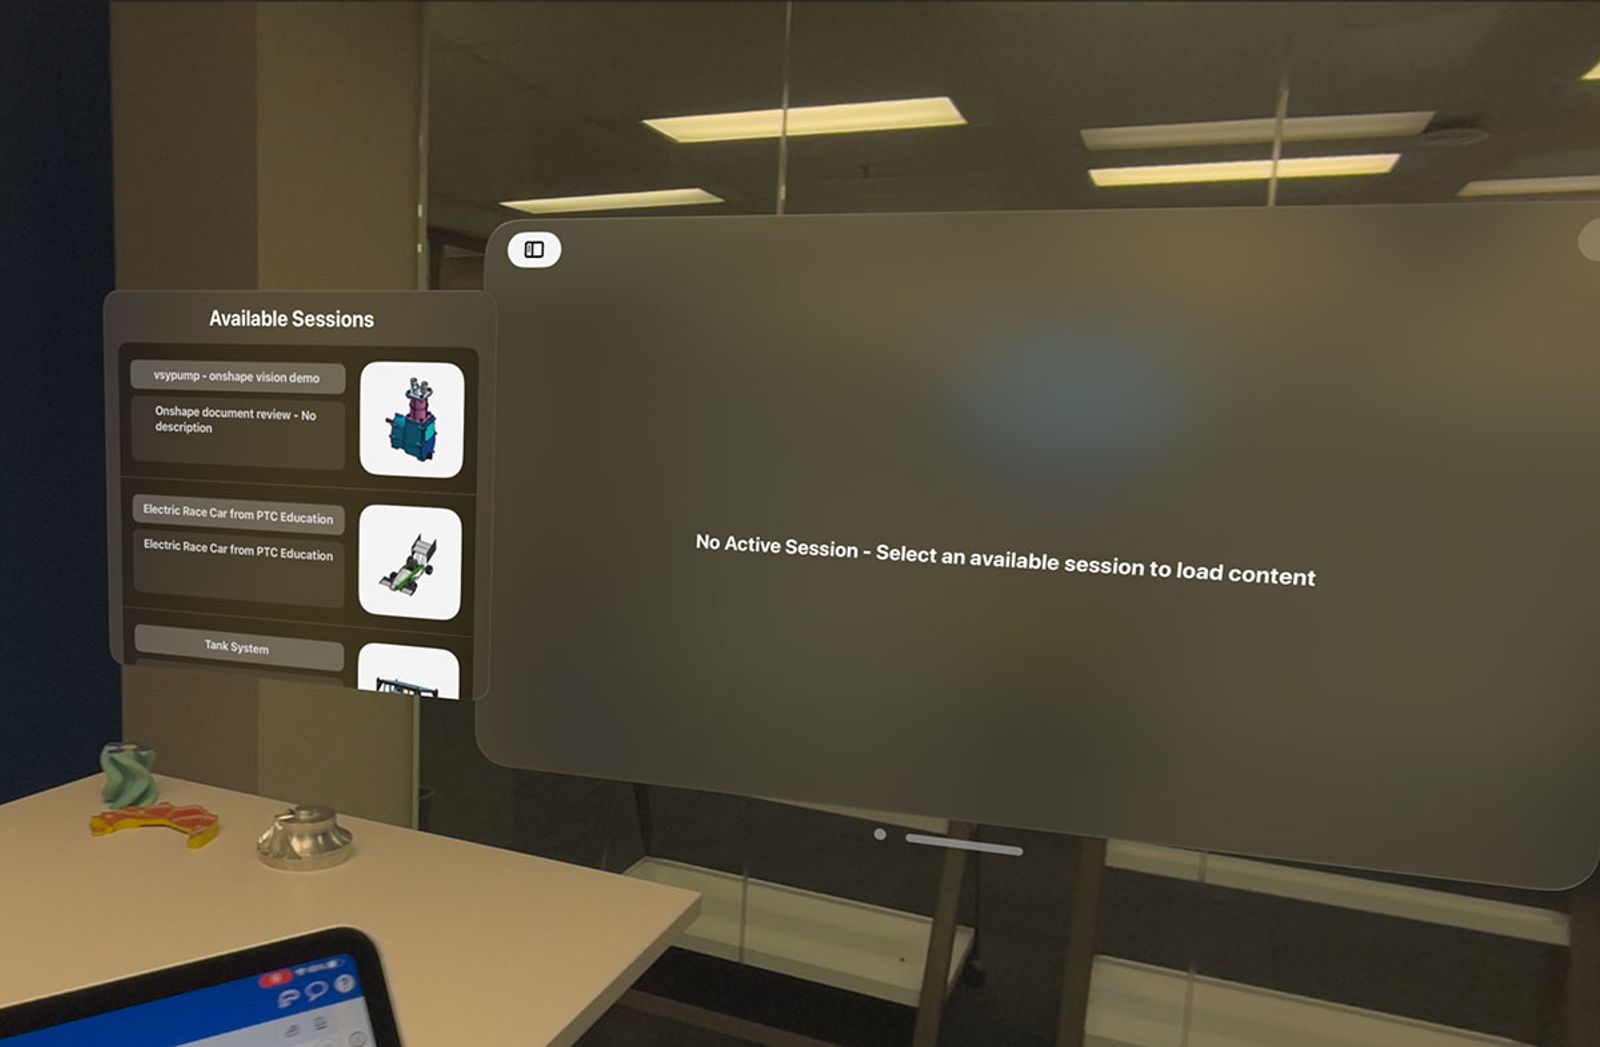
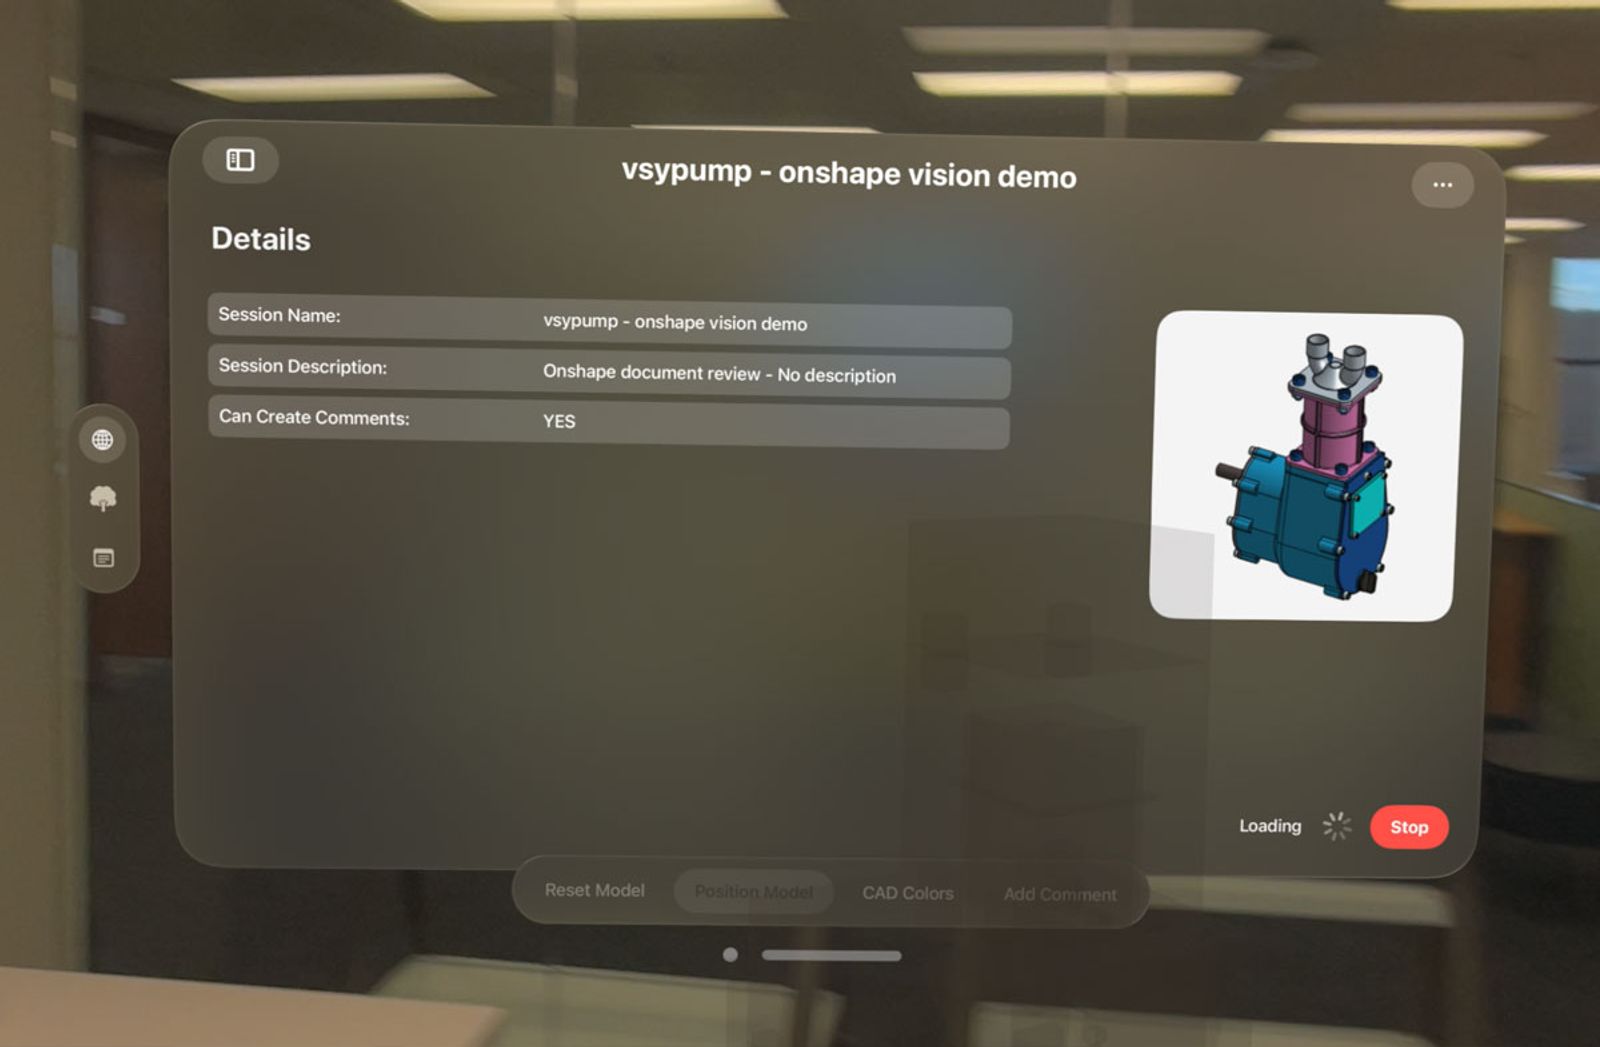
2. Tap on the item you would like to view from the list. In this demonstration, you can see the pump model is now viewable within Apple Vision Pro. Load the model and you can now move it to a convenient location to begin it's inspection.
Making changes to your design
Onshape Vision shows a representation of the Part Studio or Assembly that is open in Onshape on the iPad. Any change that is made is reflected in Apple Vision Pro in real time. For example, if you hide a part in an assembly, or make geometric changes in a Part Studio, you immediately see those changes in Apple Vision Pro. If you switch views on the iPad, Onshape Vision stays in sync and shows the contents of the new view.
If you close a document model and return to your document list, the session in Onshape Vision is terminated. If you choose to open another document model, you do not have to pair it with the device again, but you do need to create a new session on the device. Click the icon 
What's your Vision?
To learn more about Apple Vision Pro and Onshape Vision, visit the App Store.