
1:18
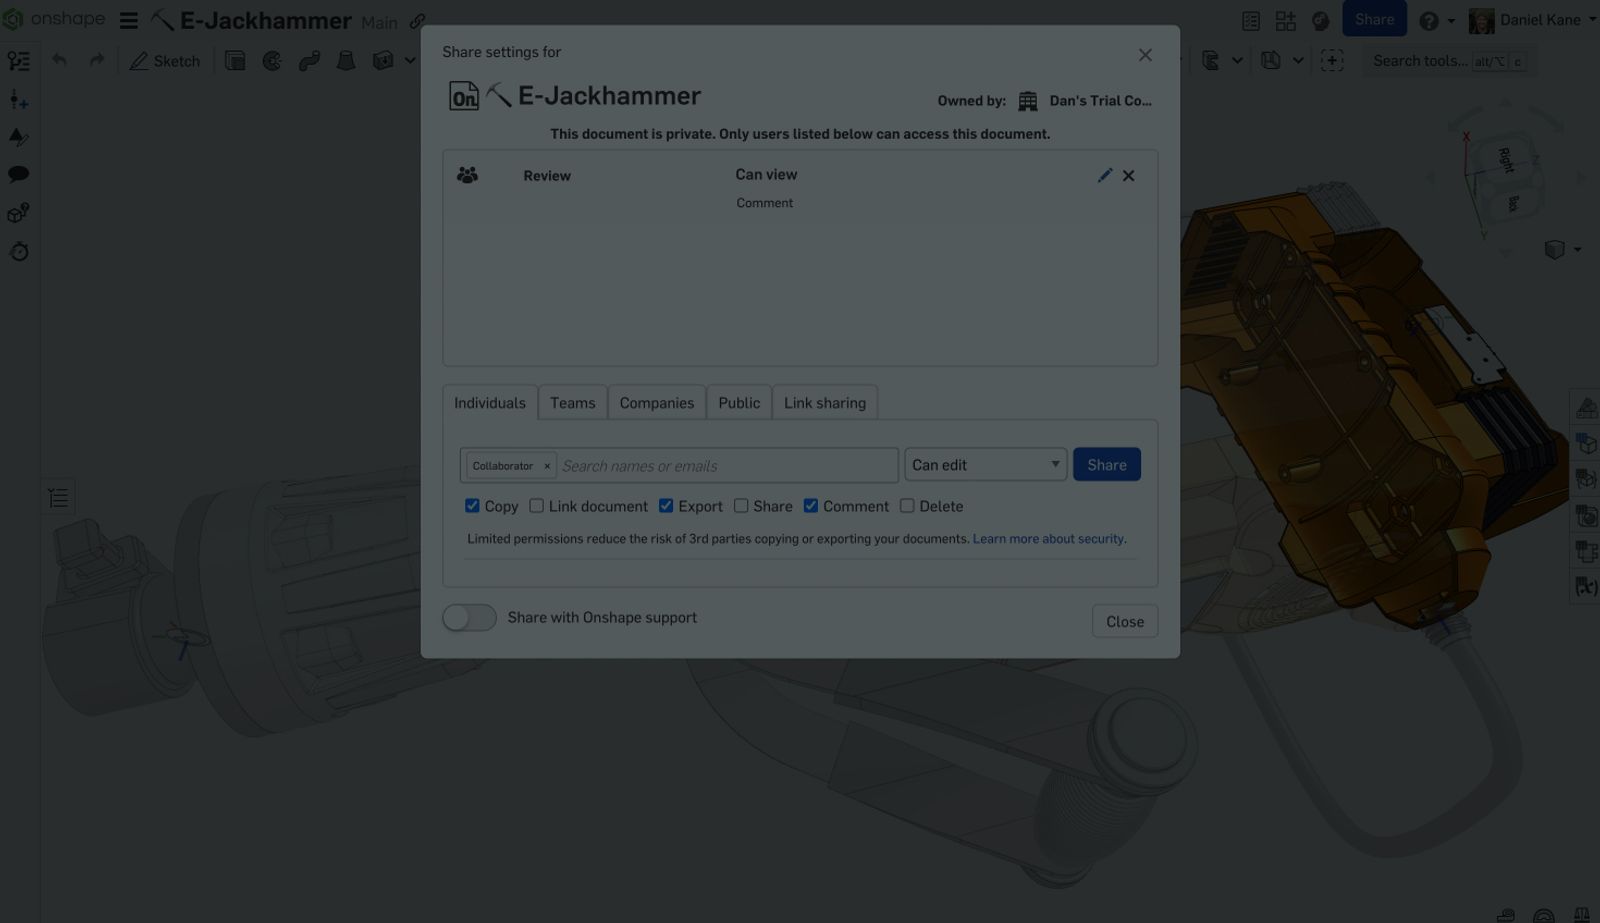
Onshape has made it easy to provide others on your team access to CAD and PDM by removing the need for downloads, installs, or license keys.
This Tech Tip covers everything you need to know about provisioning additional users in Onshape.
Note: The techniques shown here apply to Professional and Pro Discovery Administrators.
How to Add a User
Onshape’s company settings provide a one-stop shop for everything admin-related. Navigate to the company settings by clicking your name in the top right corner to access the User account menu, and select Company settings from the dropdown list.
The Users settings open by default. Here, you can view and manage all users that have access to your Onshape company. To add users, enter their email address in the Add users field, define their role as either a company Member or Admin, and click the Add button.
User Management Tips
Additional tips for managing users:
- Add multiple users at once by entering multiple email addresses separated by commas or semicolons.
- An envelope icon denotes invited users who have not created their accounts yet.
- To remove a user, click the X next to their name.
- Organize your users and share permissions with Teams.
- Extend Onshape access to people who only need view-only access.
This Tech Tip helped you understand how to manage users in Onshape. Explore our training courses/videos on company management, available in the Onshape Learning Center and Help menu for additional learning materials.
Interested in learning more Onshape Tech Tips? You can review the most recent technical blogs here.
The Onshape Discovery Program
Learn how qualified CAD professionals can get Onshape Professional for up to 6 months – at no cost!
Latest Content
- Blog
- Becoming an Expert
- Assemblies
Built to Scale: Why Large Assemblies Don’t Slow Down in Onshape
07.16.2026 learn more- Blog
- News from Onshape @ PTC
- Artificial Intelligence
Onshape Labs: AI in CAD Guided by Designers, Driven by Innovation
07.15.2026 learn more- Blog
- Evaluating Onshape
- Data Management
- Collaboration
- Artificial Intelligence
How the Most Underrated CAD Feature Improves Design Workflows
07.09.2026 learn more