
3:32
The next time you design a part for injection molding, spare a thought for the toolmaker. Mold, Tool & Die design can be one of the most complex, time-consuming and expensive manufacturing processes available. With tooling costing from tens of thousands to millions of dollars (depending upon the size and complexity), mistakes and rework are not an option. The best thing to do? Involve the toolmaker as early as possible.
My colleague, Mike LaFleche (a.k.a. “The Professor”), shared his “10 CAD Tricks for Mold Design.” In his comprehensive blog, he outlines lots of ways you can avoid costly mistakes and project overruns, such as sharing design data early and conducting frequent ad-hoc design reviews. His sage advice applies equally well to both product designers and tool designers.
Onshape, of course, is well suited to this early and often collaborative process due to its cloud-native architecture. Tool designers can be invited to follow your progress as your design evolves and offer their expertise and guidance to help reduce costs and manufacturing lead times. Once a design strategy has been agreed upon, the toolmaker can give you a much more accurate quote and order steel ready for manufacture even if the design is not yet final.
From this point, the tool design process can then be simplified into 3 stages:
- Part Analysis and Preparation – to ensure that the part can be physically molded and special tooling requirements are minimized.
- Creation of Core and Cavity Geometry – shut-offs, inserts, parting surfaces, etc.
- Mold Base Detailing – ejectors, waterlines, sliding cores, drawings, etc.
If you’re the tool designer, you’ll want to get a head start. Much of the first-stage activity can be accomplished easily if you’ve been involved early on. The second stage can be difficult if you have to build surface geometry manually. The third step just takes time. Automating these processes is essential if you want to get the tool into production as soon as possible.
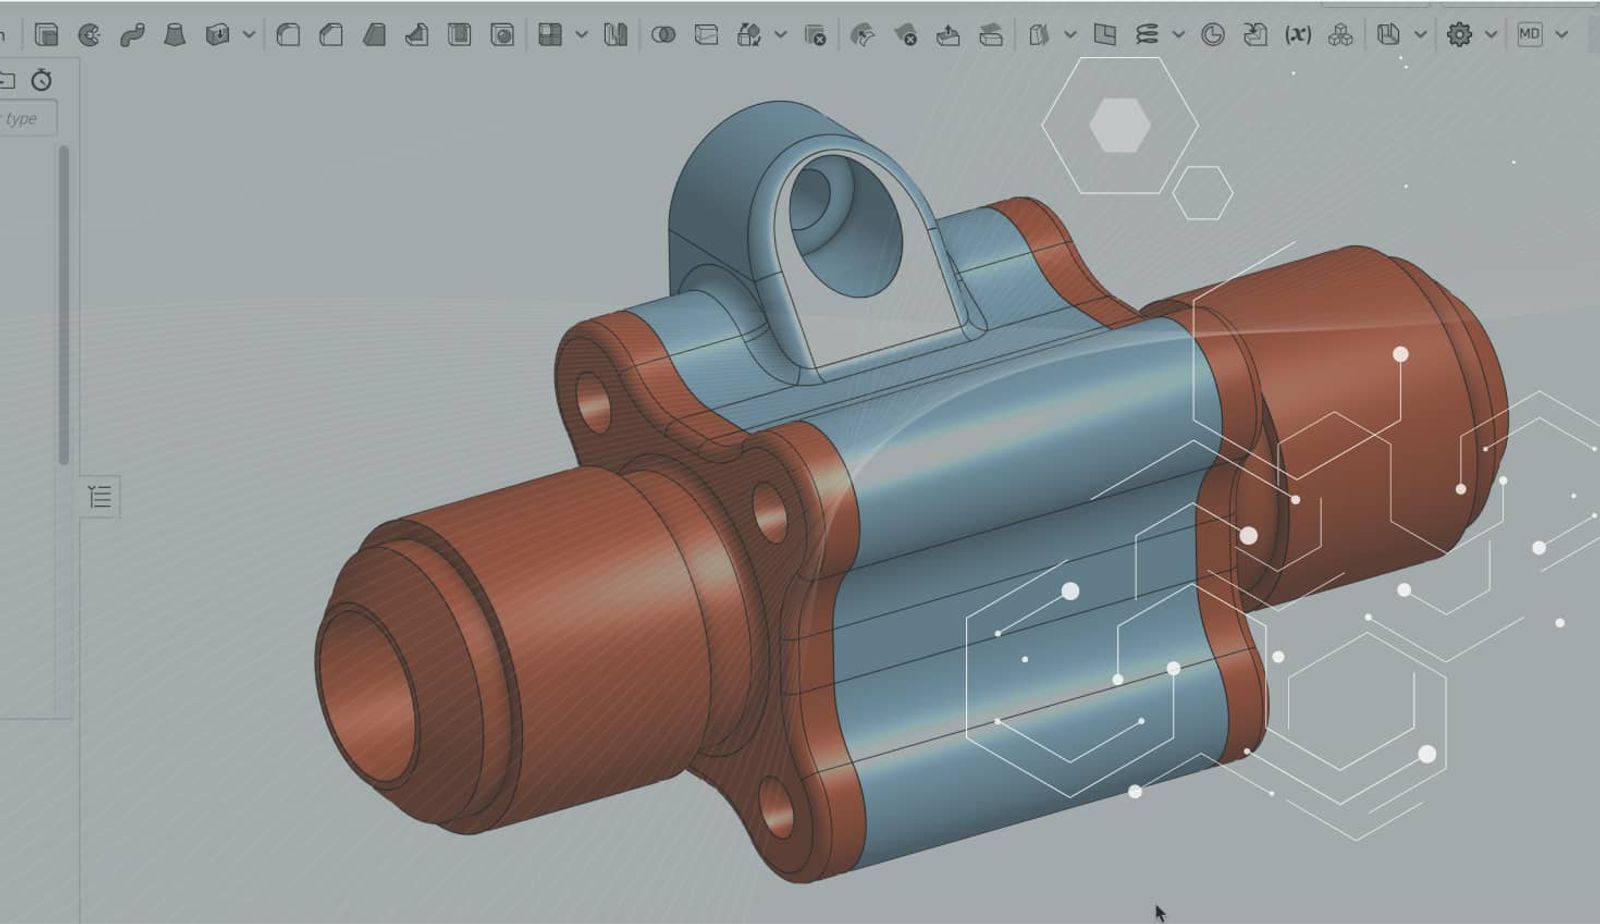
Fortunately, Onshape offers solutions for all three stages: built-in collaboration and design review tools, multi-part Part Studios, and in-context assembly design.
Part Studios are ideal for generating core and cavity geometry. All interrelated parts are created together in one place, making models more robust and resilient to changes that invariably occur further down the line. This is particularly relevant considering the typical complexity of shut-off and parting surfaces needed to split a mold. The more robust these features are, the less time you’ll have to spend fixing them when things change.
Due to this complexity, automation is key. One of the added benefits of Onshape is how easy it is to reduce repetitive or industry-specific tasks with simple custom features. For tool design, you can either use the built-in surfacing features or you can build a custom feature to add as much automation as you need. In the case of mold design, there is a lot of automation required.
Custom features also enable Onshape to prototype new tools and make them available for general use, to get early feedback, and suggestions for improvements. To this end, a new set of custom features for automating the creation of insert stock parts, shut-off and parting surfaces, and mold splitting can be found here. These features have been developed to address the demand for mold design capabilities, have been beta-tested by several tool designers on real-world customer examples, and are now available for testing by all Onshape users.
Check out this webinar on how these custom Onshape features work, but if you want to try them out first, please do. Your questions and feedback are welcomed. Remember, you don’t have to copy the Document to use these custom features, just add them to your toolbar using the “Custom features” button at the top of the Document.
Finally, mold base detailing can be a very time-consuming and tedious undertaking. Using Onshape’s in-context design to modify plates and add slides and waterlines relative to the design part, keeps the core and cavity geometry definition separate. It also helps to keep complexity down while maintaining a complete overview of the entire mold design process. More custom features to automate plate detailing will be added over time, based on user demand and feedback.
The Onshape Learning Center
Take self-paced courses, read articles, or sign up for an instructor-led training session.
Latest Content
- Blog
- Evaluating Onshape
- Arena PLM Connection
The Cloud-Native CAD-PDM-PLM Workflow That Finds Problems Before They Cost You
06.11.2026 learn more- Blog
- News from Onshape @ PTC
- Artificial Intelligence
- Robotics
How Multi-Agent Orchestration Between Onshape and NVIDIA Improves CAD-to-Simulation Workflows
06.01.2026 learn more- Blog
- Evaluating Onshape
- Robotics
- Aviation, Aerospace & Defense
- Collaboration
- Integrations
- Arena PLM Connection
- Data Management
Why the Best Hardware Teams Have Started Talking Like Software Engineers
05.28.2026 learn more