
1:21
Custom Features are valuable tools that anyone with an Onshape account can create using FeatureScript. This Tech Tip will explore a handy Custom Feature: Fill Pattern.
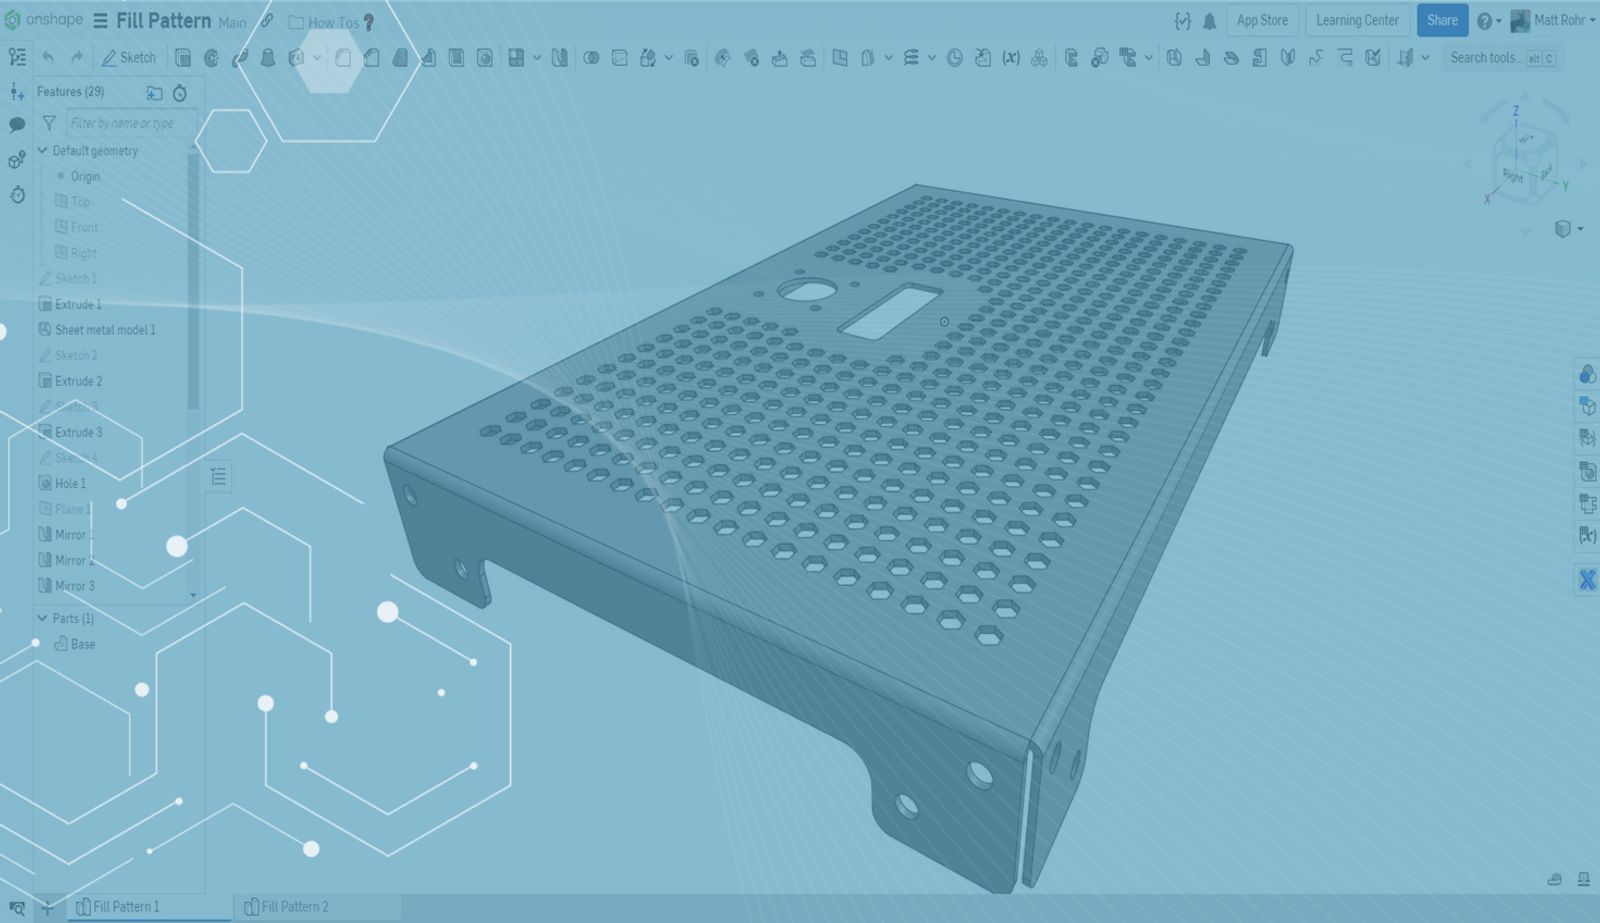
Fill Pattern generates an array of faces within a target face while avoiding boundary edges. Fill Patterns are often more straightforward to create than multiple linear patterns. This feature is an efficient way of modeling periodic geometry, including perforations, filters, and textures.
Create the starting geometry and then follow this basic procedure to use Fill Pattern:
Add the Custom Feature to your Toolbar
Open the Fill Pattern document and click the "+" icon to add the custom feature to your toolbar.
Insert the Fill Pattern Feature
Click the Fill Pattern icon to activate the feature dialog. Next, select the seed geometry and a target face.
Pro Tip: Create selections to select multiple faces quickly.
Select a linear edge, planar face, reference plane, or mate connector to define the pattern direction, and pick “square” or “hexagonal” to specify the shape.
Enter a distance to control the center-to-center spacing between instances. Optionally, enter a value to allow additional padding along boundary edges.
Advanced Fill Pattern Techniques
The Split tool helps isolate or exclude specific regions for patterning. First, define the area with a sketch and split the target face. Next, use the Fill Pattern feature as previously explained. As a final step, use the Delete Face tool to clean up unwanted edges.
You can also watch the video below to see how it works in real-time.
Interested in learning more Onshape Tech Tips? You can review the most recent technical blogs here.
Latest Content
- Blog
- Evaluating Onshape
- Electronics
- Integrations
- PCB Studio
How Onshape PCB Studio Pulls 3D Component Models Straight from Altium 365
05.21.2026 learn more- Blog
- Evaluating Onshape
- Collaboration
- Data Management
What’s the Difference Between File-Based and Cloud CAD?
05.20.2026 learn more- Blog
- Customers & Case Studies
- Arena PLM Connection
The Cloud-Native Workflow Behind Coco’s Next-Gen Delivery Robot
05.14.2026 learn more