
2:13
Often a hand sketch or photo of an object is quick to create and can serve as the basis for a design in a CAD system at a later time. This Tech Tip will teach you how to insert images, such as PNG, JPEG or BMP files, into Onshape to use as a basis for creating sketches.
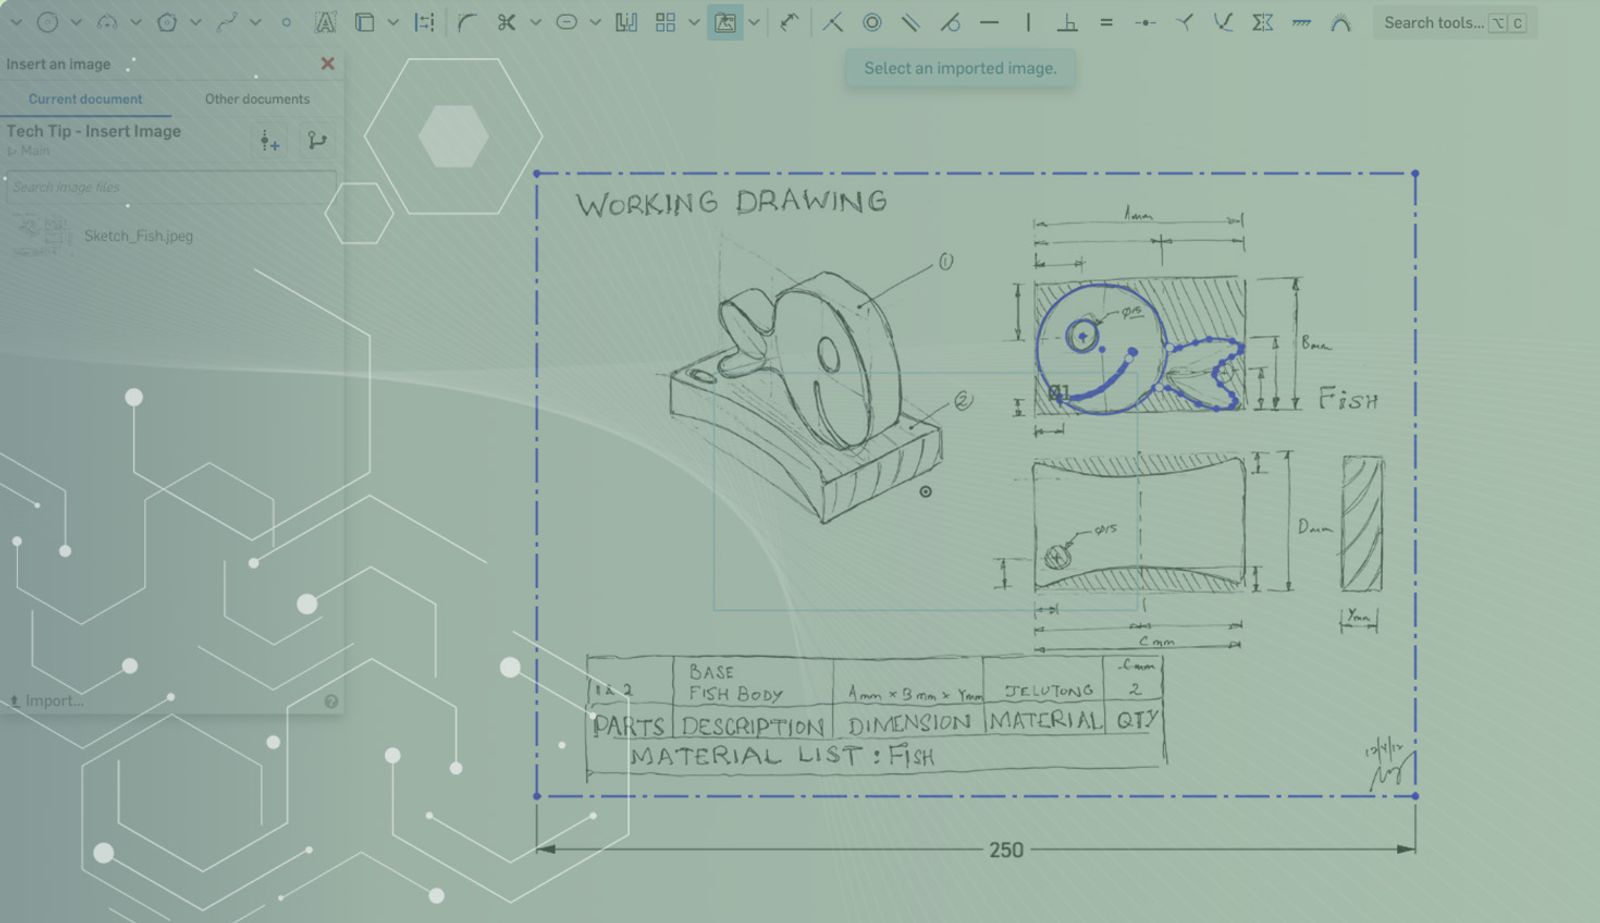
Import or Use an Image
While creating a sketch, select the “Insert Image” feature.
If there are no image files listed, you can use the “Import” link at the bottom of the dialog. In the dialog window, enter a search phrase to locate an image file or select one from the list.
Click and drag the image to position in the graphics area. (The aspect ratio of the image is maintained and indicated by a dashed line as you drag.)
Note that a horizontal constraint is applied to the lower edge of the box by default.
You can sketch on top of the image. Dimensioning the sketch geometry the first time scales the image as well.
The created sketch can serve as any other sketch for further features after that.
Extra Tips for You:
- To rotate an image, remove the horizontal constraint, fix one corner and drag another corner.
- To move an image, remove all constraints and click and drag the image to the desired location.
- You can sketch on top of the image.
- Dimensioning sketch geometry scales the image as well, but only the first dimension applied scales the image. To rescale the image, remove additional dimensions and adjust the remaining one dimension.
- When you Show/Hide the sketch, the image is also shown or hidden.
- This feature respects the alpha channel, so if it is transparent, it will remain that way in Onshape.
- You can copy/paste an image (as a sketch entity) within a Part Studio and from one Part Studio to another.
- You can use the context menu and “Edit Image” command to select another image file or upload a new one.
- If the source of the image changes, it may be updated in its tab using the “Update” option on the tab context menu. This also updates the image wherever it is used in the document.
Watch the video below for more on this Tech Tip:
This Tech Tip helped you learn how to use an image as a basis for a sketch. We have more resources for you to learn more about related features, like how to import a DXF/DWG into a sketch.
Interested in learning more Onshape Tech Tips? You can review the most recent technical blogs here or follow the button below for our YouTube channel.
Latest Content
- Blog
- Becoming an Expert
- Assemblies
Built to Scale: Why Large Assemblies Don’t Slow Down in Onshape
07.16.2026 learn more- Blog
- News from Onshape @ PTC
- Artificial Intelligence
Onshape Labs: AI in CAD Guided by Designers, Driven by Innovation
07.15.2026 learn more- Blog
- Evaluating Onshape
- Data Management
- Collaboration
- Artificial Intelligence
How the Most Underrated CAD Feature Improves Design Workflows
07.09.2026 learn more