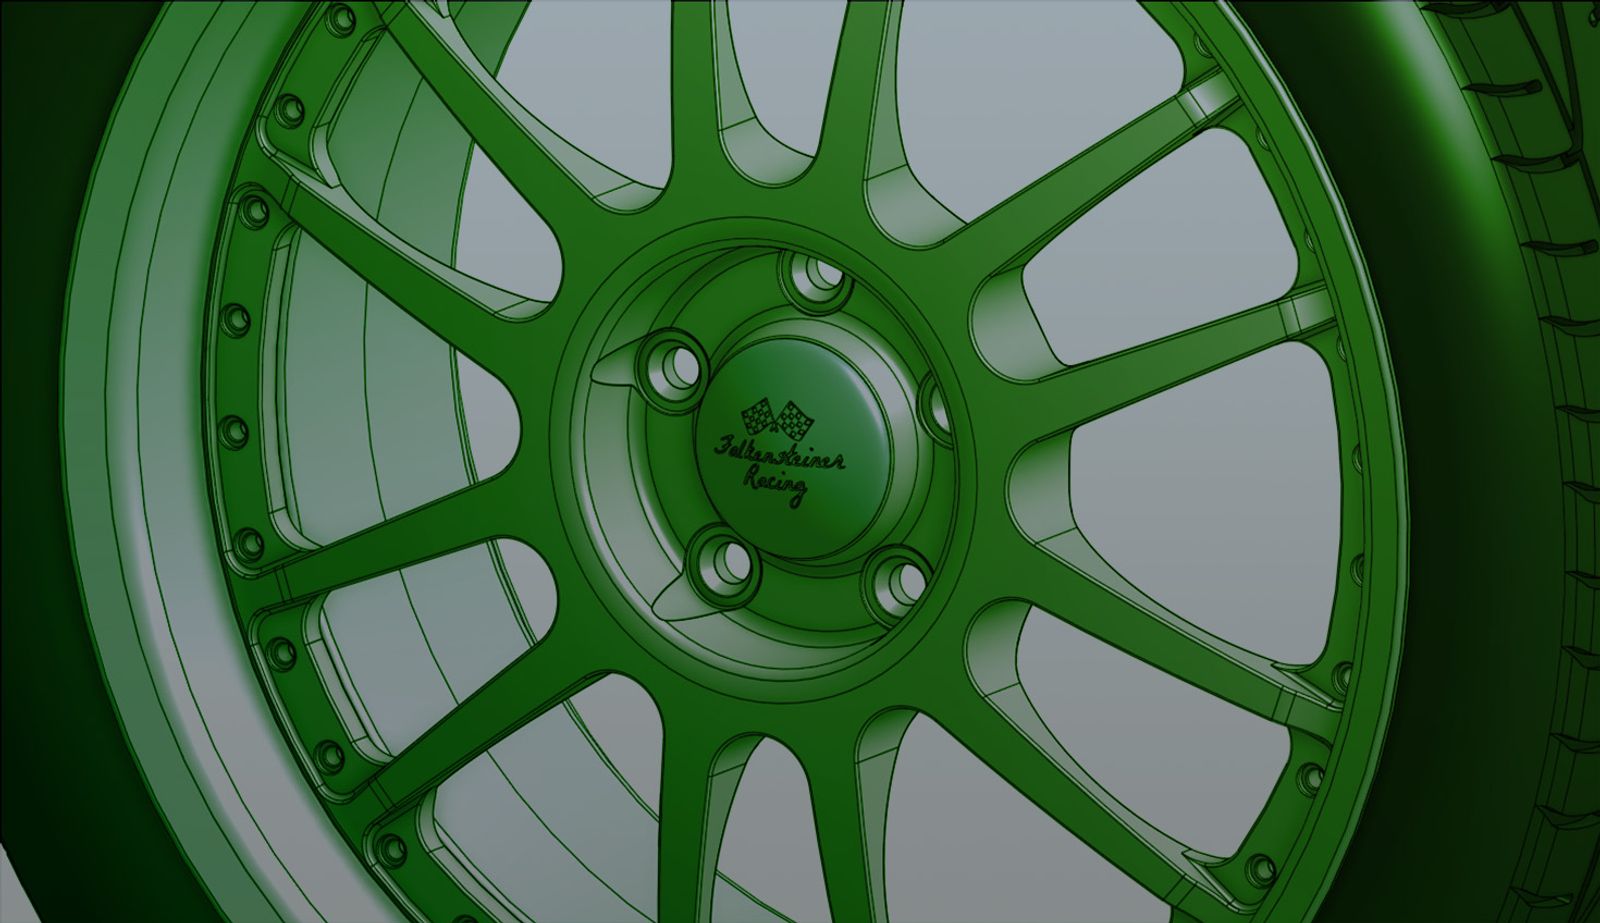
1:38
The Wrap feature is used in Onshape to project sketches onto cylindrical surfaces. But what if you want to have text or a logo on a non-cylindrical surface? This Tech Tip explains how to do this.
Insert the Sketch of the Logo or Lettering
As a first step, you must either create a sketch on a sketch plane or, if the sketch already exists, derive from another Part Studio and/or Document. The distance to the projected surface is irrelevant, but the size of the sketch and its position are important.
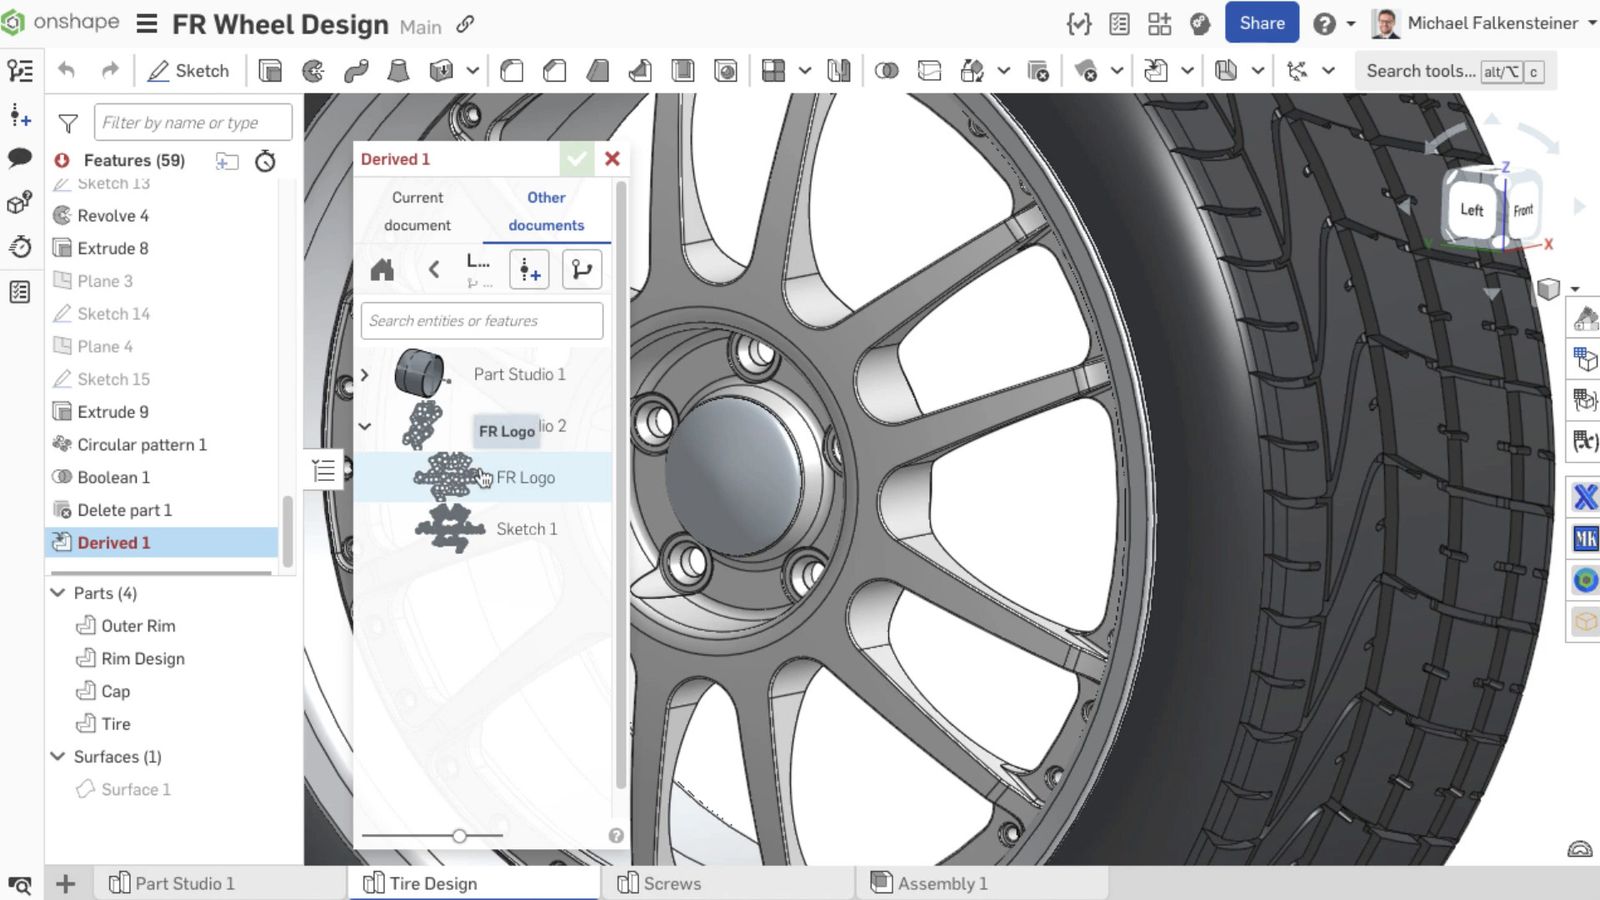
Tip: If the sketch already exists, it may also be useful to create a mirrored version of it, depending on whether the face to be projected onto is behind or in front of the sketch plane.
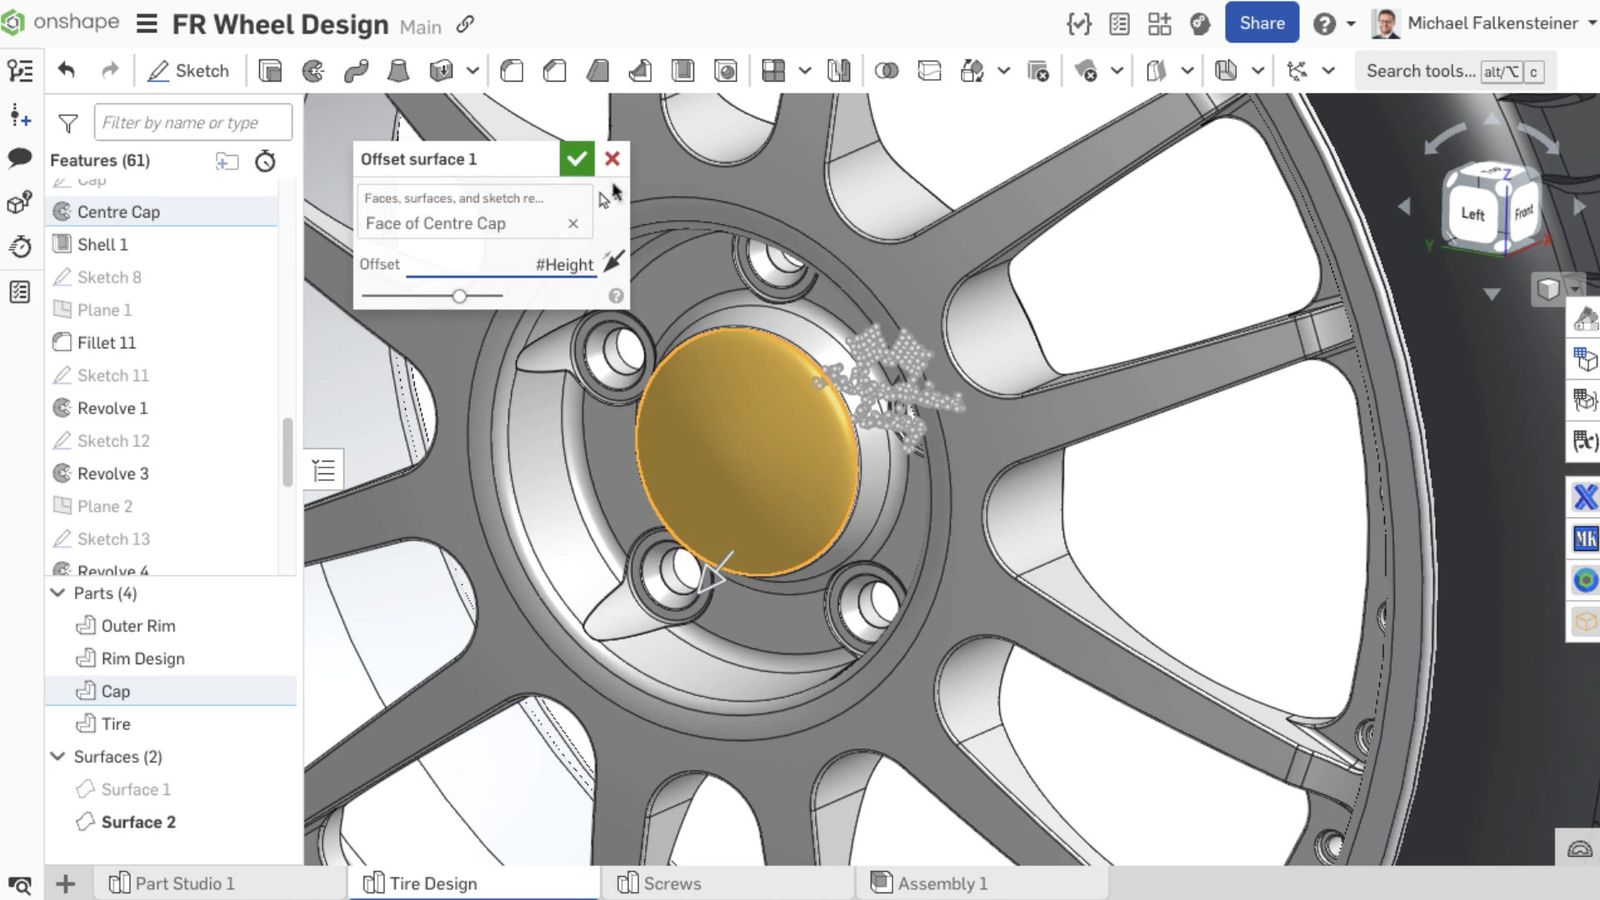
Creating a Surface that Controls the Height
The next step is to create an offset surface from the surface on which the logo is to be extruded later. It is best to work with a variable for the offset here so that you can easily adjust the logo's height later.
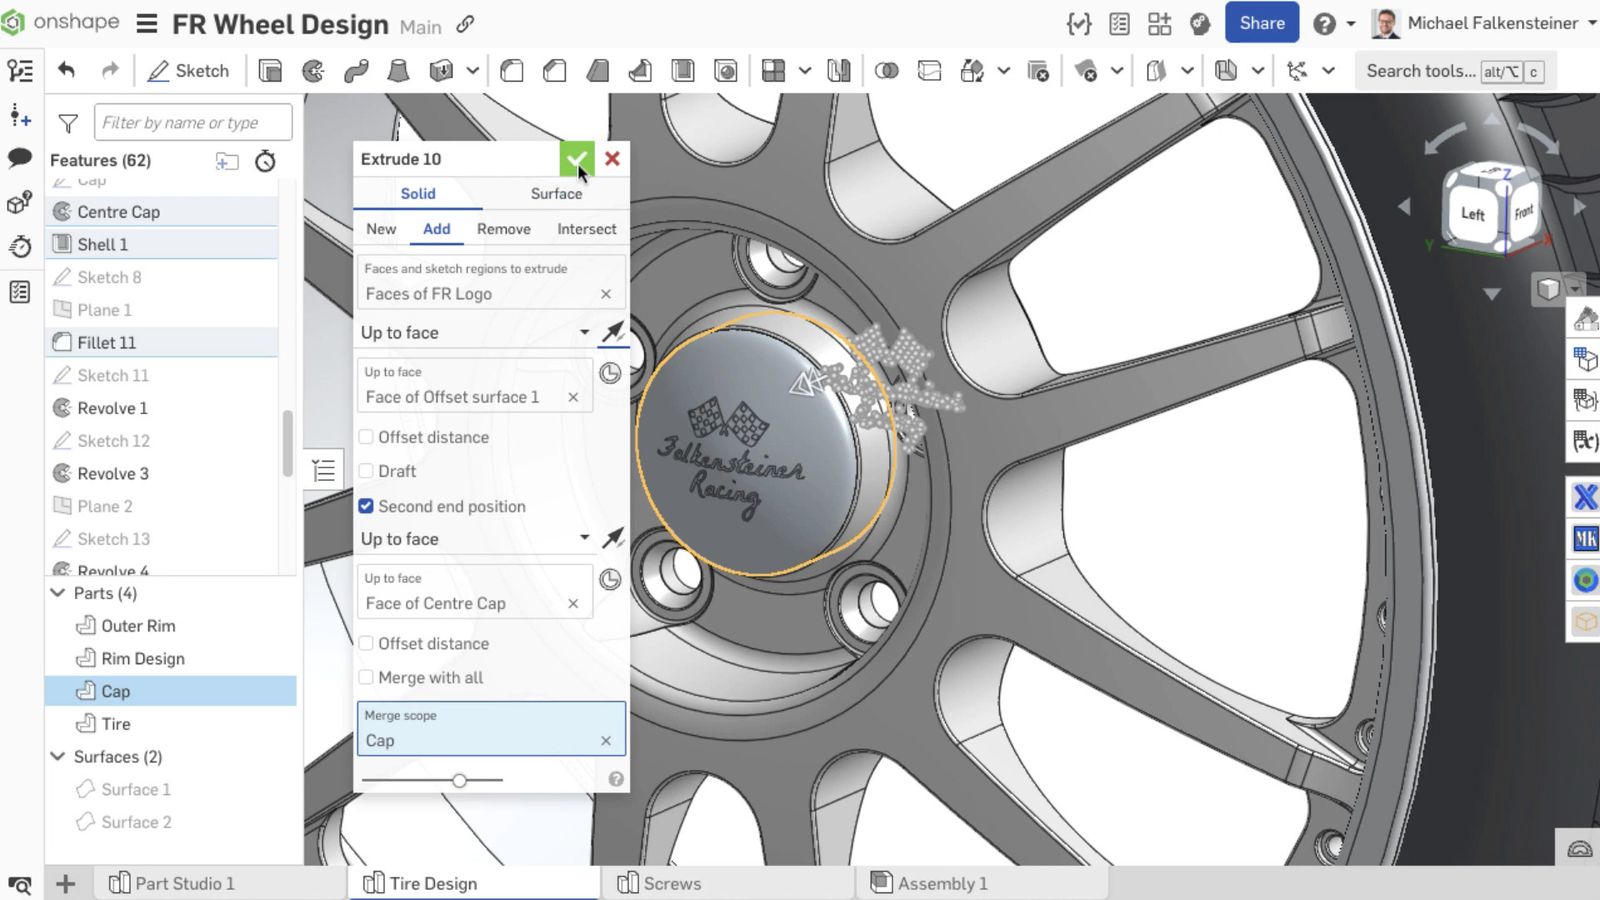
Extrude the Logo
This is the last and most important step.
Select the Extrude feature and choose the Add creation type. The sketch to be extruded is the previously created or derived sketch. Select Up to face for the End type and select the face that you previously created with the Offset face feature. Check Second End Position, and again select Up to face for the End type. Select the surface of the body from which the extrusion should start. Make sure that both extrusions point in the right direction. This projects and raises a sketch onto a non-cylindrical surface.
Using a variable lets you easily control the height of the logo. Also, coloring the logo’s faces can make a good impression.
Watch the video below for more on the Tech Tip:
Interested in learning more Onshape Tech Tips? You can review the most recent technical blogs here.
Friends Don’t Let Friends Use Old CAD!
Know a colleague who could benefit from our cloud-native, fully-featured collaborative design platform?
Latest Content

- Blog
- Becoming an Expert
- Sheet Metal
Two Views, One Model: Faster Sheet Metal Design in Onshape
02.12.2026 learn more
- Blog
- Customers & Case Studies
- Collaboration
- Consumer Products
RigStrips Boosts Design Speed Using Onshape's Collaborative Tools
02.11.2026 learn more
- Blog
- Becoming an Expert
- Features
- Data Management
How Onshape's Repair Tool Fixes Broken References
01.29.2026 learn more


