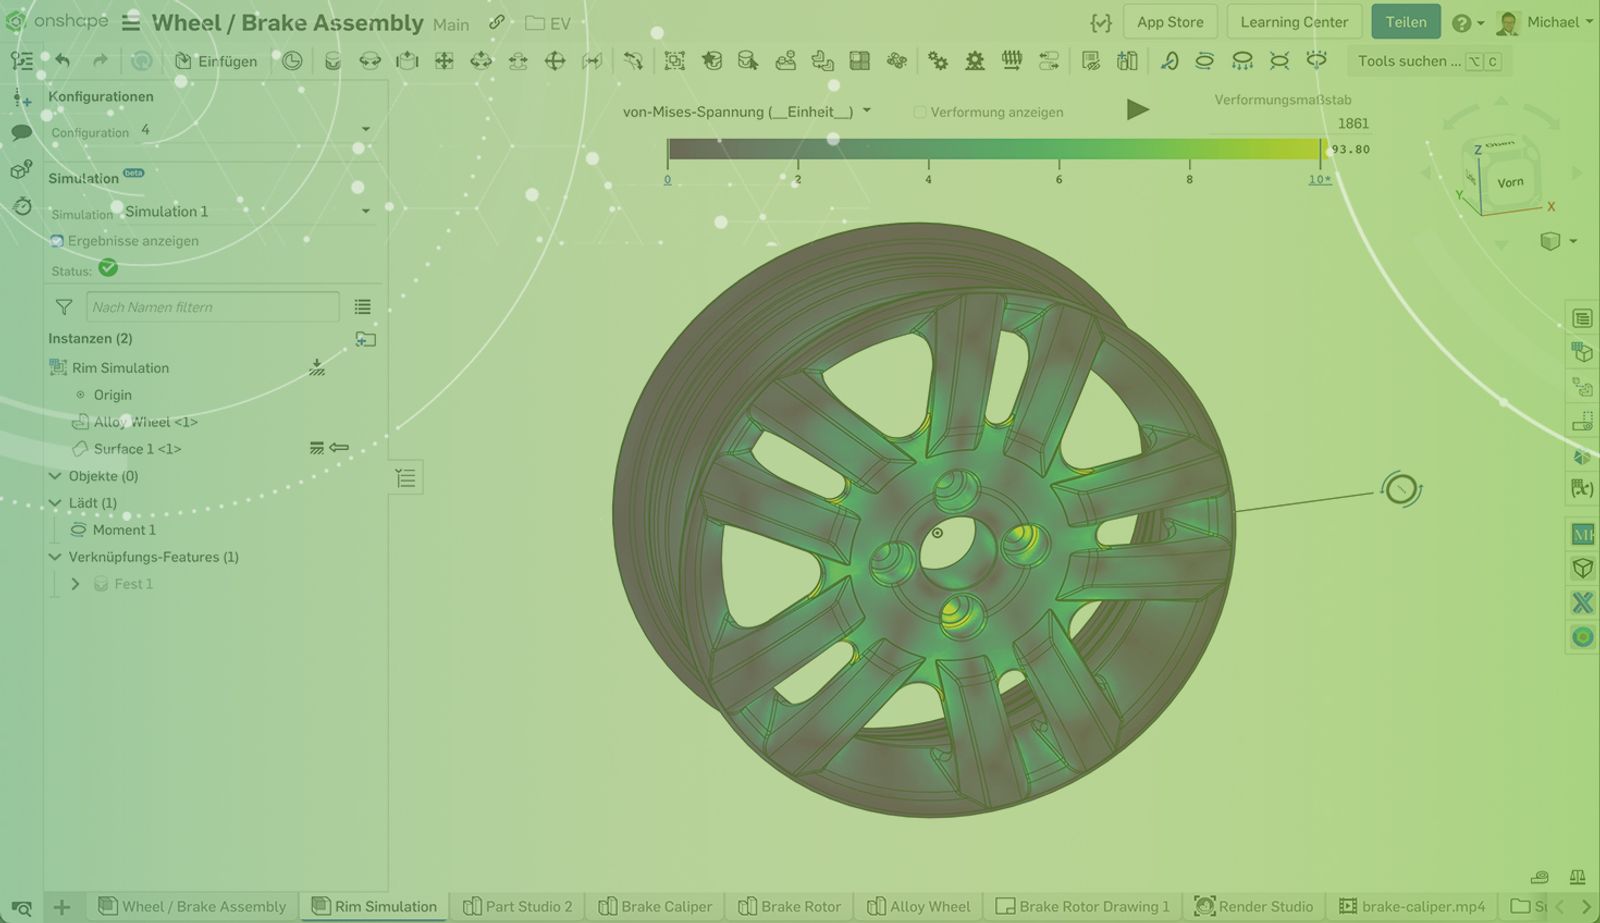
1:26
Onshape Simulation is an integrated part of assemblies. But sometimes a single part needs to be simulated rather than the whole assembly.
This Tech Tip explains how individual parts can be simulated with Onshape Simulation.
At this time, only Professional and Enterprise account holders can access Onshape Simulation.
Isolating a Part
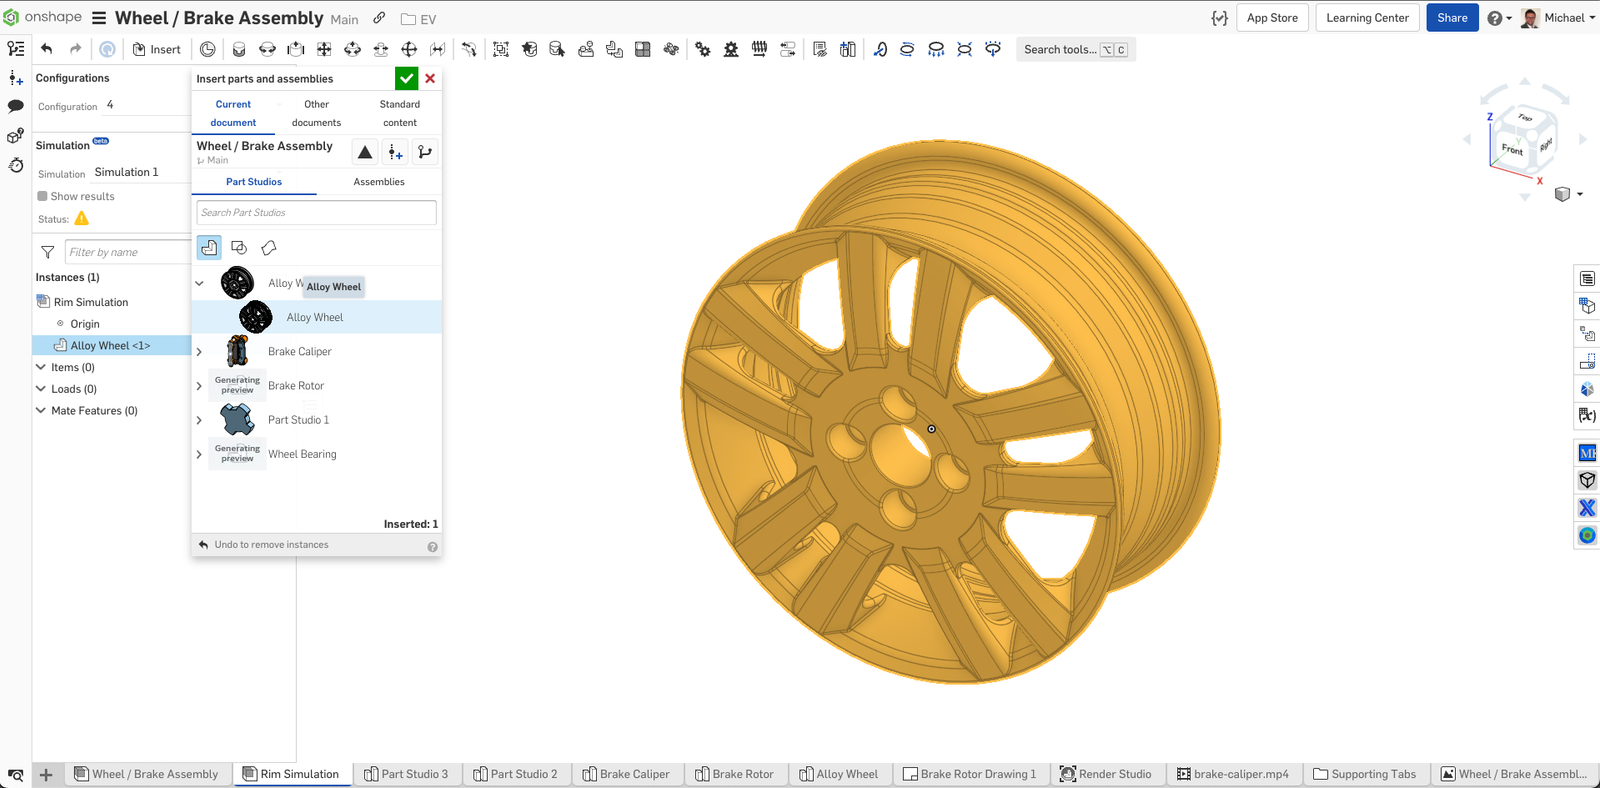
First, create a new assembly to insert the part you want to simulate. To start a simulation, you need a fixed instance inside the assembly. However, the fixed instance is excluded from the simulation result. So another instance is needed in the assembly.
Create an In-Context Reference Surface or Part
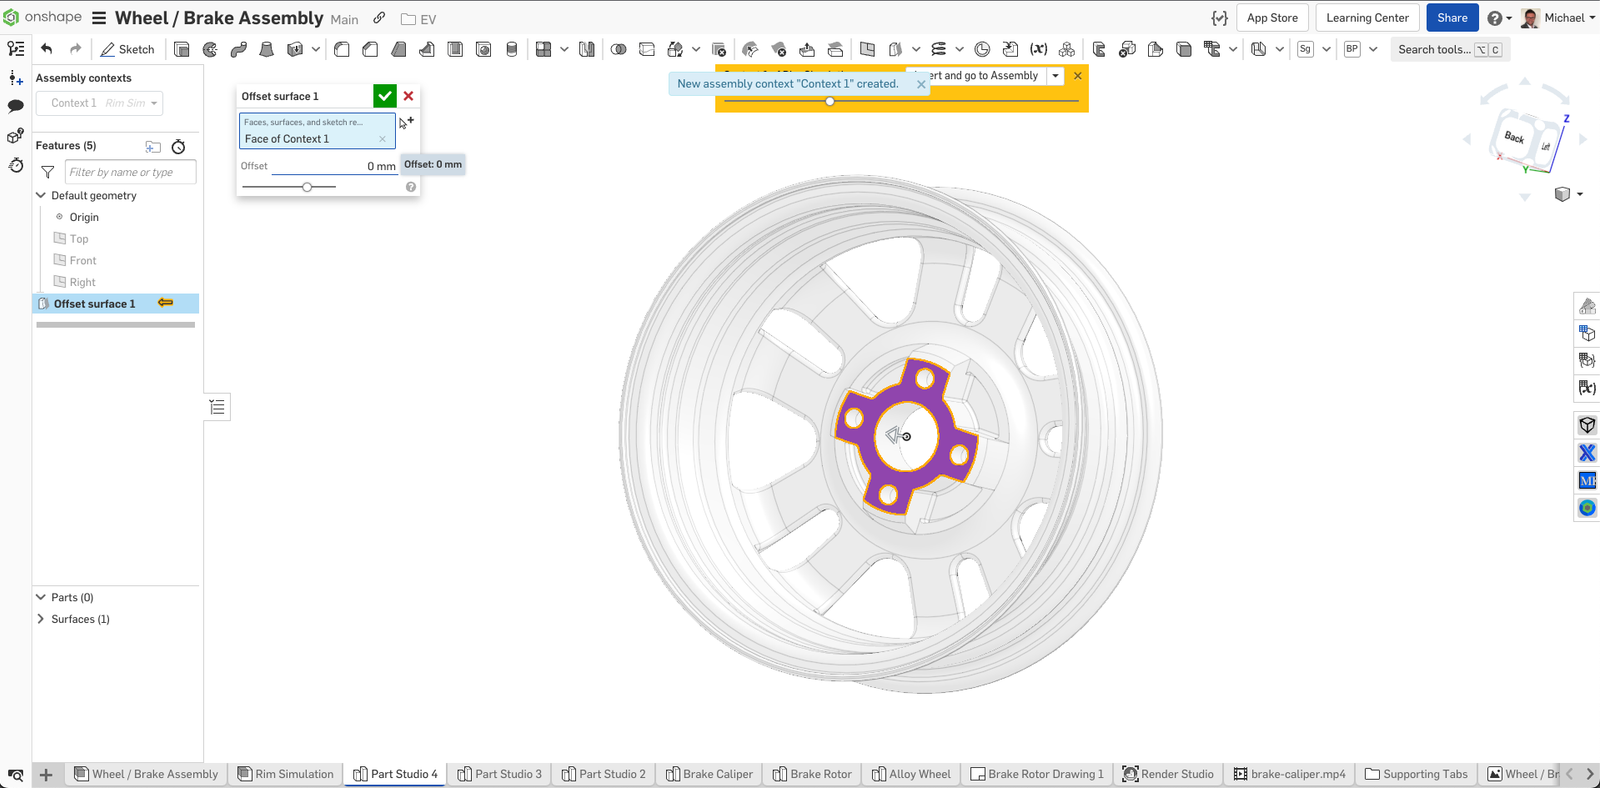
A quick and easy way to create a new instance that is going to be fixed later within the assembly, is to create a Part Studio in the context of the assembly. Create a surface or a part with an offset of zero and insert the created surface into the assembly.
This fixed surface serves as a reference for mating the component you want to simulate.
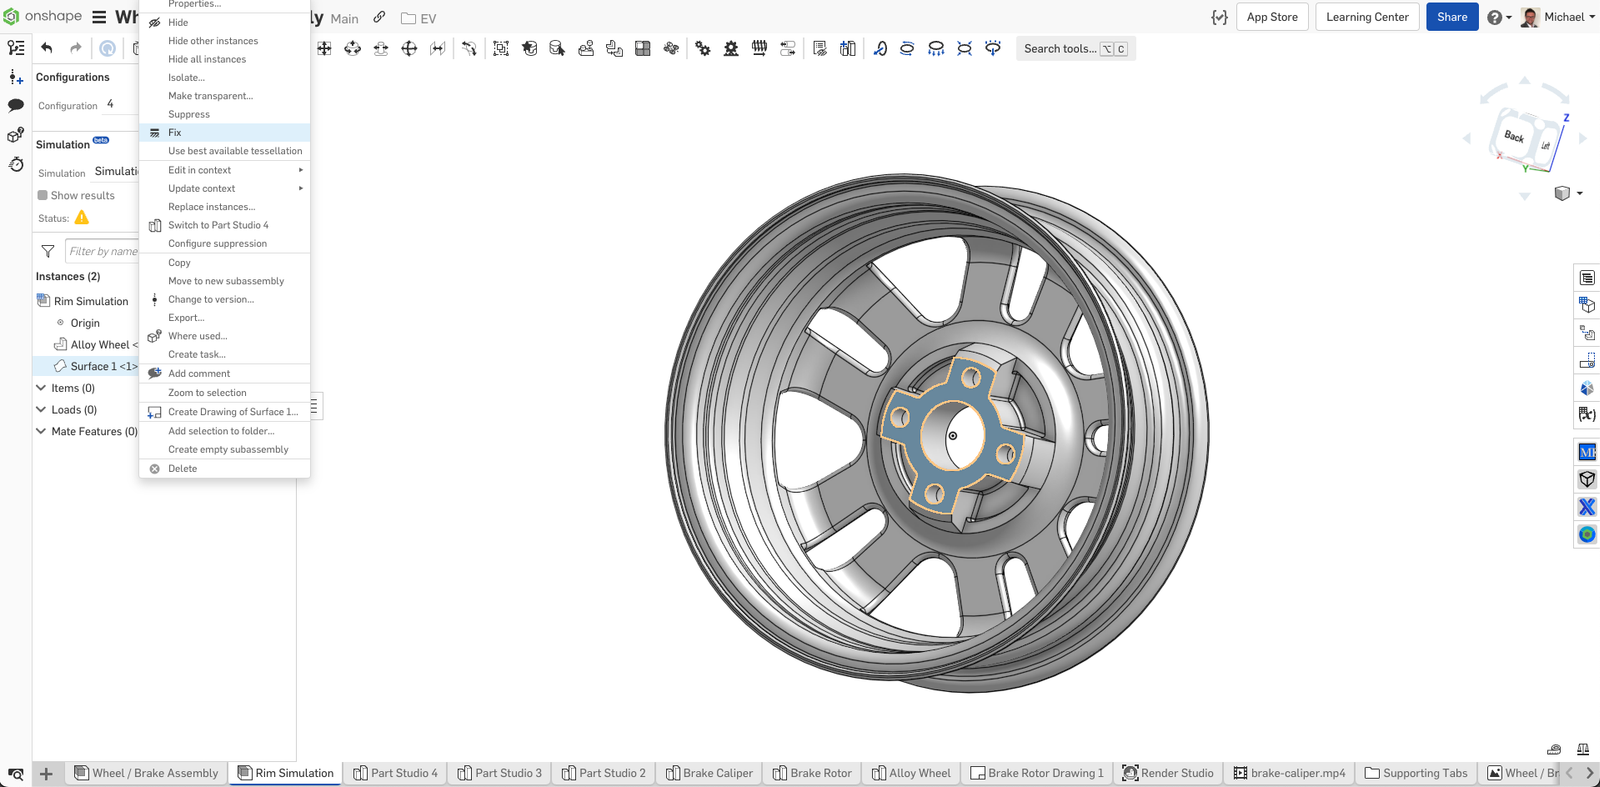
The component you want to simulate is then mated to the fixed surface.
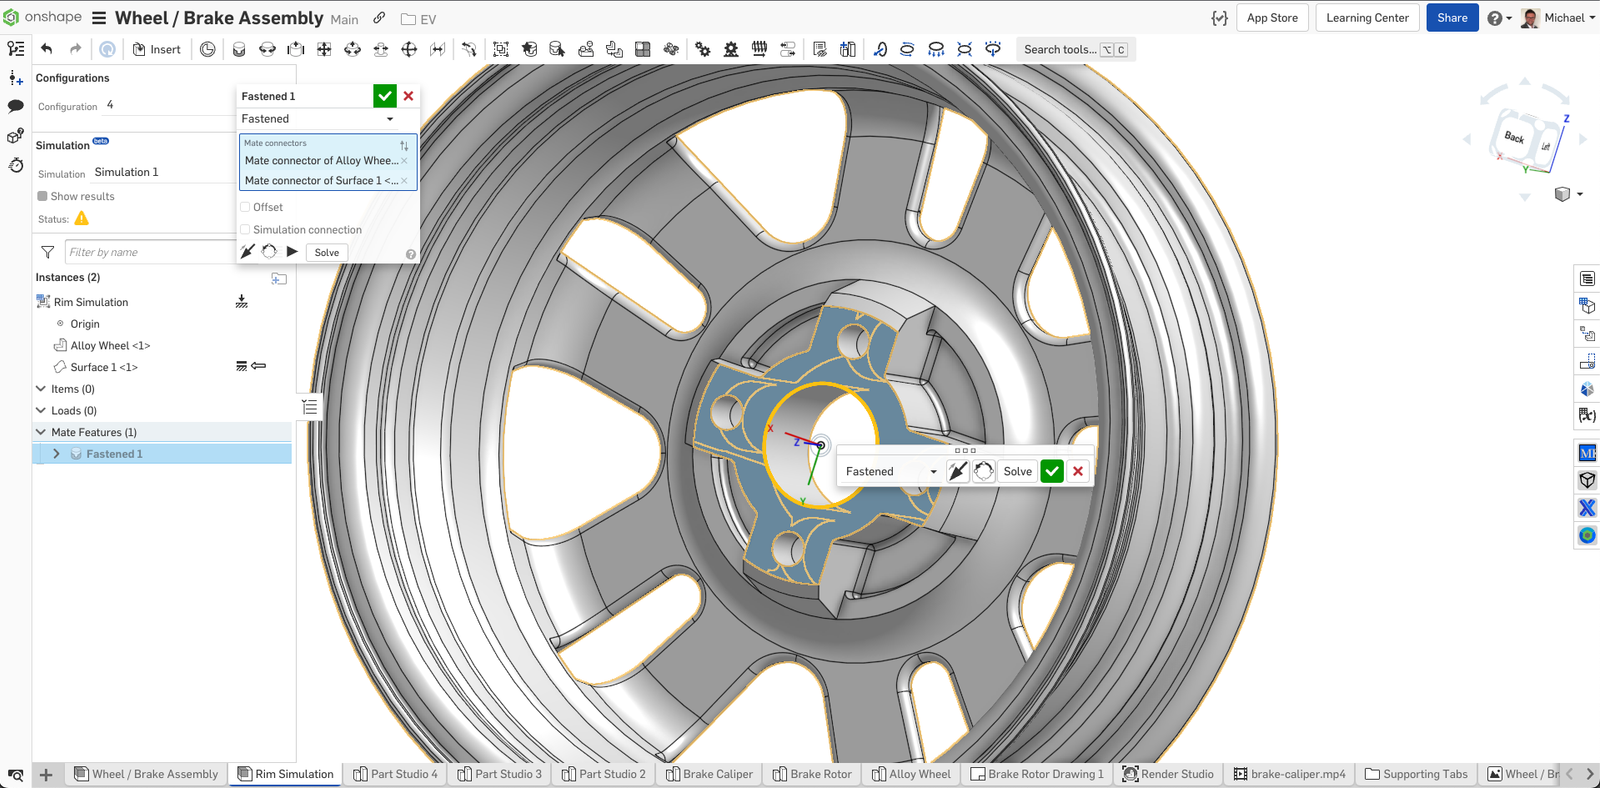
Simulating the Component
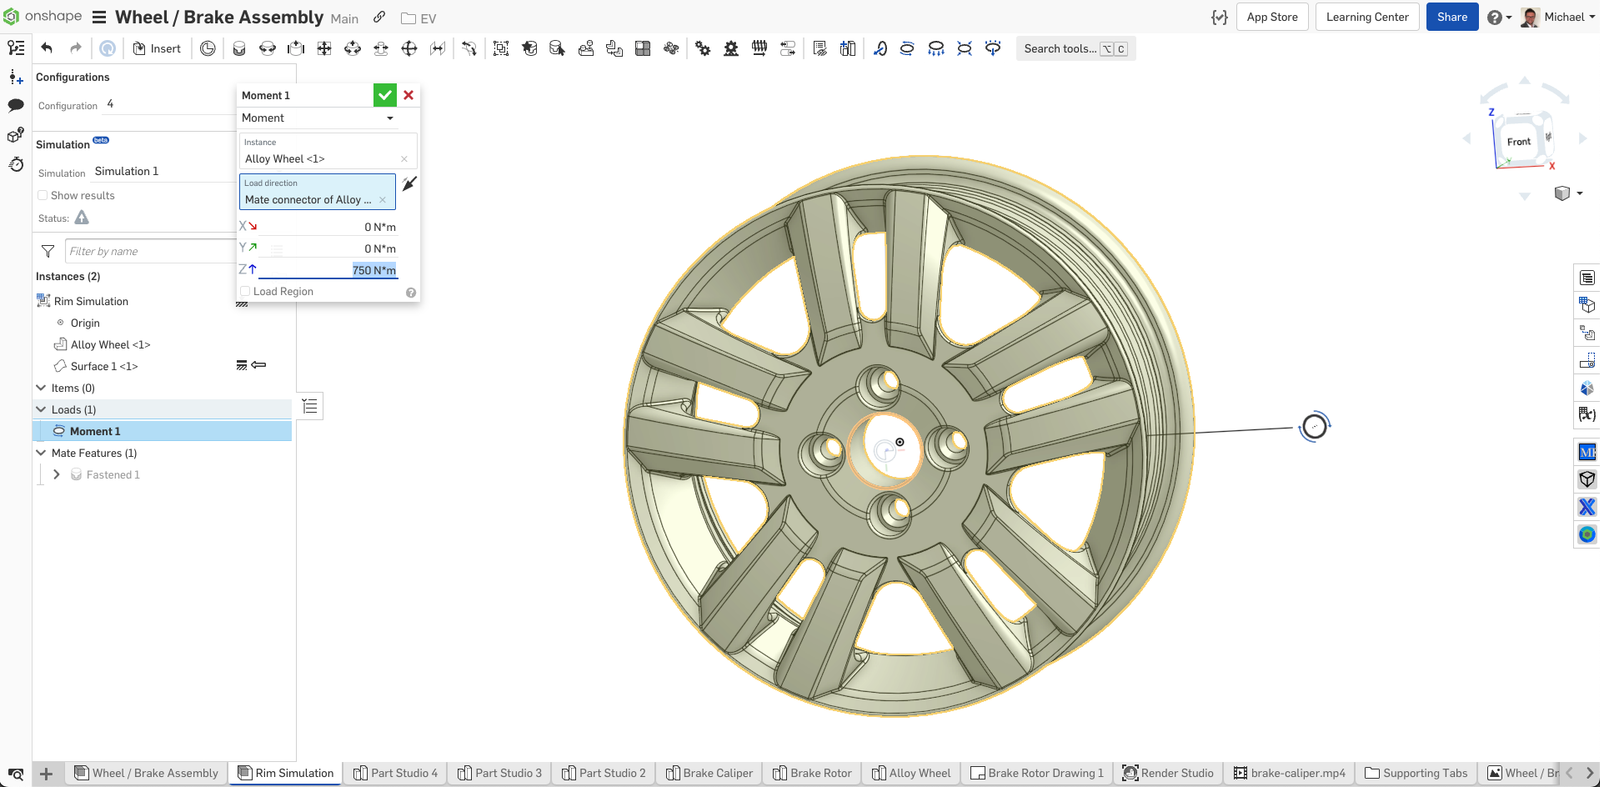
Onshape Simulation is not an extension or another environment to switch to – it is an integrated part of the assembly. All that is required to run the simulation is to define the loads and view the results.
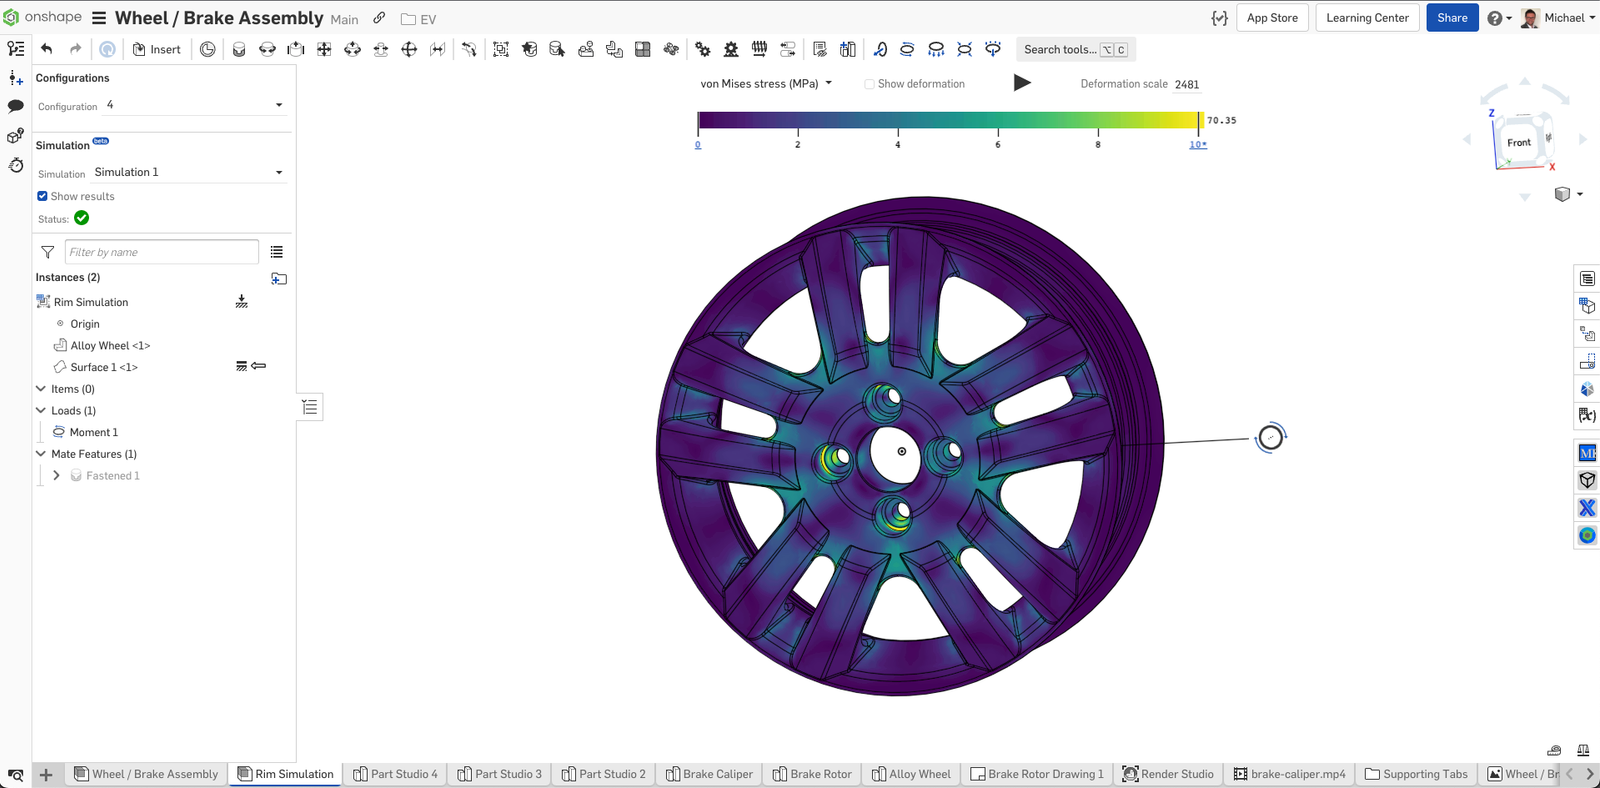
After applying the loads, click on “Show results”. That’s it. Simulation has never been so simple.
This Tech Tip helped you learn how to simulate a standalone part. We have more resources for you to learn more about Onshape Simulation. Check out the self-paced course in the Onshape Learning Center for more.
Interested in learning more Onshape Tech Tips? Check out our Tech Tips page.
Latest Content

- Blog
- Becoming an Expert
- Sheet Metal
Two Views, One Model: Faster Sheet Metal Design in Onshape
02.12.2026 learn more
- Blog
- Customers & Case Studies
- Collaboration
- Consumer Products
RigStrips Boosts Design Speed Using Onshape's Collaborative Tools
02.11.2026 learn more
- Blog
- Becoming an Expert
- Features
- Data Management
How Onshape's Repair Tool Fixes Broken References
01.29.2026 learn more


