
1:20
This tech tip is part one of a two-part series on managing and reorganizing Assembly data.
Today, we’ll be discussing the Dissolve subassemblies feature.
The ability to Dissolve subassemblies from a top level Assembly without losing valuable mates and Mate Connectors is a powerful tool to leverage when reorganizing data with a top-down approach. For example, perhaps the subassemblies need to be restructured for better use across multiple projects. Dissolve subassembly in Onshape allows you to move components from a subassembly to the top level Assembly and keep their associated mate connections intact.
To start this process, make sure you’re in the parent Assembly.
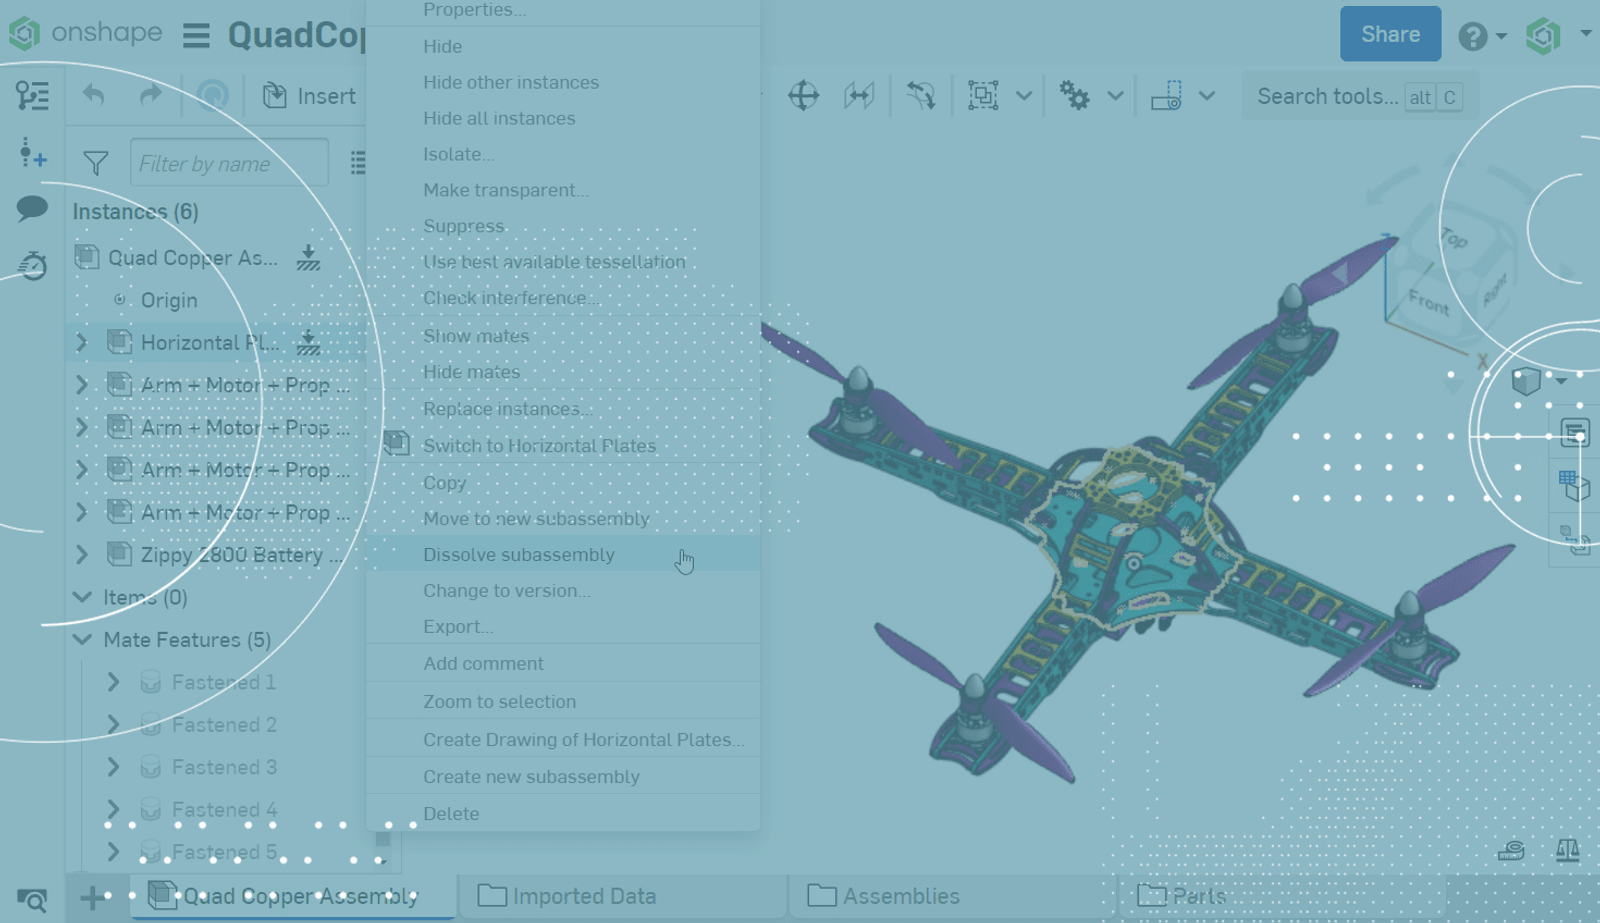
Right-click on the subassembly you wish to dissolve, and select Dissolve subassembly.
Note: Assembly patterns are currently unable to be dissolved.
This results in all the subassembly components placed in the top level Assembly along with their associated mates and Mate Connectors. The subassembly is removed from the top level Assembly instance list and the subassembly tab is left empty in the Document to be deleted or reused for other components.
Prior to dissolving the subassembly, this example had five mates used to create the top level Assembly. After dissolving the subassembly, the top level Assembly has eight mates to define it, integrating the mates created in the subassembly automatically.
This process can be seen in the video below:
Want to learn more about Assembly structures? Check out the second part of this series, how to form a new subassembly directly from the top level.
Interested in learning more Onshape Tech Tips? You can review the most recent technical blogs here.
Latest Content
- Blog
- Evaluating Onshape
- Arena PLM Connection
The Cloud-Native CAD-PDM-PLM Workflow That Finds Problems Before They Cost You
06.11.2026 learn more- Blog
- News from Onshape @ PTC
- Artificial Intelligence
- Robotics
How Multi-Agent Orchestration Between Onshape and NVIDIA Improves CAD-to-Simulation Workflows
06.01.2026 learn more- Blog
- Evaluating Onshape
- Robotics
- Aviation, Aerospace & Defense
- Collaboration
- Integrations
- Arena PLM Connection
- Data Management
Why the Best Hardware Teams Have Started Talking Like Software Engineers
05.28.2026 learn more