
1:15
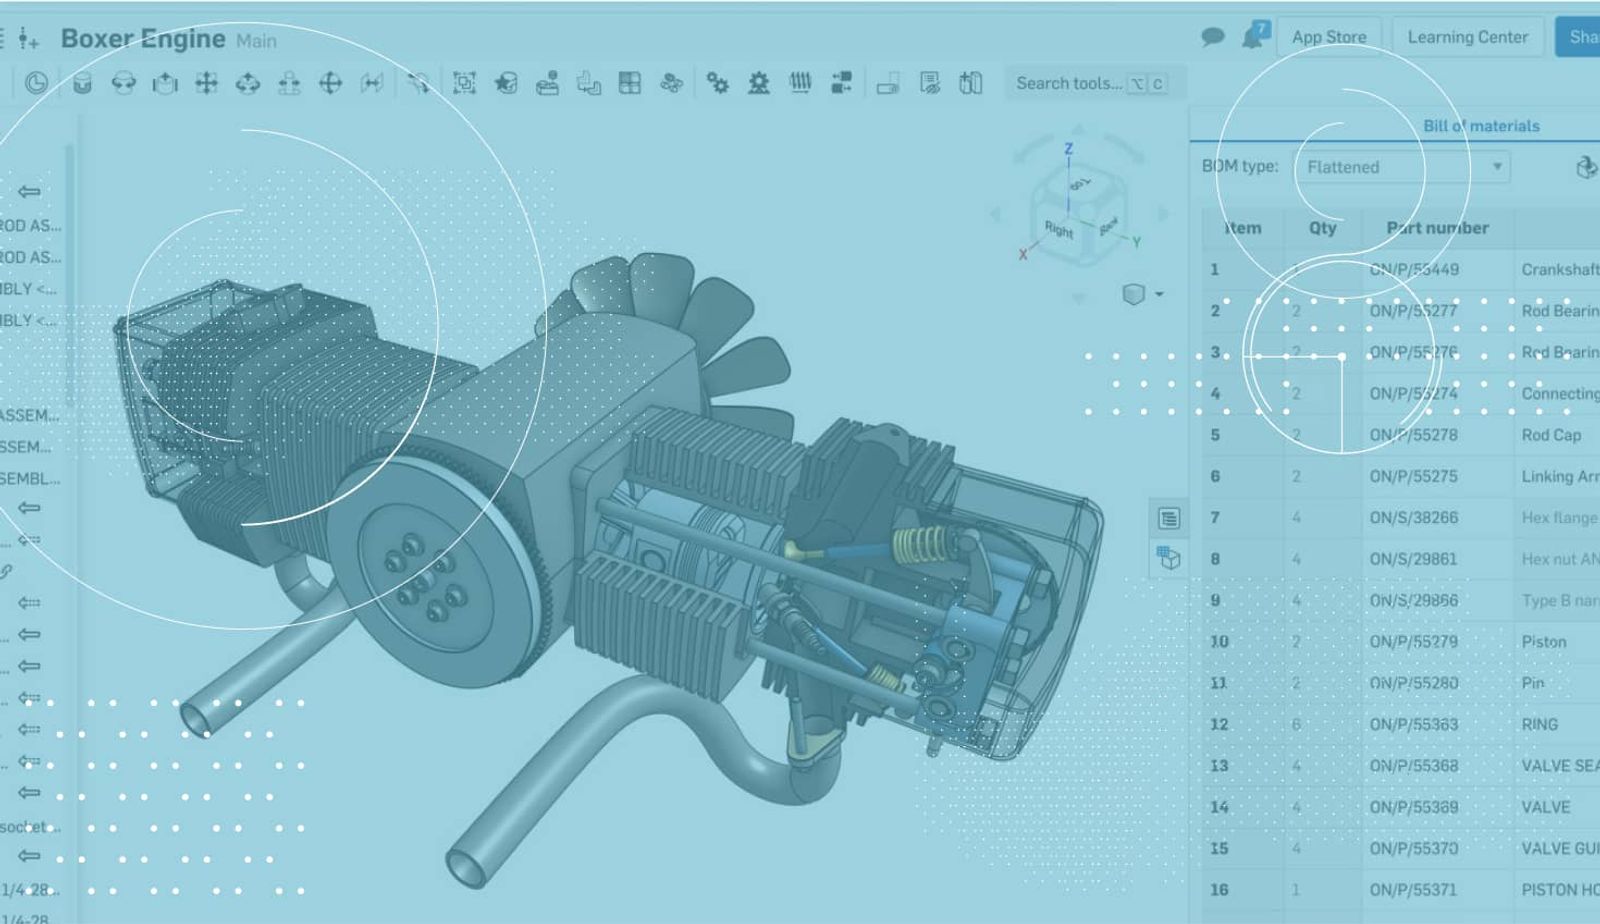
Today’s tech tip focuses on working with standard content. We had a previous tech tip on “Inserting Multiple Pieces of Standard Content in Onshape,” and have received a lot of questions about how to edit a piece of content after it has been inserted. Let’s take a look.
The easiest way to edit a piece of already-inserted content is to right-click it either in the graphics or in the instance list of the assembly. There you will see the option to “Edit standard content instance…”
Clicking this will bring up the “Edit standard content” dialog, where you can modify values like the size and length.
Make sure to click “Update” after changing the size to update the assembly.
What if you want to change all of the instances of a certain piece of standard content?
Simply right-click a piece of standard content in the graphics or instance list and choose the option to “Select instances with the same configuration.”
This will select all of the standard content in that assembly that matches what you are selecting.
There is also an option to “Select instances with the same part and same configuration” which allows you to be more specific. After everything is selected, you can right-click and choose the option to “Edit standard content instance.” If multiple pieces of standard content are selected when you choose “Edit standard content instance,” they will all be changed when you click “Update.”
So that’s it – give it a try!
Latest Content
- Blog
- Evaluating Onshape
- Arena PLM Connection
The Cloud-Native CAD-PDM-PLM Workflow That Finds Problems Before They Cost You
06.11.2026 learn more- Blog
- News from Onshape @ PTC
- Artificial Intelligence
- Robotics
How Multi-Agent Orchestration Between Onshape and NVIDIA Improves CAD-to-Simulation Workflows
06.01.2026 learn more- Blog
- Evaluating Onshape
- Robotics
- Aviation, Aerospace & Defense
- Collaboration
- Integrations
- Arena PLM Connection
- Data Management
Why the Best Hardware Teams Have Started Talking Like Software Engineers
05.28.2026 learn more