
02:14
Our April 17 release included the ability to quickly add transparency to parts. With Onshape’s top-down approach to modeling in multi-part Part Studios, and of course, the robustness of assembly design, there’s no doubt that making parts transparent is extremely useful. Let’s take a quick look at how to use this new feature.
Making Parts Transparent
To make a part transparent, simply right-click it from the graphics area, the parts list (if in a Part Studio) or the Instance list (if in an assembly) and select “Make transparent.”
You can make multiple components transparent all at once by selecting more than one part before activating the “Make transparent” feature.
There is also a keyboard shortcut for enabling transparency: Select your part or parts, and use “Shift + T.”
Expanding Transparency
You can add additional components to the transparency by just repeating the process: right-click the desired component and select “Make transparent.”
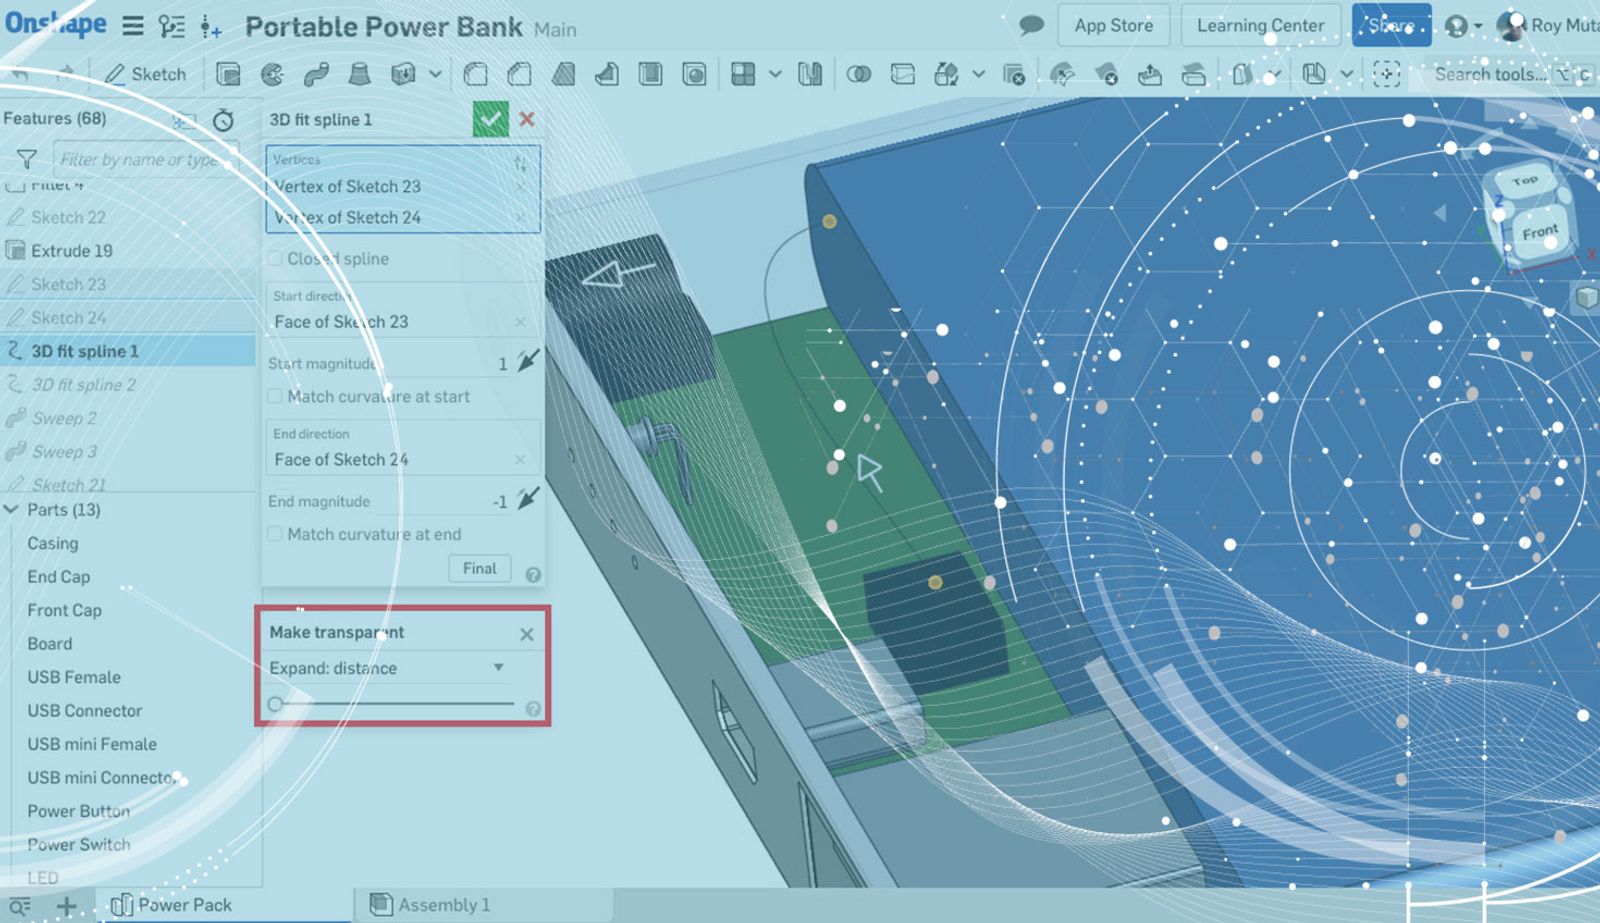
You can also expand your transparency through the options in the dropdown menu.
- “Expand: connectivity” will subsequently add components to the transparency based on how they are connected to the first part. The easiest way to think of this is in terms of the mates. In the above image, the front and back covers are directly attached to the casing through a fastened mate, so expanding by connectivity would next make these two covers transparent.
- “Expand: distance” will subsequently add components based on their physical proximity to the initial part you made transparent.
In many use cases, you will be selecting an exterior component to make transparent and may want to “drill down” into the model further to see interior components. Both options to expand transparency should serve this function well.
Using Transparency
The transparency of components will be maintained as long as you leave the transparency dialog up. This does not prevent you from adding other assembly features, including inserting new parts, creating new mates, or even adding instance patterns.
In Onshape Part Studios, you can similarly add new sketches, and create new features and parts freely even as components are transparent. Just make sure you leave the “Make transparent” dialog active on the screen somewhere.
Transparency is a “per-user” operation in Onshape. That means even if multiple users are working in the same Document at the same time, changing the transparency does not affect the other users (as compared to a “hide” operation).
Finally, curves, meshes, and surfaces can also be made transparent in the same way as described above for parts.
Interested in learning more Onshape Tech Tips? You can review the most recent technical blogs here.
Latest Content
- Blog
- Becoming an Expert
- Assemblies
Built to Scale: Why Large Assemblies Don’t Slow Down in Onshape
07.16.2026 learn more- Blog
- News from Onshape @ PTC
- Artificial Intelligence
Onshape Labs: AI in CAD Guided by Designers, Driven by Innovation
07.15.2026 learn more- Blog
- Evaluating Onshape
- Data Management
- Collaboration
- Artificial Intelligence
How the Most Underrated CAD Feature Improves Design Workflows
07.09.2026 learn more